
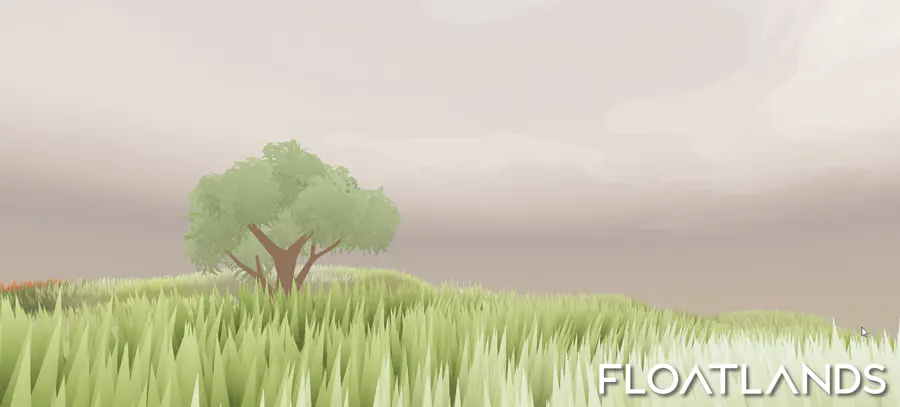
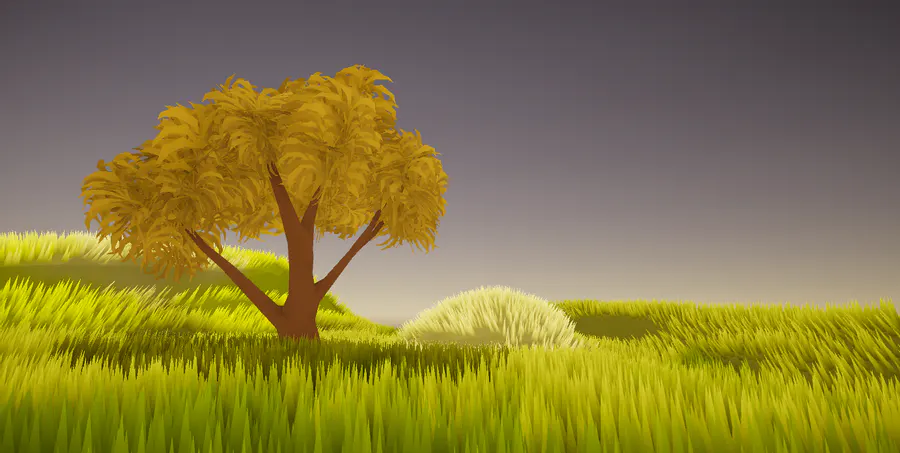
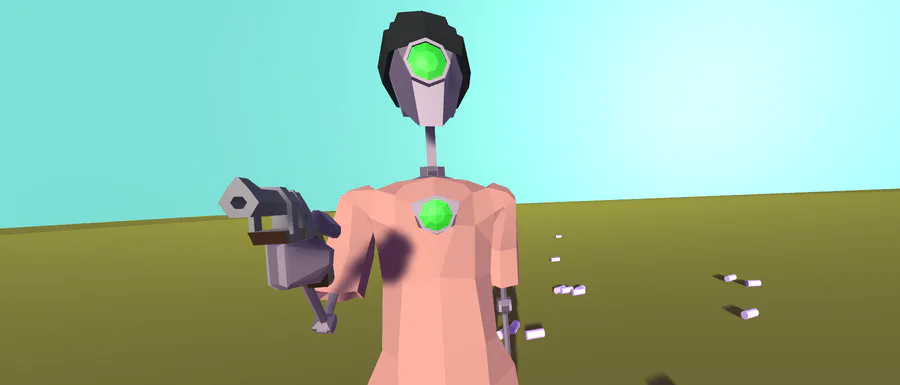
For Floatlands we decided to go with a polygonal look, which means the models don’t use smooth shading or textures and this gives the game a specific visual style. As my main tool for creating assets I use Blender, since it’s supported by Unity, has great tools for modeling, rigging and animation, and I am personally very familiar and experienced with it.
Andrej Krebs
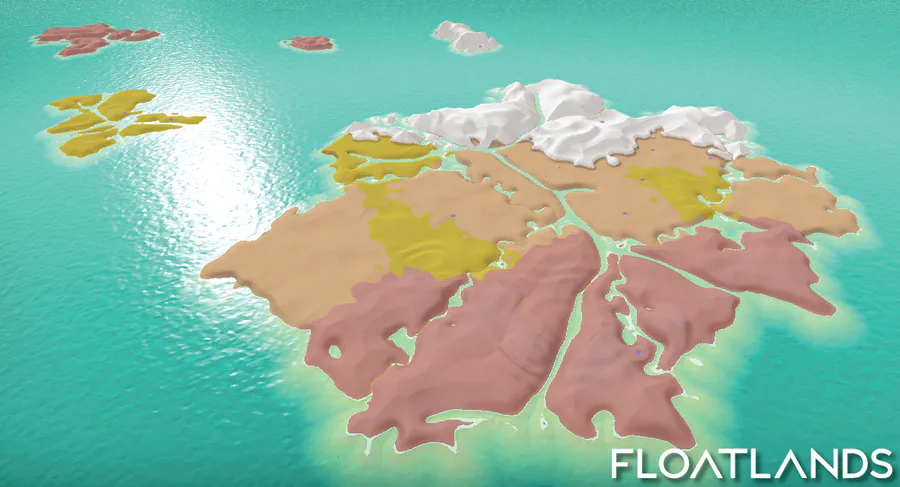
WORKFLOW
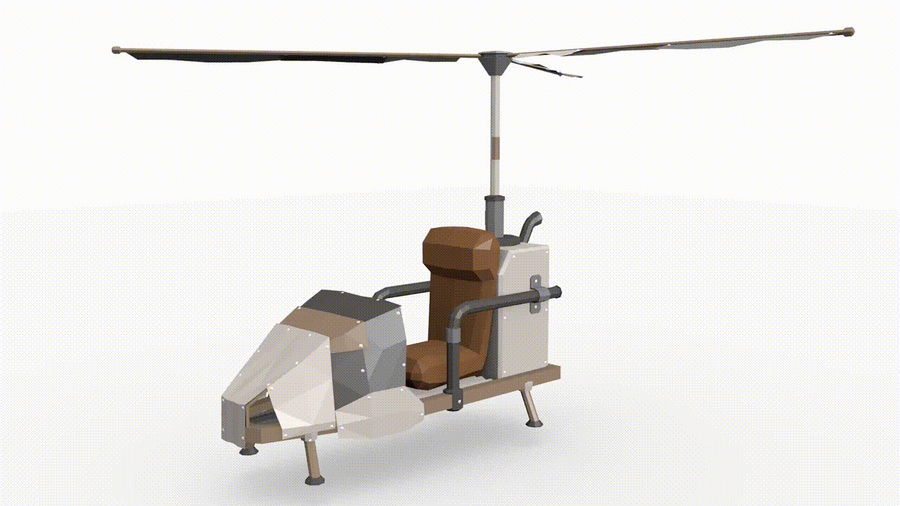
For most hard surface models I just model them freely with all sorts of modifiers and optimize them later or just retopologise them when I’m satisfied with the shape. I make different material submeshes, that can later be individually changed in Unity, I then add all sorts of chips and scratches with either boolean modifier or knife tool and add detail like rivets and various “damage patches”. For simpler object I just model the mesh directly.

Foundation model with planks out of order.

Simple repair kit model
When I make organic models I usually start by sculpting them with dynamic topology. (Using a graphic tablet helps with this step.) After that I have to reduce the insane sculpt polygon count to something reasonable that can be managed by a game. If I’m working on solid objects like rocks I often use decimate modifier, because it usually looks more chaotic than a manual retopology. If I’m working on more smooth organic models like animal characters I do a manual retopology, especially if I plan to rig and animate them later, because I need more control over placement of edges that I plan to deform later with a skeleton rig.

step 1: Dynamic topology sculpt

step 2: Manual retopology of the rhino
For character and creature rigs the first thing I do is research some anatomy to know where the bones and joints should be placed and how they move. I try keeping the amount of bones down, to keep it simple and optimised for the game. I then make IK (inverse kinematic) control handles that make animation easier and more like controlling a marionette than just positioning individual bones on the timeline. I then bind it to a character or creature mesh and do some test animations to see where the rig breaks and fix it up and add some limitations (how far the joints can bend). The character’s mesh is then finely weight-painted to make the deformations of the mesh with the bone look as good as possible.

step 3: Testing the rig with bones and IK control handles
Animations are made by posing the character on a timeline with the animation rig, defining what pose the character is in at which time. Some animations have to be able to loop (walking, running, idling…) and have to blend one into another well.

Rhino taunt animation
0 comments