
Greetings,
My name is Oskar, I’m the code monkey of the Great Ape dev team. In the development process I will hopefully be of help to the other devs with their programming endeavours in the game.
My biggest, and main, task in the project though, will be the creation of an in-game level editor.
Below you will read about my first two weeks of creating my in-game level editor, enjoy!
Introduction
Give a man a fish, and you feed him for a day. Teach a man to fish, and you feed him for a lifetime.
— Some english person
The same could be said about a in-game level editor, possibly…
But the important thing is not that some random quote could be relevant here. What’s important is me building a level editor, from scratch.
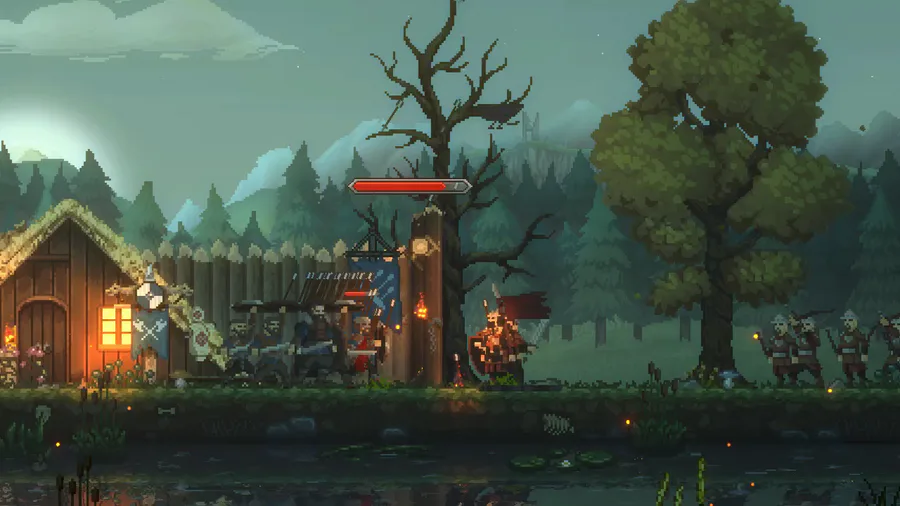
My goal was to create some sort of editor/tool for the game I was going to work on. With Great Ape, a level editor felt like a perfect match since we want to be able to easily build levels.
This is where a level editor customized for Great Ape could be great to hopefully make level building easier!
My first go at it
I had previously worked on some simple tools in the Unity Editor so I quickly started putting together a GUI and after the first week I actually had a quite functional editor. You couldn’t do much with it other than pick blocks to place, place them and change between which level to edit.

All the blocks that’s going to be available in the editor will be placed in Unity’s ‘Resources’ folder. The Resources class allows for easy access to assets you want load to the game, such as level blocks.
			// Gets all the prefabs in the folder at "Resources/Level Blocks"
Object[] blockPrefabs = Resources.LoadAll<GameObject>("Level Blocks");
Getting access to the prefabs was easy, and I could also get access to the small previews of prefabs you see in the editor.

This was done easily with one line of code from the AssetPreview class.
Texture2D previewTex = AssetPreview.GetAssetPreview(block);
For the level view in the editor I used a RenderTexture from a camera I placed in the scene. I made sure the camera used a culling mask for the layer ‘LevelBlocks’ so it would not display anything else. After that I just had to convert my mouse position from the GUI to a world position to be able to place objects in the scene.
Ray mouseRay = m_cam.ScreenPointToRay(new Vector2(mousePos.x, window.height - mousePos.y));
I now had a level editor with basic functionality using Unity’s editor classes…
A change of plans
In the start of the second week I started thinking about what to do next in the level editor. I started thinking about changing the user interface and to start adding more features and stuff to the GUI. I quickly realized that a GUI of this size will be easier to design in Unity’s UI Canvas.
Then the idea came to me, I’m going to revamp my current work and make the level editor to work in-game instead!
This would make the level editor much more involved in the game since it would actually be included in the release of the game.
I remade my progress from the first week and got basically everything I already had in the editor to in-game. The biggest problems with this is that I used several Editor-only classes which I could sadly not use anymore. But except for saving the preview sprites in the Resources folder and creating the UI again, it was kinda easy to remake.
Everything else was the hard part…

Upcoming features/problems
The coming weeks I’m going to start implementing a menu when you select an object so you can move, rotate, scale, configure collisions and all that jazz.
I also want to add save/load features for the levels, which is hard.See, you can’t create a prefab in-game since prefabs are editor-only. The solution is to serialize the GameObjects and save them to the disk manually. I will probably look for an external solution for this.
After that I will hopefully have an easy time. Hopefully…
With all that said, I end this blog post looking forward to the progress that will be made before the next blogpost.
See you next time!


0 comments