
Hey, it’s Bela here. A little while ago, Jamie and I built an arcade cabinet for Little Bug.
Why an Arcade Cabinet?
Jamie and I come from worlds where DIY wasn’t a marketable aesthetic, but a natural and necessary creative path. Before we met and found ourselves in video game design we made interactive sculpture, zines, and comics. We’ve been interested in ways to blend digital games with physical interaction, and while this can take many forms, a straightforward route was to house our debut game, Little Bug, in a custom arcade cabinet. As it turns out doing so was painless, fun, and easy; and at events like Fantastic Arcade and Indiecade, it provided a unique interaction that really drew attendees.
The Plan

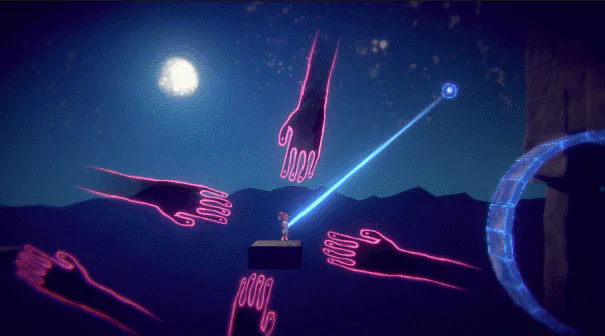
To start off, I rendered a design in Unity complete with Image Effects, Animations and completely unrealistic lighting… If only real life were like video games, but at least we now had a direction.
The Components

This worked for us and could be a good starting point for you, but you might want to tailor a bit to your game’s unique needs.
Intel NUC Skull Canyon.
2 arcade joysticks.
3 arcade buttons.
2 generic PC joystick boards with wires included.
4’ x 8’ MDF panel.
24” monitor.
8” LED accent light.
Power Strip.
Power Drill.
Nail gun and wood glue.
Screws of varying sizes and springs.
6” piano hinge.
Velcro strips.
Zip ties.
Black spray paint and multicolored paint markers.
Semi opaque plexi.
Building the Cabinet

When I was making sculptures, I mainly welded, so I asked my friend Paul for some help measuring and cutting the MDF panels. We did this by designing our shapes on the spot with a jigsaw, pencil, and basic drafting tools. Here is Paul in his warehouse studio with the soon to be cabinet.

We attached the cut pieces with glue and a nail gun, but you could use screws if you need a little more strength. Notice the hinge in the front - this was Paul’s idea and ended up being a life saver later on when I needed to install buttons and joysticks. Next to the paint can is a foot pedal we made specific for Little Bug’s unique controls: two joysticks and a button used simultaneously. On a gamepad this dual stick setup is no problem but translated to two full sized arcade joysticks both hands would be occupied, so how do you press that button? Solution: use your foot!

After painting the completed frame, it was time for the fun part - installing electronics. I used a cheap ($15) kit that include six buttons, a joystick, a USB controller board and all the wiring. After hundreds of plays, it’s all still working great. Notice the LED above the screen to light up the marquee for a classic arcade feel.

Once the NUC was installed in the back via velcro strips, I synced the buttons and joysticks inside the Unity inspector and created a new build specifically designed for the cabinet. Little Bug features hand drawn sprites, so we drew on all of the exterior designs with paint markers to keep that look coherent. The Marquee was made by stenciling painter’s tape with spray paint.

Arcade Feels

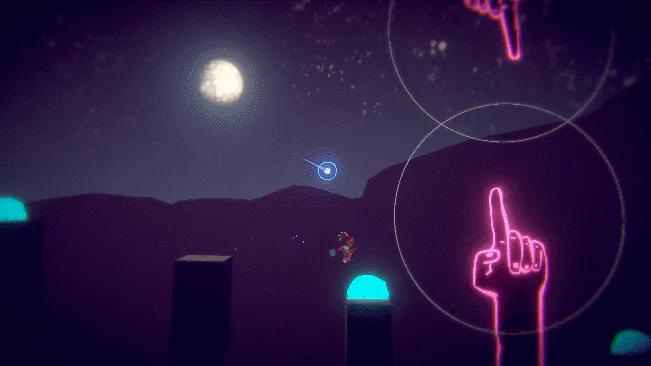
There is really nothing like watching players interact with a game you’ve made. Even though Little Bug itself is the same, the interaction is now fundamentally different, and as game designers it has been mesmerizing to watch people play it in this new way.


6 comments