I thought I’d write a tutorial on making cards, so that you can make your own deck. The first deck I made was fairly complicated, and took way too long, as there was a lot of folding and gluing involved. Each card took maybe ten minutes to make, so you can guess that I wasn’t really excited to keep doing it that way after I made my first deck.
After thinking about it for a while, I have now discovered a better method.
This way still takes about a night and a day from start to finish, but most of the time is spent waiting for stuff to dry. The labor time per card is now just over a minute. Totally doable.
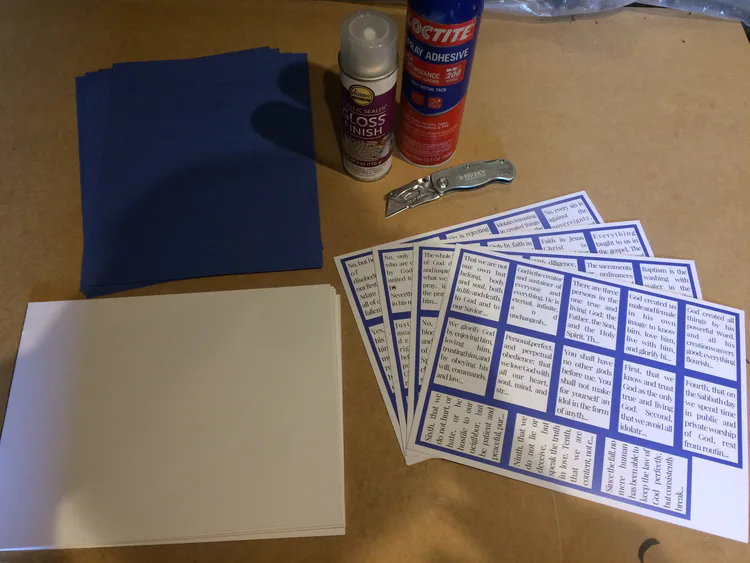
Materials and Tools:
4 sheets of cards printed on card stock.
Here is the link to download: drive.google.com/open?id=0B_tb8Zo6mk4ER3dBSTFIZXA1Y0U
Be aware that there are four sheets for the reader cards and four sheets for the playing cards. You only need the reading cards if you are going to have someone read.12 sheets of blank card stock. (Depending on the weight of your card stock, you may need more or less.)
4 sheets of construction paper. *
Some kind of glue. **
Paper sealer of some kind. **
A rolling pin.
A marker or crayon. * (This is for coloring the edges after they are cut. I used a marker on some of the cards, and a crayon on the others. I kind of like the feel of the crayon edges better, but if you wanted to coat the edges of the cards with the sealer, you might want to stick with the marker.)
Something to cut the cards with. (I bought the Swingline ClassicCut Lite specifically for this project, but it is just not tough enough to cut super heavy material past around six inches, so I also had to use a good old fashioned box knife and metal straight edge.)
A heavy duty 5mm radius corner cutter. (optional if you don’t mind sharp corners)
Finally, a wind-free work space outside somewhere if you are using spray adhesive or sealer.
)* The color of the construction paper and marker or crayon should match the color on the border of the printed cards.
)** I recommend using spray adhesive, but I am still not sure of the best method of sealing. Probably just a good spray acrylic or polyurethane. I have yet to see how that holds up after a lot of use though. I found some good recommendations at
www.prettyprudent.com/2010/08/hot-mess/tips/confessions-of-an-adhesive-sealant-junkie-2/
Assembly:
Download the 4 sheets of cards from the link above. If you want a different color for the borders, you can edit the files in any basic image editor.
Print the card sheets as big as they will fit on card stock. Unfortunately, I don’t actually know the exact weight that I used, but medium to heavy weight should be fine. There will be about 3/16” space around the actual print area. You should have four sheets, with 13 cards on each, for a total of 52 cards.
Glue three blank card stock sheets, and one of the construction paper sheets to the back of each card sheet. The thickness of the cards should be between millimeter and a 16th of an inch, so if your card stock is too thin, you may have to put four sheets in instead of three.
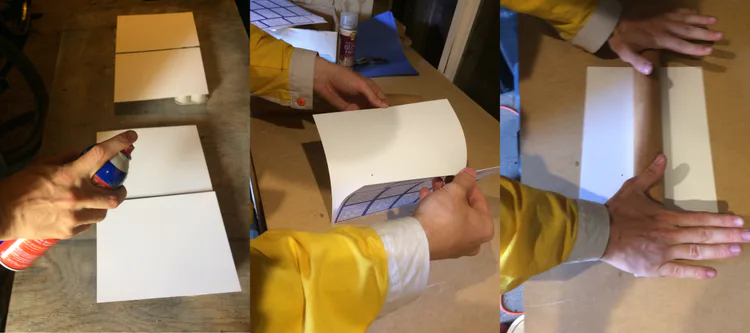
Roll them well with the rolling pin after gluing each layer. Keep in mind that they will warp depending on how you do this. I actually wanted some warp in mine, so I rolled them along the length and width, but only on the back side. They turned out nicely with a consistent slight curve.
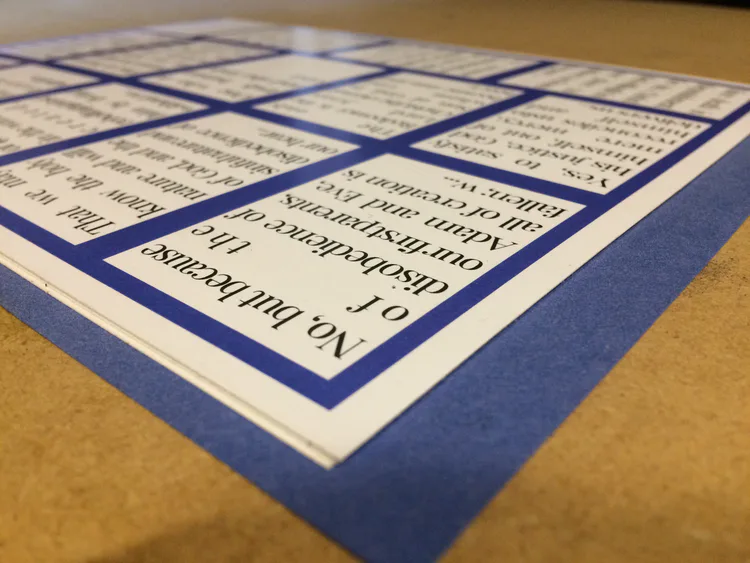
Remember, these are not normal playing cards; they are supposed to be thick and durable. In Hokkaido they even play with wooden cards.
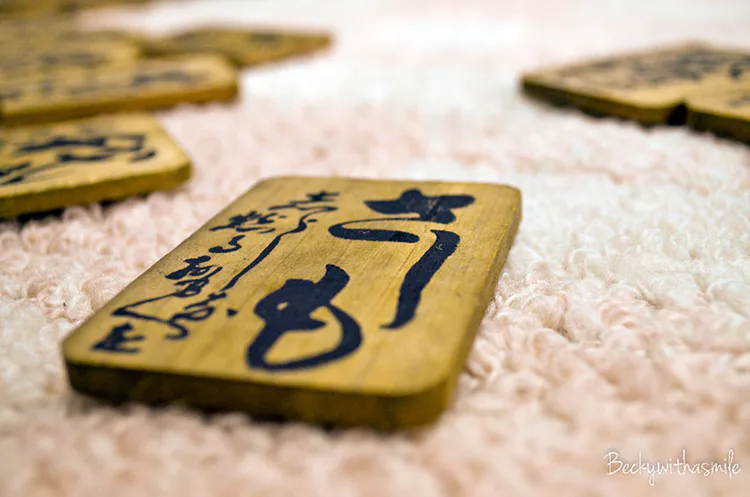
Source: Beckywithasmile
Dry the sheets over night so you won’t lock any moisture inside when you seal them.
Seal the front and back of each card sheet. I did three coats on the front, and four on the rougher back, waiting about thirty minutes between coats.
Cut out the cards. This is the step where you will kick yourself every time you play if you get it wrong. However, since you are not going to be holding the cards in your hand, or shuffling them like normal playing cards, getting every card exactly the same size as every other card isn’t quite as critical.
Cut the corners if you want. You do need a fairly heavy duty cutter, so check the thickness rating before you buy one. The cheapest I could find was $20.
Color the edges of each card. This is really the most labor intensive part of the whole process, but it turns a cool looking card into an epic looking card. Again, I used a marker on some of my cards, and a crayon on the rest. There really wasn’t any noticeable difference in color, but I do like the feel of the waxed edges better than the others.
If you wanted to coat the edges in the sealer of your choice, now would be the time. I didn’t do so, so I can’t give any advice.
You’re done! Now you just need to download the app and start playing! (See my other devlog for detailed instructions on how to play.)






0 comments