


Method:
Starting in the Ruins, the protagonist must repeatedly trigger the random encounters by walking in areas where encounters can occur. This is similar to level-grinding in typical RPG's, which is earning experience points before progressing. Upon fulfilling the kill counter of each area, encounters still occur, but before you can even get to encounter, it refuses to encounter.
You may see the ! bubble turn into a red X. If you see that, that means that you have fulfilled the kill count.
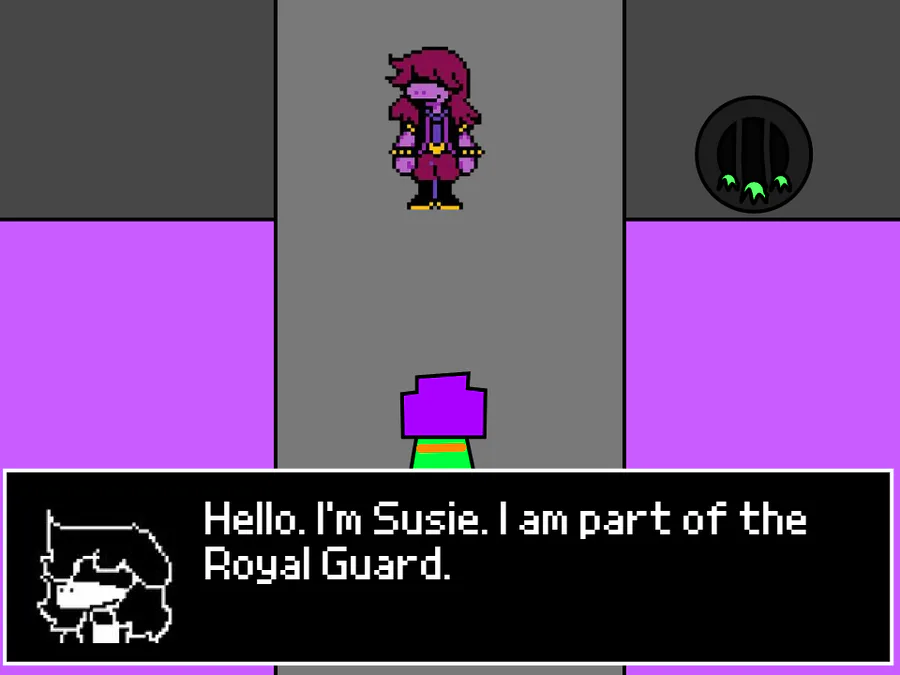
This also applies to Frisk, too, as their sprite changes once you fulfill the Ruins encounter.

The sprite is a reference to Kris' sprite, who's eyes are hidden.
After exiting the Ruins, most overworld tracks are lower in pitch and slower than their Neutral/True Pacifist Route counterparts. Some NPC's no longer appear, and slight alterations occur in some locations, such as most puzzles already being solved.
If the protagonist fails to meet the route's requirements at any point, the route reverts to the Neutral Route. This is signified by the soundtrack being unaltered, and NPC's appearing in the region where the protagonist aborted the Genocide Route. Once the Genocide Route is aborted, it cannot be returned to without reloading the SAVE before it was aborted, or resetting entirely.
Frisk's sprites also changes too, if you aborted it at the Hotland/CORE parts (if you are a lazy fuck who can't kill 40 enemies at once.)

This sprite is a reference to the Clover sprites you see when you abort the Genocide Route in Undertale Yellow (I do not know if it's the end, I can't find the sprite.)
Requirements:
The kill counter must be exhausted before approaching the boss encounter at the end of each region.
As the protagonist grinds out the kill counter for each area, the random encounters become increasingly easier to harder to find.
After exiting the Ruins, the kill counter becomes visible at SAVE Points, which is indicated by red text (possibly Chara telling you how many left.)
The protagonist can also spare any number of random encounters, with exceptions listed in the below chart. Sparing certain monsters allows the protagonist to avoid monsters such as the high-defense Jerry (0 ATK 30 DEF/1 ATK 8 DEF). The protagonist can also spare certain monsters so that they can kill monsters that offer more EXP and GOLD, such as Glyde (100 EXP 140 GOLD).
Once the protagonist fulfills the requirement, the SAVE Points display this message:
"You are filled with determination".
Failing to meet the requirements results in this message instead:
"What have you done?"
You still need to kill 20 monsters in the Ruins before Proceeding to Toriel, 16 monsters in Snowdin Forest before Proceeding to Snowdrake, Doggo, Dogamy, Dogaressa, Greater Dog and Papyrus, 18 monsters in Waterfall before Proceeding to Shyren, Glad Dummy and Undyne the Undying, 40 monsters (if you're lazy, don't.) in Hotland and CORE before Proceeding to RG 01, 02, 03 and 04, Muffet and Mettaton NEO and none in New Home before Proceeding to Sans.
Failing any of the requirements aborts the route.
Differences:
Ruins:
Before meeting requirements:
The Vegetoid's disappear after 12 monsters die.
The Froggit's disappear after 17 monsters die.
Napstablook disappears after 17 monsters die.
After meeting requirements:
If the protagonist exhausts the kill counter before encountering Napstablook, they vanish when the protagonist approaches them, skipping the fight with them.
In Toriel's Home, checking the cupboard in the kitchen prompts the flavor text:

.
Inspecting the mirror displays the flavor text:

.
When facing Toriel at the exit of the Ruins, the protagonist kills her with a single attack regardless of how well the attack is executed.
Upon attempting to talk to Toriel, the text says:

After killing Toriel, Flowey appears in the next chamber and identifies the protagonist as the fallen human. If he was killed on a previous Neutral Route, he doesn't show up.
Snowdin:
Before meeting requirements:
When encountering Sans, he is confused by the protagonist's lack of reaction to his joke. He then attempts to hide them behind the conveniently-shaped lamp, but they ignore him. When Papyrus arrives, he immediately leaves after Sans tells him he found a human, oblivious to the protagonist. Sans then tells the protagonist that they should continue "pretending" to be a human.
Snowy is played at 0.4x instead of 0.95x speed.
The SAVE Points begin counting down how many monsters the protagonist has left to kill before the route can progress. For example, 16 left.
When Papyrus finally notices the protagonist, he initially fails to recognize them as a human. The BGM slows down and becomes lower in pitch when this happens.
Doggo shivers when the protagonist approaches him.
The protagonist can take three Snowman Pieces from the Snowman until they become a "useless pile of snow."
The snowdecahedron is a snowball.
The protagonist ignores all of Papyrus' puzzles, and some of them appear to have been preemptively solved by Flowey.
If the protagonist kills Greater Dog, has yet to kill Snowdrake and the kill counter has not been exhausted, every SAVE Point reads:

until he is killed.
If Snowdrake is not killed before the kill counter is exhausted, the SAVE Point text changes to:

and the route is aborted.
After meeting requirements:
The ball at the Ball Game disappears. Checking the hole says: There's a hole here.
All the Snowdin Town NPC's evacuate, except for Monster Kid, Noelle Holiday, Rudolph Holiday, Carol Holiday and December Holiday (because the Holiday's believe the evacuation is false.)
Shop is played at 0.2x instead of 0.925x speed.
Snowdin Town is played at 0.25x speed.
The protagonist can no longer sleep at the Inn.
Inspecting the Christmas tree at the center of town displays the message: There is nothing for you.
Inspecting the unfinished book in the Snowdin Library displays the message: Some unfinished book.
The Innkeeper's Child is replaced with a very realistic looking decoy of the child.
Due to QC's absence, the protagonist can steal all of her wares and 195G from the counter. Inspecting the note on the counter displays the message: Please don't hurt my family.
Due to the Punk Hamster's absence, the protagonist can climb onto the counter at Grillby's.
Papyrus tries to convince the protagonist to be a good person and immediately offers to spare them. Even after being killed, he still believes that the protagonist can do better.
During the confrontation with Papyrus, Bonetrousle plays at 0.2x speed.
Papyrus' usual Check description is replaced with:

Waterfall:
Before meeting requirements:
Starting in Waterfall, encounters are marked by a smiley face above the protagonist's head as opposed to an exclamation point.
Like with Snowdin, most of the BGM is slowed down.
Waterfall is played at 0.13x speed.
Quiet Water is played at 0.5x instead of 0.9x speed.
Shop is playing at 0.2x instead of 0.925x speed in Gerson's shop. (Alvin's running the shop now.)
Temmie Village and Tem Shop are played at 0.5x speed.
Like with Snowdin, most of the puzzles are already completed.
Rocks are not falling down the waterfall in the rock puzzle room.
The Bridge Seeds are already aligned.
The northern wall in the Wishing Room is already open.
All of the NPCs are absent, except Monster Kid and Alvin.
The Small Bird still appears on the opposite side of the gap when the protagonist enters from the left side. However, it flies away after reaching the Garbage Dump.
The Echo Flowers are strangely silent.
Due to the absence of the Ferry and the Small Bird, the protagonist cannot return to Snowdin or any earlier point in Waterfall until Undyne is slain.
Onionsan does not appear.
When Monster Kid offers to help the protagonist reach the ledge, the protagonist climbs on to Monster Kid's shoulders roughly.
The protagonist's actions upset the Mad Dummy so much that it causes them to become corporeal, turning them into the Glad Dummy. Since the protagonist helped the Mad Dummy become corporeal, they immediately offer to spare them. The dummy must be killed in order for the route to progress.
Neither Napstablook nor the snails show up in Blook Acres, meaning that the game of Thundersnail cannot be played.
The "Ghouliday", "Spookwave" and "Spooktune" CDs do not appear in Napstablook's home.
Alvin is running Gerson's shop.
Temmie Village is fully empty.
If the kill counter has not been exhausted by the time the pathway to the bridge (room_water19) is reached, a message reading:

appears between the second and third Echo Flowers.
After meeting requirements:
An additional, unnamed SAVE Point appears in the room before the bridge and disappears after the bridge sequence.
On the bridge, Monster Kid confronts the protagonist, saying that Undyne told them the protagonist had done bad things, and tells the protagonist that they began to see the truth in her words. They try to fight the protagonist; when the latter retaliates, Undyne jumps in and takes the fatal hit. Instead of dying, however, she recovers and undies.
After Undyne the Undying is defeated, she dies with a smile, aware that Alphys is evacuating the monsters ahead of the protagonist and has told Asgore to absorb the Light Blue, Orange, Blue, Purple, Green and Yellow SOUL's he has collected.
Hotland and CORE:
Before meeting requirements:
Alphys is absent from her Lab. Instead, Mettaton acknowledges the protagonist's malice and flees.
Like with Snowdin and Waterfall, most of the BGM is slowed down.
Like with Snowdin and Waterfall, most of the puzzles are deactivated.
All NPCs are absent.
The Royal Guards are encountered much earlier, at the three steam vents before the entrance to Mettaton's cooking show set, and they attempt to avenge Undyne. They can both be killed in one hit. Killing them is required to continue the route.
Checking either of the Royal Guards during the battle yields the text:


(Yeesh, Chara.)
Mettaton's quiz show, cooking show, news report, and musical performance do not occur.
The elevator in Hotland can access every floor except for R3 from the start. However, you may not go to L1, L2 and R2.
Muffet does not show up for her bake sale. It is still possible to buy from the bake sale, but this does not prevent the fight with Muffet. Before she is fought, she does not consider the protagonist to be fit to eat but attempts to dispose of them regardless.
The Muffet fight still takes place Hyperlink blocked.
All MTT Resort NPCs are absent. That also includes Spamton too, because they're a FUN Event now.
Inspecting the plants in the MTT Resort reveals that it's judging you for your sins.
A Dimesional Box appears in the lobby of the MTT Resort.
The elevator in the CORE is functional from the start and can be used to bypass the rest of the CORE.
The monsters that ambush the protagonist Hyperlink blocked.
After meeting requirements:
Once the Royal Guards and Muffet are killed and the kill counter has been exhausted, you cannot abort this route anymore. What's done is done.
The encounter with Mettaton at the end of the CORE has the protagonist face off against Mettaton NEO. Mettaton NEO does not die in a single hit, because Alphys figured out how to make them not die in a single hit. Once you deplete their HP, your LOVE is set to 19. 99999999999999999999999999999999999999999999999999999999999999999999999999999999999999999999999999999999999999999999999999999999999999999999999999999999999999999999999999999999999999999999999999999999999999999999999999999999999
New Home:
Undertale.
A Dimensional Box appears in front of Asgore's Home and in the Last Corridor.
The present box in Asgore's Home that otherwise contains the Worn Dagger now contains the Real Knife. Equipping it prompts the text:

.
The present box in Asgore's Home that otherwise contains the Heart Locket now contains The Locket. Equipping it prompts the text:

.
Inspecting various objects throughout Asgore's Home yields unique descriptions.
Padlocks, first time, if no keys are used:

Padlocks, otherwise:

Padlocks, while unlocking:

Closet:

Left bed:

Right bed:

Drawing of a Golden Flower:

Bookshelves/Asgore's closet:

Asgore's dresser:

Photograph:

Refrigerator:

Kitchen note:

Journal:

Stovetop:

Mirror:

Calendar:

While walking through Asgore's Home, Flowey talks to the protagonist. His monologue replaces the story of Asriel and the fallen human on the Neutral Route.
Unlike in other encounters and like the encounters in New Home in the Neutral Route, the fallen human's name does not appear during the encounters with Flowey.
Flowey tells the protagonist about his life ever since he was a flower, his own ability to SAVE, and why the protagonist started killing.
He seems to break the fourth wall, insulting "those sickos that stand around and WATCH it happen" for not pursuing the route themselves.
Flowey reiterates his "kill or be killed" mentality, saying that he and the protagonist would not hesitate to kill each other if the need arises. However, Flowey finally realizes in horror that he is not above this, and that the protagonist would eventually kill him as well if given the chance. After the protagonist appears to aggressively approach him, Flowey flees. The BGM changes to a 5x slower, low-pitched version of Your Best Friend when this event occurs.
In the Last Corridor, Sans judges the protagonist, and warns them that they will "have a bad time" should they step closer. When the protagonist ignores his warning, Sans puts up a difficult battle.
Sans' death automatically sets the protagonist's LV to 20.
Within' the basement, inspecting the red coffin has the narrator state:

.
Within' the Throne Room, Asgore mentions having never seen a flower cry (referring to Flowey's attempts to warn Asgore of the protagonist). The protagonist then Proceeds to attack Asgore, killing him in one hit. Flowey finishes Asgore off, and then, with his face and voice changing to Asriel's, he begs the protagonist not to kill him. Pressing any of the action buttons prompts the protagonist to kill Flowey in eight hits.
throne room.


0 comments