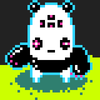
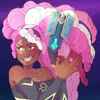
For this post, I wanted to show you one of my favourite characters, Skye and guide you through the creative and production process, from the idea to implementation. Let’s start.
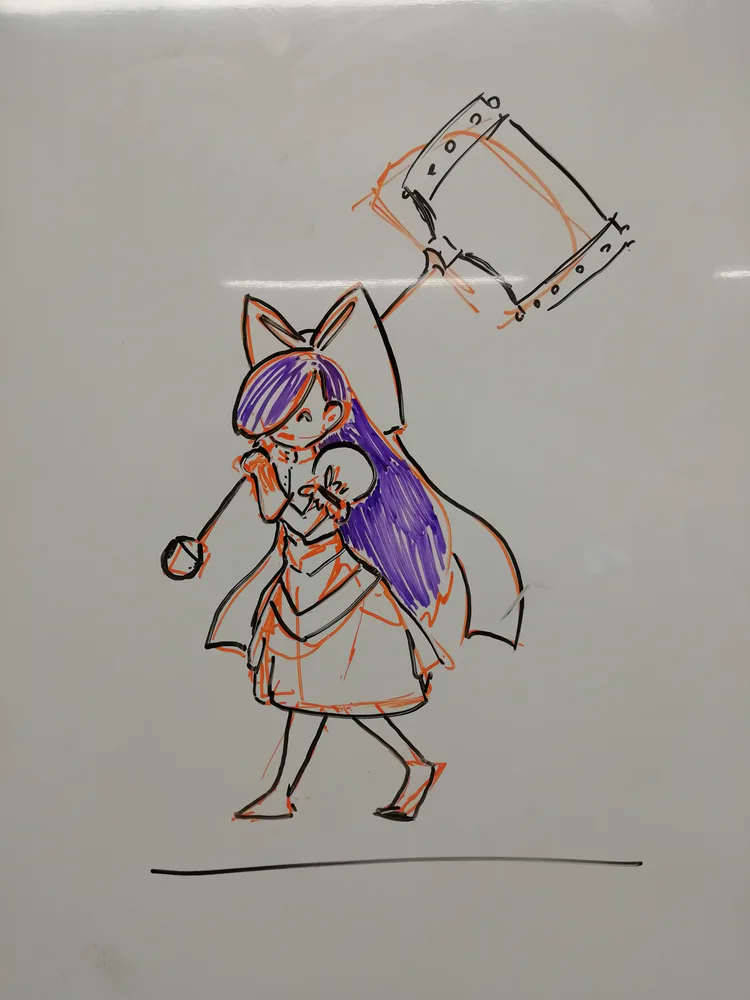
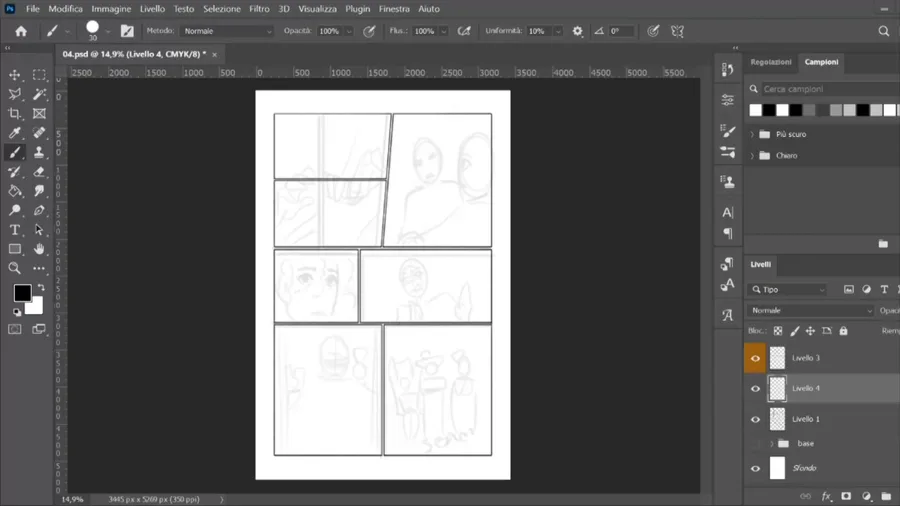
Every idea starts in the same way, on a white canvas. It can be a piece of paper, of a new page of Illustrator. In this case, we draw our sketches on a whiteboard.
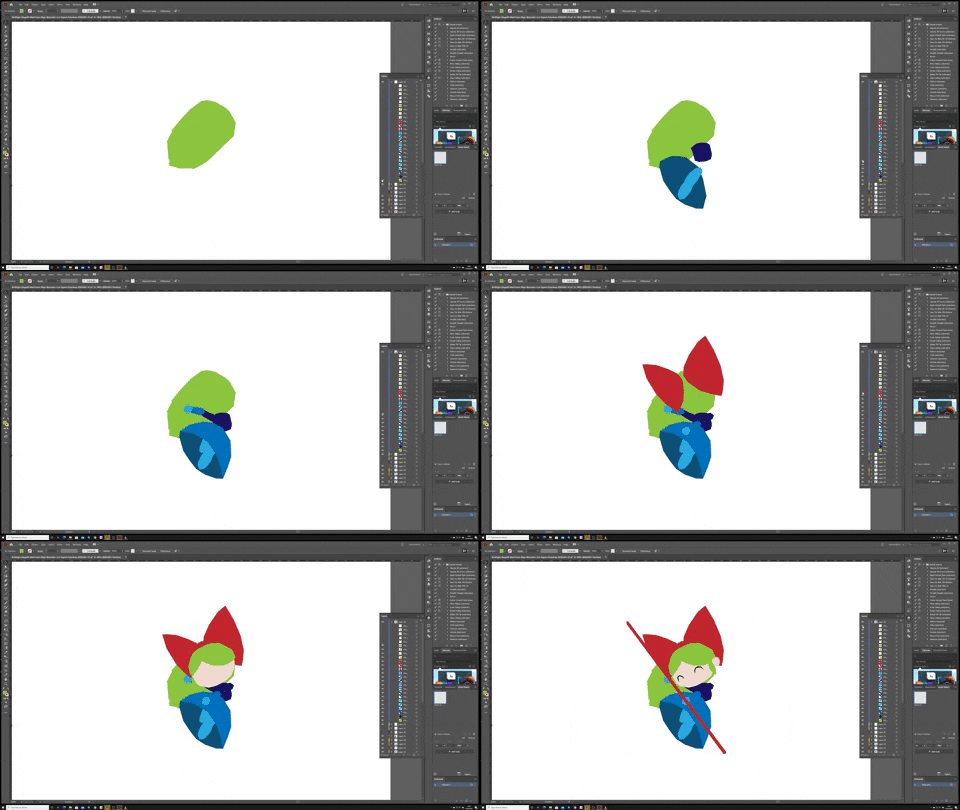
Once the design is accepted, we move to Illustrator, where we start creating the shape of the character in a pose. When we are happy with the silhouette, we start adding all the little details.
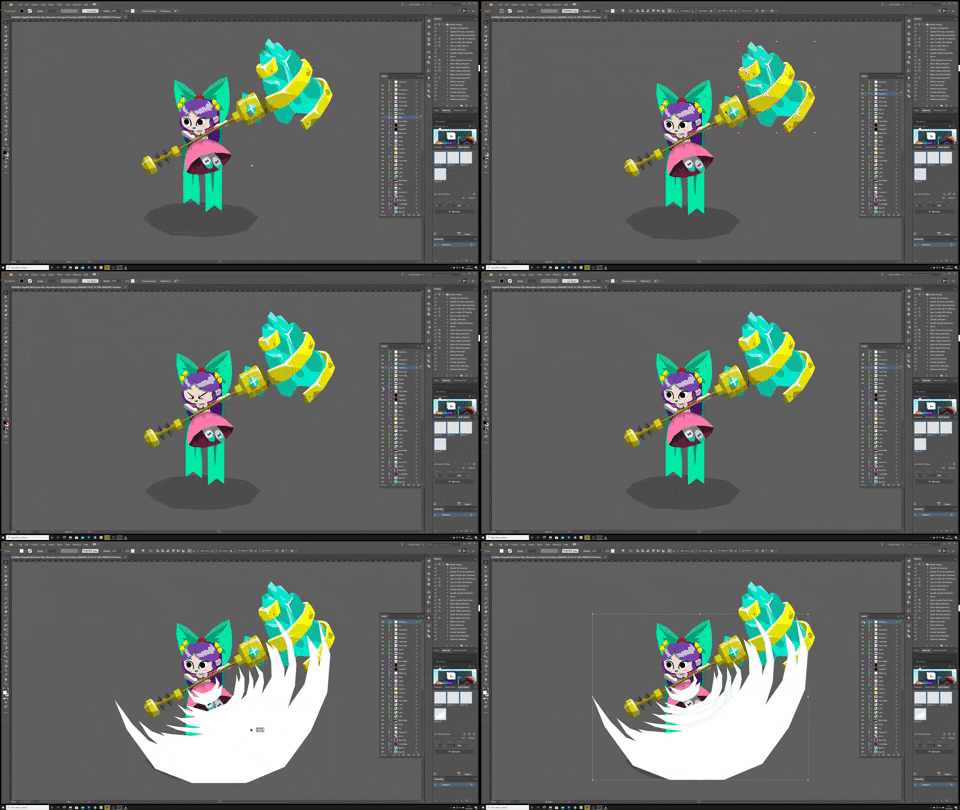
When the character is complete, we start with the “cut” phase, in which we take every piece of the character that we want to animate and we separate them into individual layers.
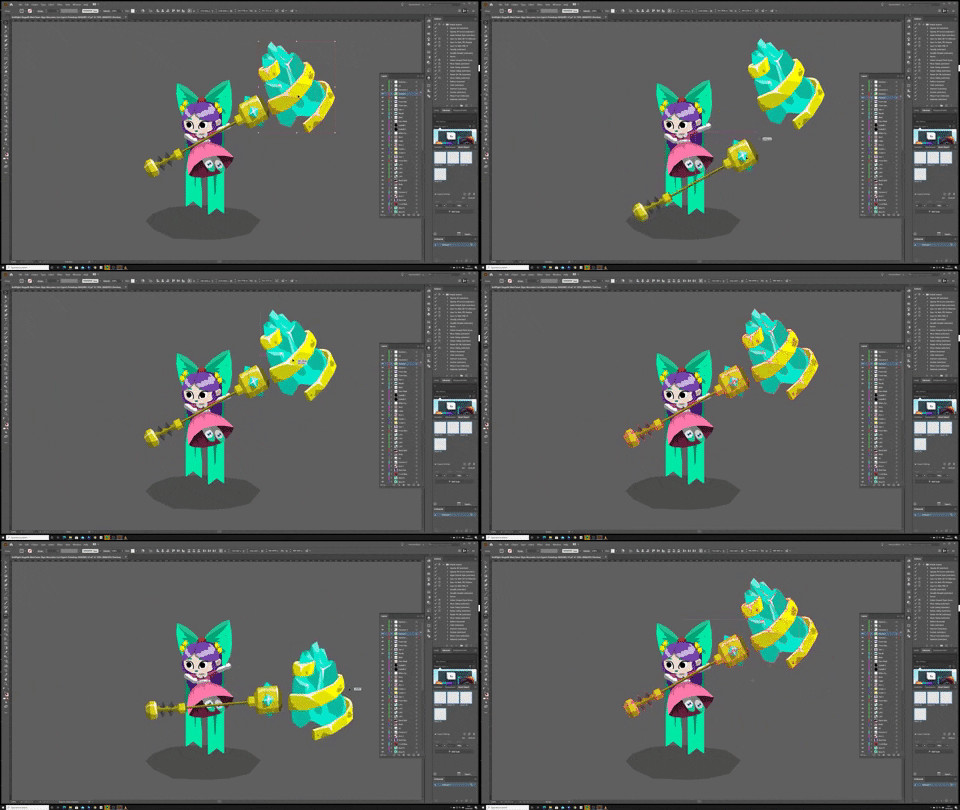
To have a perfect cut, the Animator and the Illustrator must communicate with each other, to make sure that we adapt the design to the needs of the Animator.
Let’s start animating! The first part is always the same, rigging. We have to make sure that the character moves precisely, so it will be easier to create the key poses for the animations.
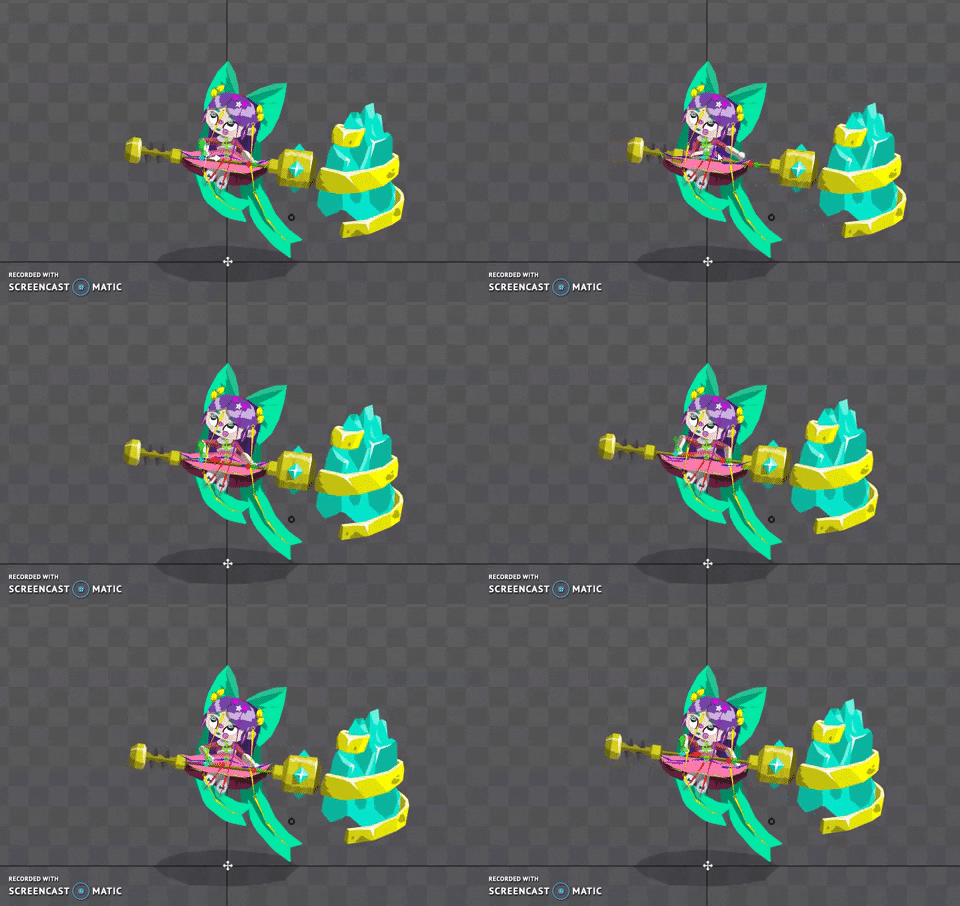
We use Spine for all the 2D animations in the game.
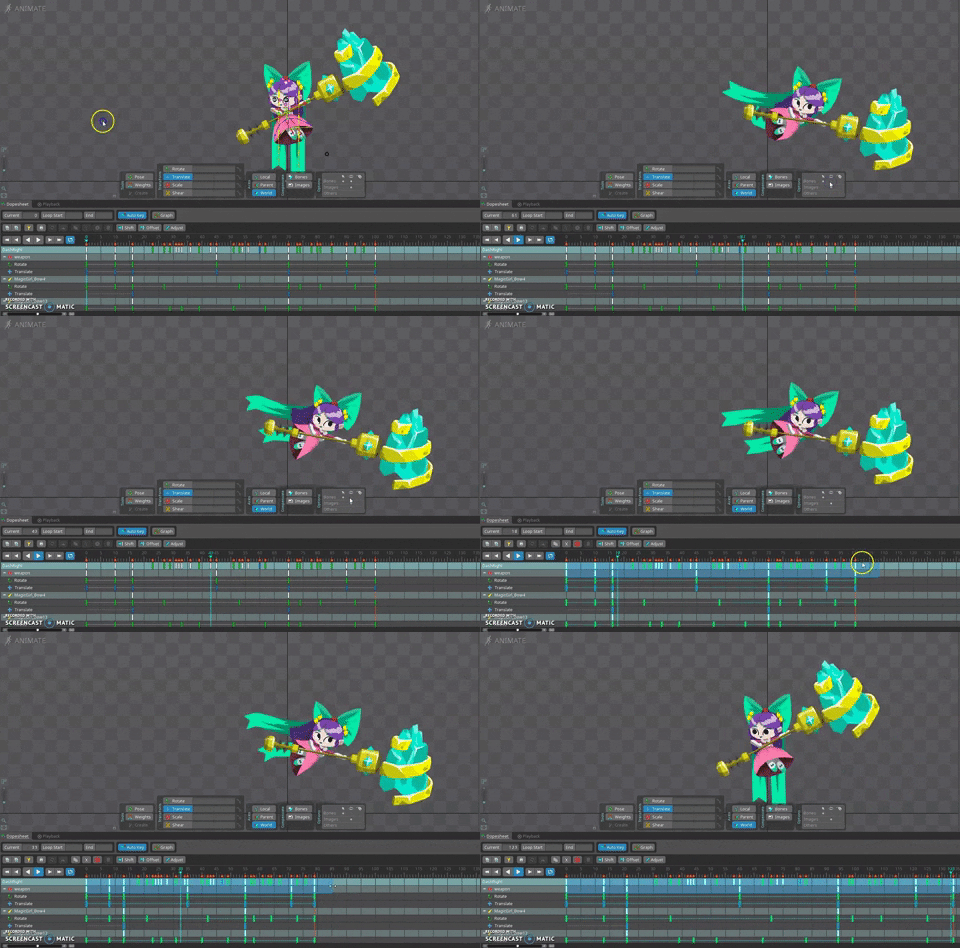
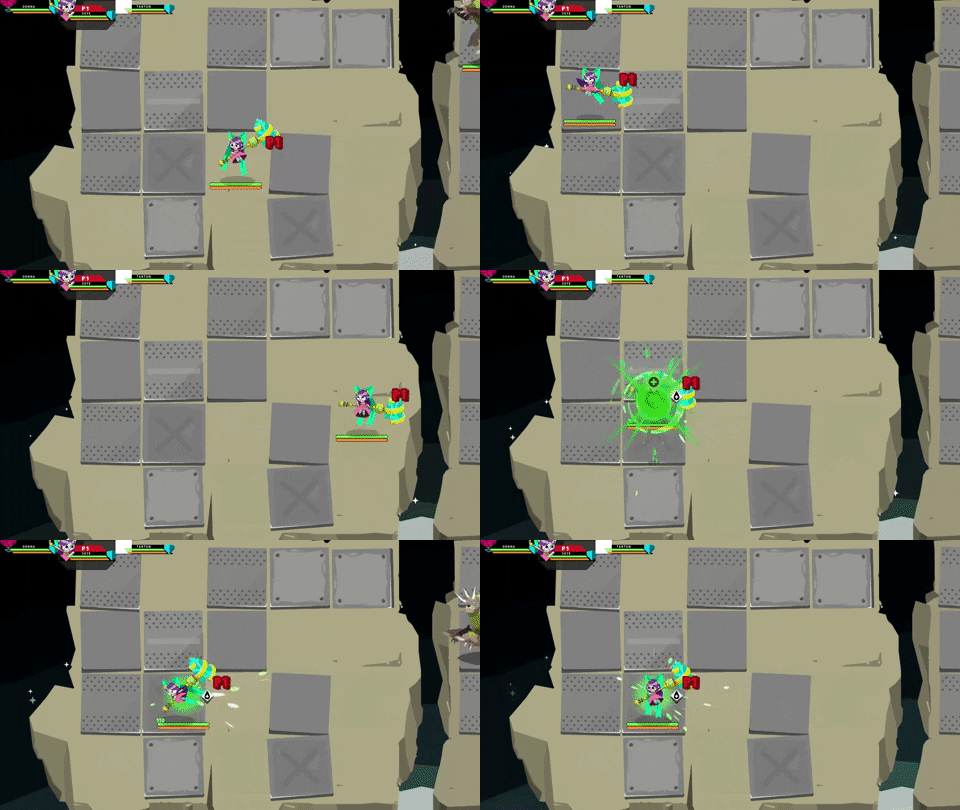
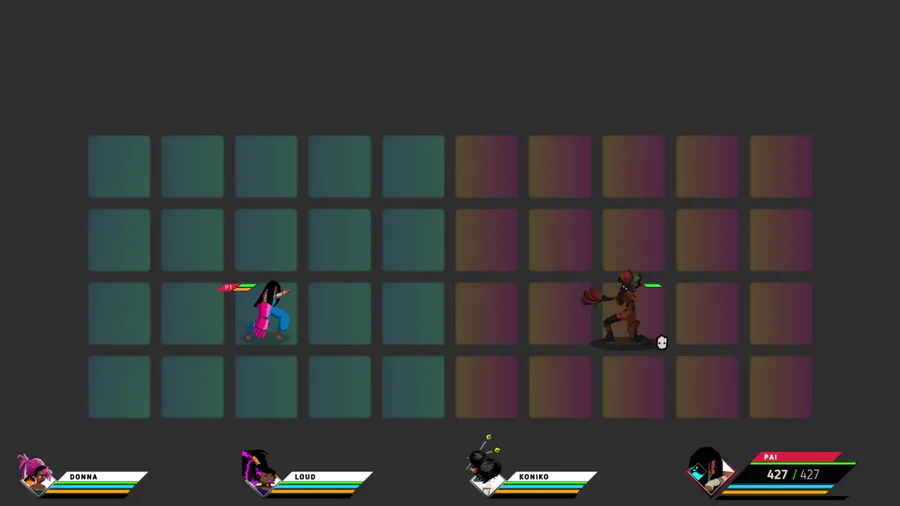
When we are happy with the animations, we import the character into unity and we do a quick test on a testing scene to check if the movements are correct and responsive. Many times we will have to make little adjustments until we find what we like.
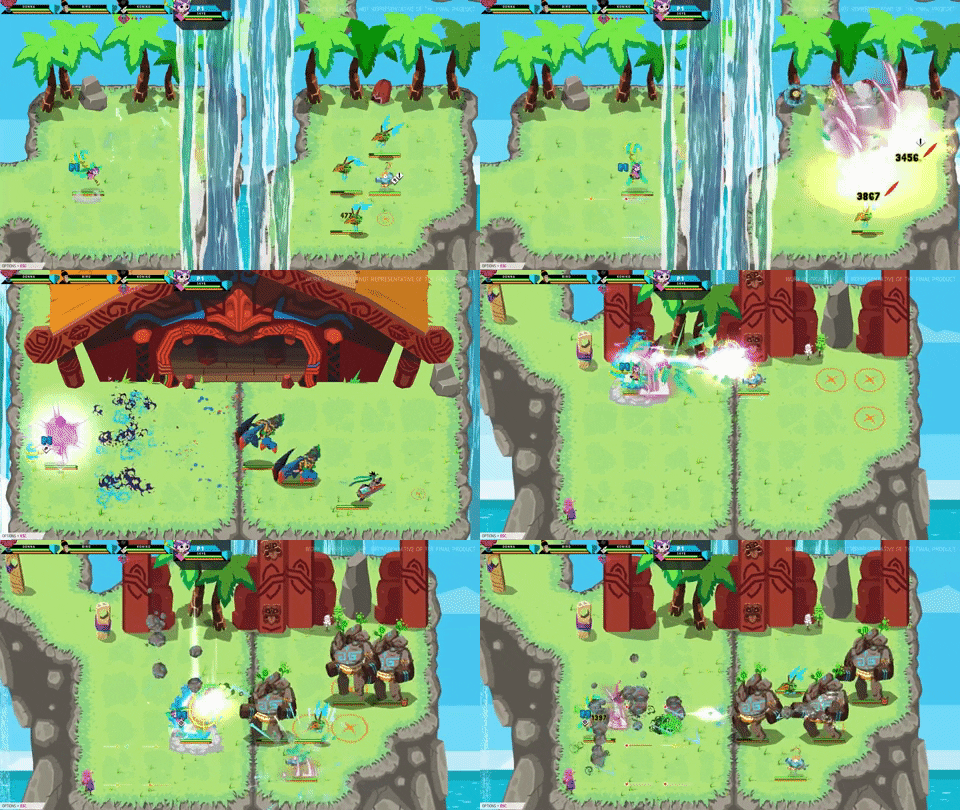
At this point, the character goes in the hands of our VFX artist, who will create the particles for the bullets, cast (muzzle flash) and impact.
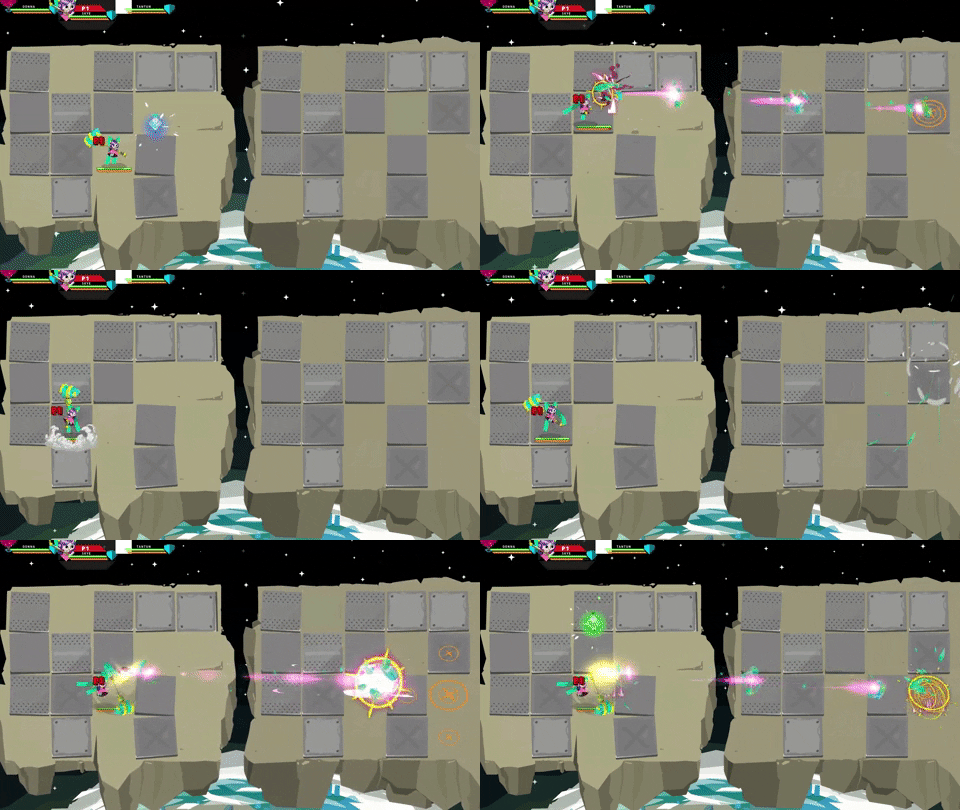
And after some tweaking... Et voila, a new character is born! I hope you enjoyed this behind the scenes. Leave a comment if you’d like to see more of it!
1 comment