So I received a question in our discord channel (shameless plug) about how I go about making sprites for Underhero, so I decided to make a blog post about it.
And in the spirit of Halloween, I’ll use the evil King of Darkness himself; Mr. Stitches as an example :)
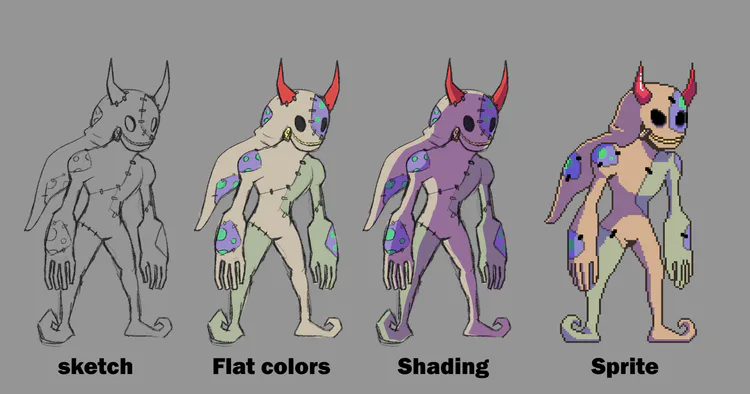
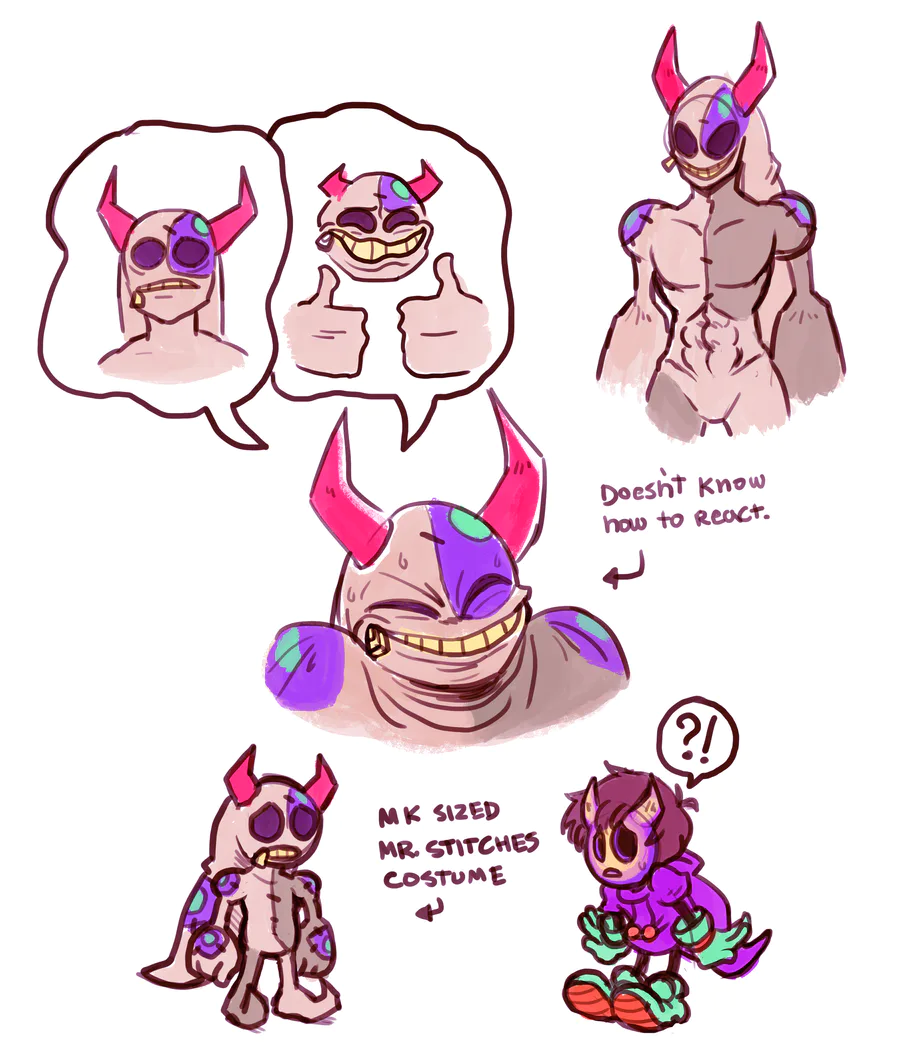
1- To begin with, I always start making sketches of what I want to do. It helps me visualize, test and plan what I’ll be doing with any given character or prop.
Simpler sprites don’t require me to sketch it, I just pixel from the start in those cases.
2- After having a design I’m satisfied with I usually start making color tests, some other times I color when making the actual sprites. Depends on the complexity of a sprite and my mood at the time.
3- In the case of Mr. Stitches I decided to use a different layer for shading, I used a dark blue with multiply at 50% opacity.
4- And finally, I shrink down the drawing to match the sprite size of the game (usually using the Masked kid sprite as a size example) and start adding pixels! I usually start with the outline of the sprite, then colors and finally shading (just like the original drawing with multiply layer).
For this sprite in particular I had to ignore many details the original sketch had to alleviate the pain of animating later (it didn’t help that much, I still suffered).
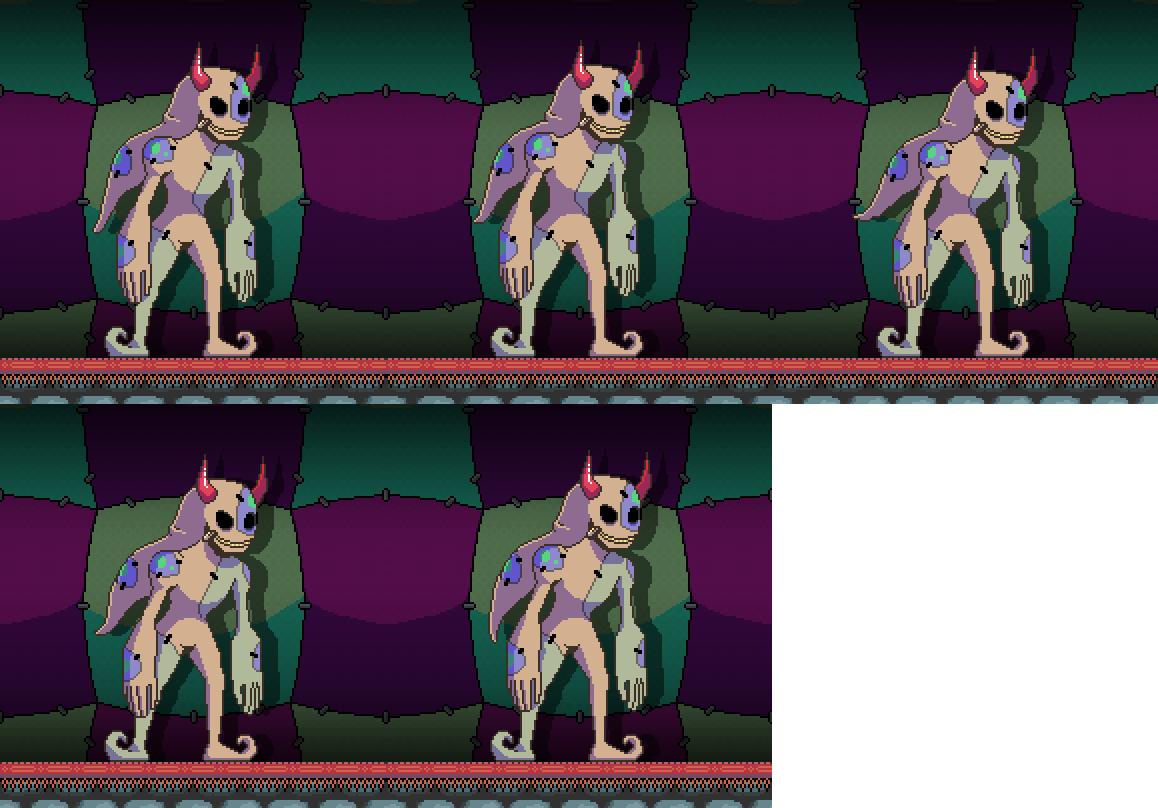
Now comes animation!
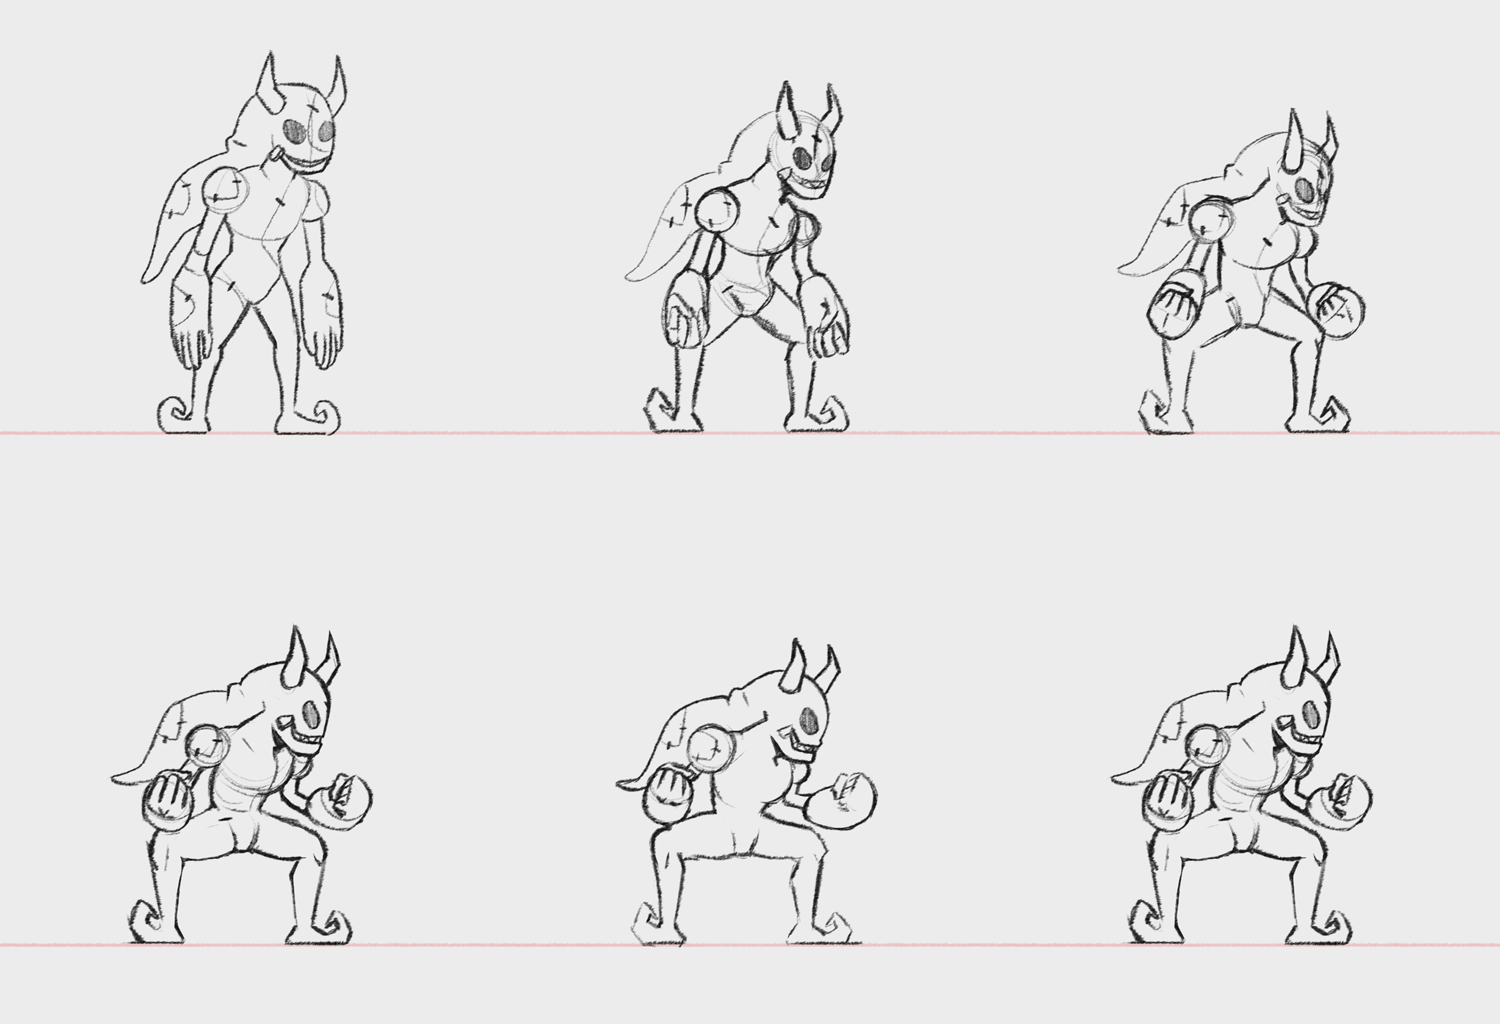
As you can see, I did a rough version of what I wanted for that particular animation. It ended up being 5 individual frames.
And that means… you guessed it! More work.
Time to shrink it, add outlines, colors and shading, we end up with something like this:
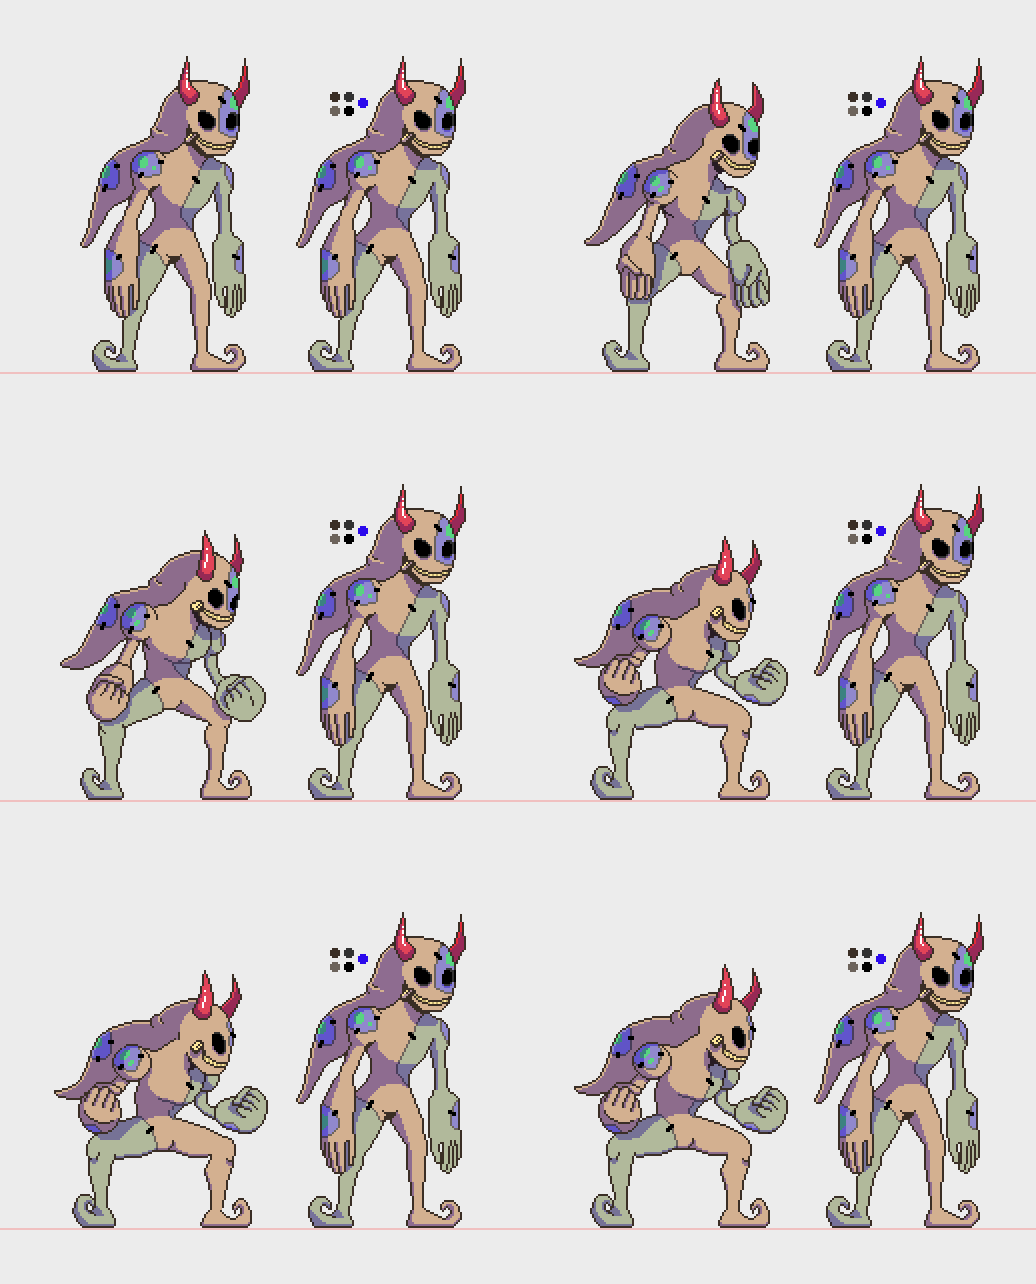
And that’s about it! Obviously this is just one way of doing it, I’m not saying is the correct way but it is the process I used for this particular character since he is very complex.
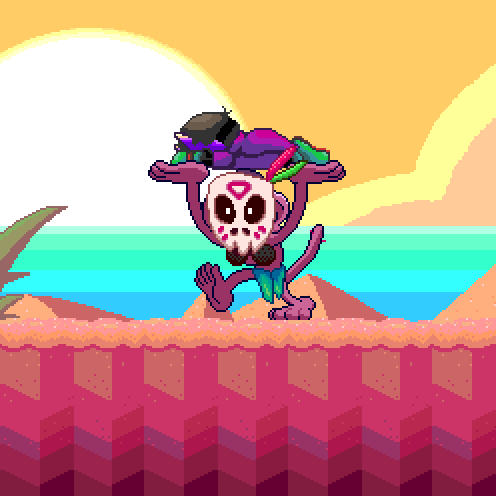
Simpler characters don’t require me to sketch that much for example, I can just animate the sprites directly:
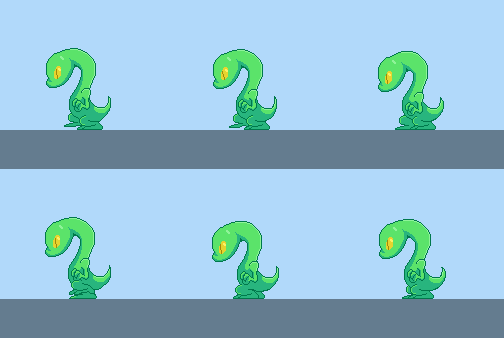
And that’s it for today! Thank you for reading.
Oh… by the by.
Did you find the secret treats in the Underhero Demo?
No?
Oh…



11 comments