Now that we have a new demo that we hope that you are all enjoying, we wanted to write about how our development process works, giving you a bit of an insight into our level design!
This way you can see the early stages of the game and compare it to the more up-to-date version that you can play in our demo, or that you see in some of our game videos!
From Concept to Creation
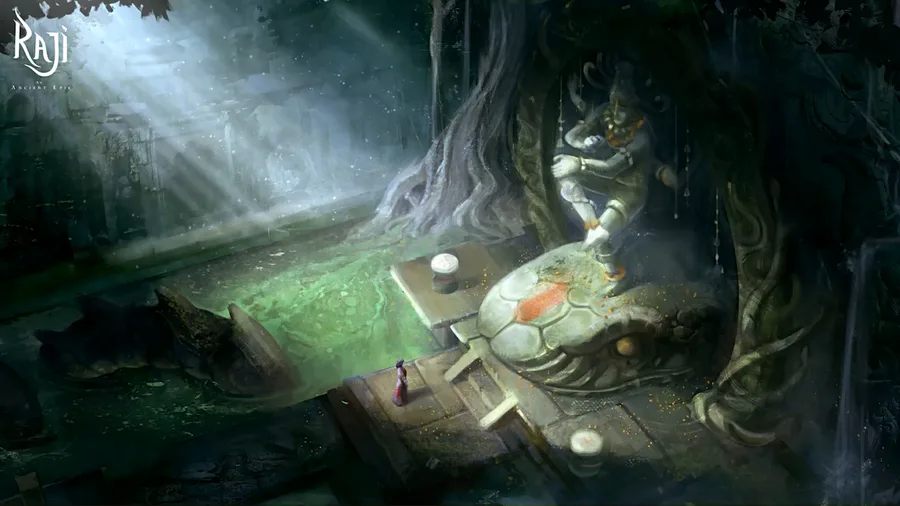
The best place to start is by looking at how an idea develops, hence the 'from concept to creation' title! Like many other developers, we start with a concept art (thank you artists) and iterate on it until we are happy with what it looks like.
Once we like what we have, we then put it together in Unreal Engine (the engine that we use) but instead of instantly adding in all of the textures, we create a block out.
What is a Blockout?
When it comes to designing levels, we break the beginning phase into two steps.
Once we have agreed on the basic concept art design, we then create it in our game engine (we use Unreal Engine 4) as a Blockout.
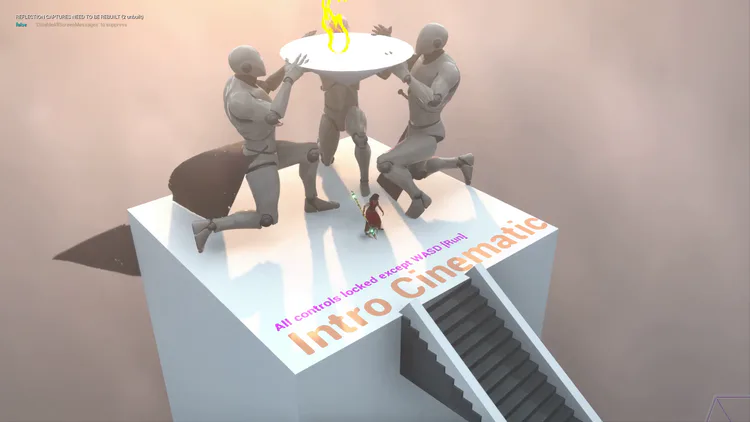
What is a Blockout you ask? The image above is actually a perfect example! It is simply the process of using basic shapes (such as blocks, cubes, spheres, etc) and stock models to create a rough version of the level that you want to have.
With all of the blocks in place, we then refine it to create a playable level, which we then play through so that we can get a good feeling of whether our initial design was good, and just as importantly, where it needs to be improved.
Block to Game
This part is the most fun because it is very visual. Let's have a look at a recorded scene from our blockout stage:
You may notice that the game tends to work quite well, it's just the environment that is heavily work-in-progress. That is because here we are using the blockout phase to test how the level works, there will be some elements of the environment that will be removed and/or changed, and we really do not want to waste the time of our artists. Imagine if you spent a few hours on a texture, just to realize that it was removed entirely - using the blockout helps prevent these situations.
The video above shows you a before and after scene of how this specific part of the level changed from the blockout to the current game version.
And just for your viewing pleasure, here is a more conventional side by side!
So a question to our community and followers, are you fans of using blockouts to test your game? Or do you go straight into it without using this stage? We've heard arguments from both sides and it's always interesting to know more views.






0 comments