Inspired by Dota2 stylised artwork, my mission as a 3dArtist was to create our unique YAARRGH stylised texturing workflow. This workflow has to suit our current resources of 1 & 1/2 staff, so it needs to flow quickly and not hold up production time schedules.

Armed with a Designer stylised filter tutorial and a professional 3dartist email for guidance I set to work over the 2017 Christmas holidays determined to complete the task.
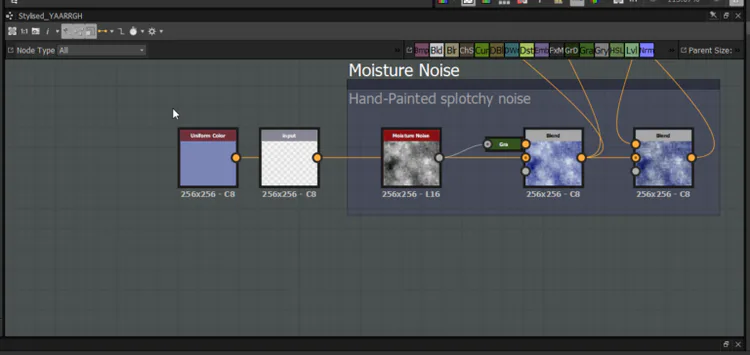
Building new stylised filter within Designer, not sure how this is going to work?
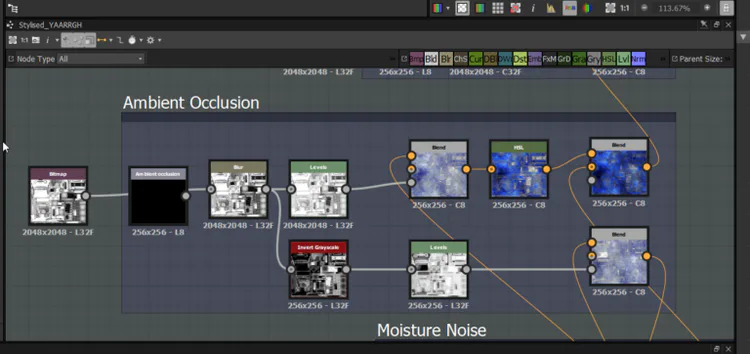
Finally able to control stylised look with specific filter parameters, feeling more confident at this stage.
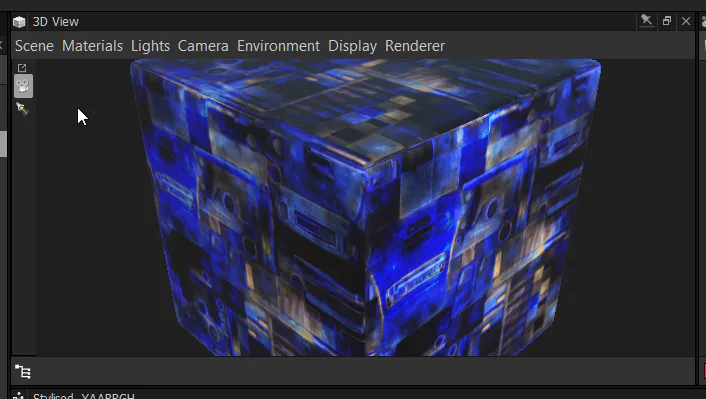
Example of filter results within Designer, very happy at this stage with progress.
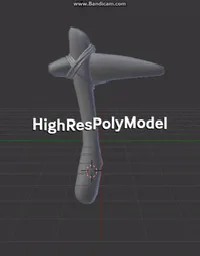
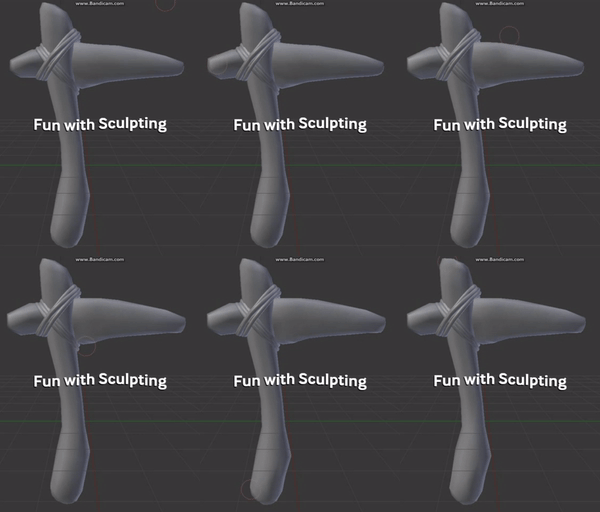
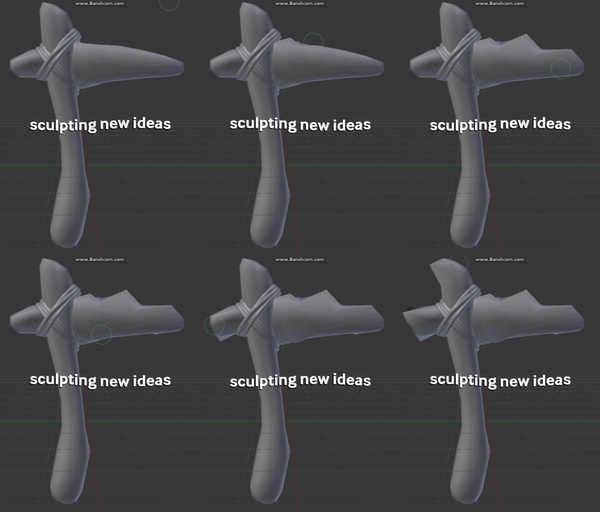
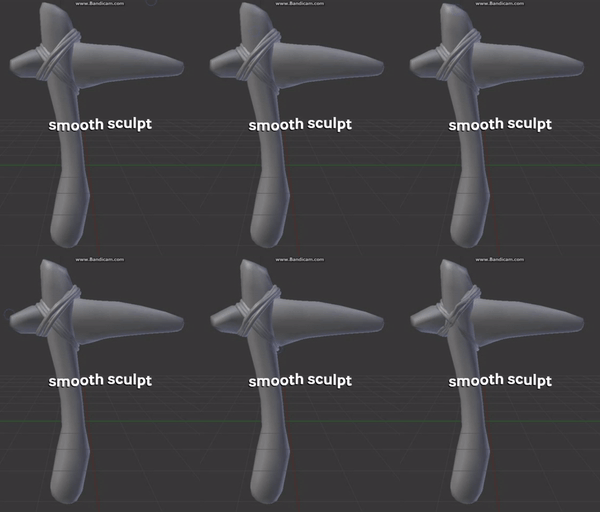
Working with low poly gaming models, i love how we can sculpt into a high poly model and bake out detailed maps for the game, fun times are ahead.
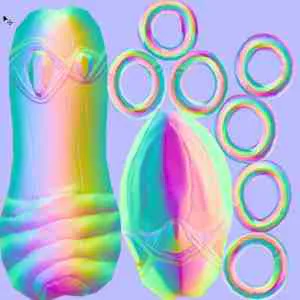
Using the baked world space normals map from each model, i eventually was able to lock in fine details from the sculpted high poly 3D items. (Baking is commonly used to capture detailed surfaces from objects that are otherwise too dense or resource heavy to be used directly in games, film, or other types of visual media)
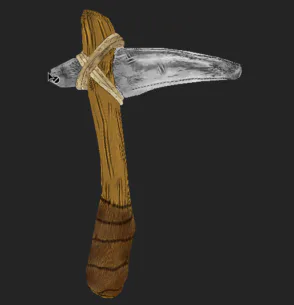
I focus primarily on the digital highres sculpts, so after blocking out a low poly model, I spend alot of my time getting the details in. Then i import into Painter, add base colours and apply our YAARRGH filter. New Stylised artwork ready to export into the game. After hours of trial and many, many errors at the start of this mission, YAARRGH! is now on the path to having Abstract Stylised textures and fresh models, as time goes on i will implement these new items and textures throughout our game. Learning new Stylised skills everyday with this new workflow.
Stay tuned for an awesome new look to YAARRGH!

3 comments