Ah, ClickTeam, the creators of a overly complicated game engine that doubles as a software compiler. They made a software that allows users to create installers for their programs. While I am not against it, I don't think it is the best option for me. When you first install the program, you are greeted with the simple UI.
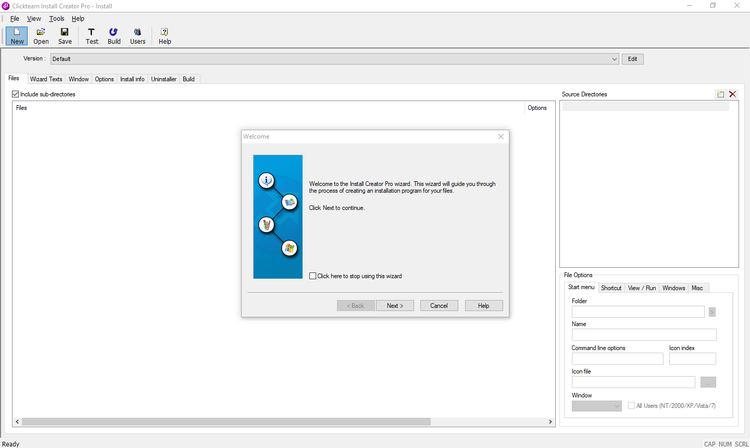
Now, don't get me wrong, it is nice looking, but I haven't even gotten half way through this review yet.
Setup
Upon first launch, you get a Welcome wizard. This wizard helps you make the installation file. First, we get the directory selection. This is where you select the compiled files for your program.
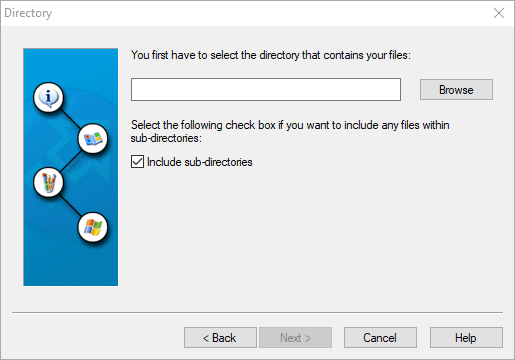
You even get the option for including Sub Directories. After you select the directory, you go to the next part, which is where you choose your language, and the name of your product.
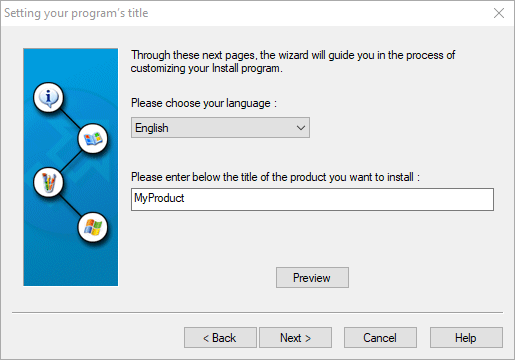
They give you a preview button. This is a feature I haven't seen on any other install creator ever. When you click Preview, you get... well... a preview of your install wizard.
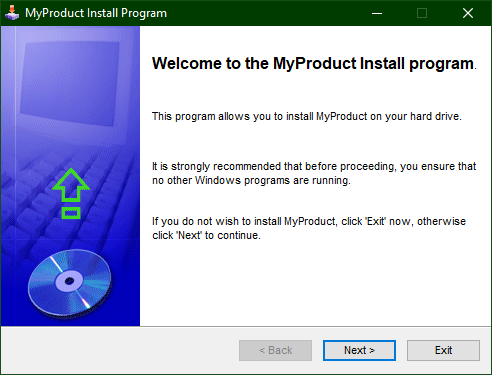
It creates it as a temporary exe, that will be deleted as soon as you close the preview. Now, because the installer isn't done, you don't get to see the whole thing. Most parts of the setup wizard allow you to preview it, so I won't go through most of it.
After that, you get the Version name, along side with product key generation.
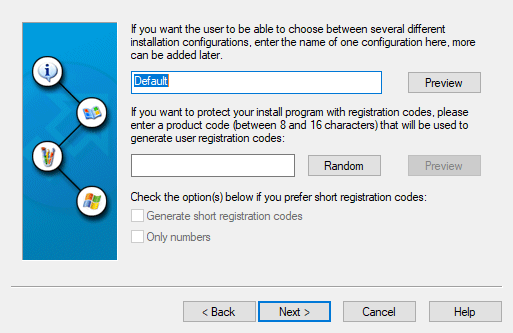
While yes, product key generation is good to have, I think they over simplify it. After creating your version name, and product key, if you want, you get to select your Window format. You get three options:
No Window (quiet install)
Small
Full screen.
Small gives you a window like the preview above, while full screen gives you this:
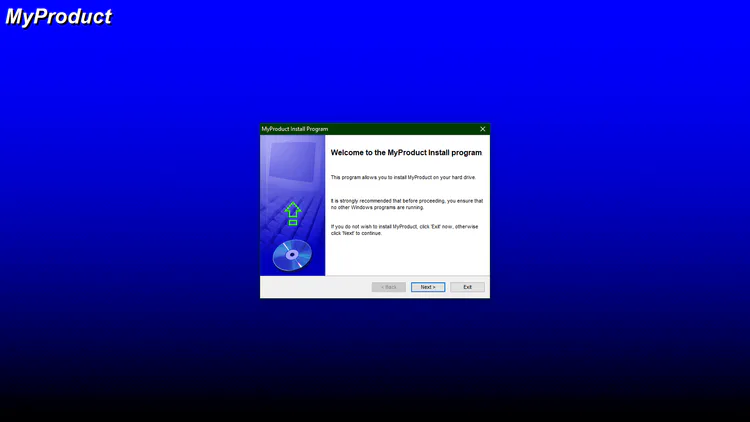
While, yes, you can select this, I don't think you should. I find it intrusive.
A bonus of Install Creator, is you can choose a Wizard Template. You get (again) three options.
Default
Classic - With Bitmap
Classic - Without Bitmap
Personally, I like to looks of the classic one, with the BMP file. It gives me a Windows 98-feel to it.
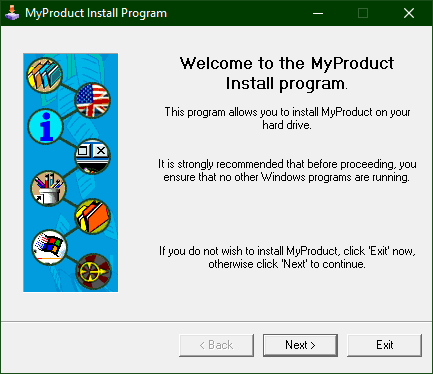
I have always liked the look of "classic" styles.
After you select your style, you get two optional textbox entries. Information, and License.
I don't have any info for the program I am using this test installer for, so I am going to skit it, and for the license, I am just going to say "Do what you want."
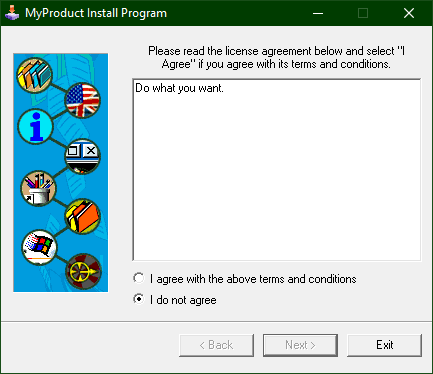
Now that, is a good lookin' license page. After that, you select your installation location. Along side with Registry keys and INI files. I am going to ignore the INI files and Registry keys, I never really understood them with any of the installer creation software.
Once you select your Install location, you are brought to a window where you can create shortcuts.
It isn't filled in by default, but I went ahead and filled in the info that I want.
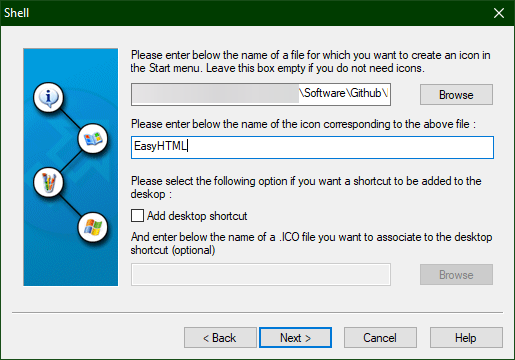
Then you get the end page. You get the Read Me button, and the Run Program check box. I am going to not do this step.
You will get prompted if you want to include an uninstaller, I will leave it checked.
You will then get prompted if you want to make a "other version". This is useful if you want to include a registered and unregistered version of the software in one single packge. I am not going to make another version.
And after all that, you get to finally build you Installer. But because I am not done, I am going to check "Do not build the Install program."
Main Editor
Now comes the real part. The main editor.
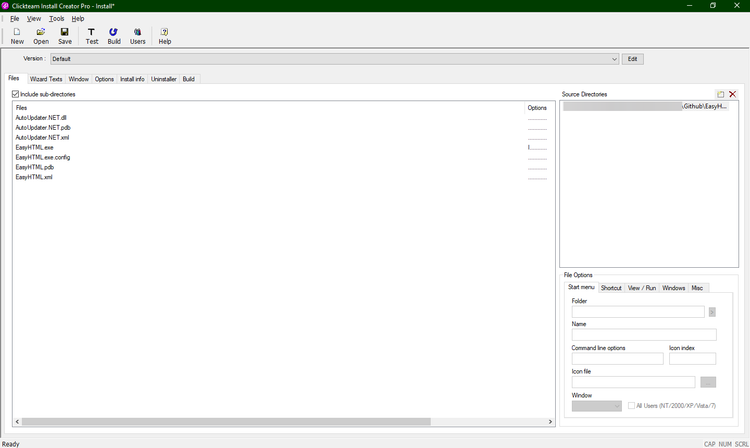
Overall impression? Underwhelming.
From here you can add more source directories if you need to include files from folders not in the main directory, not including sub directories. You may notice the little file options menu down there.
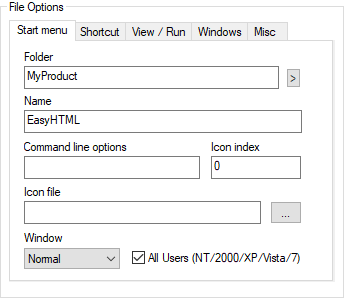
This is where you select what attributes should occur when the installer puts the file on your system.
This is where you can also select extra tasks on the View/Run tab, where you can select what programs should be viewed, or ran, depending on specific conditions.
The misc tab also contains if you want to install the file, or not, uninstall the file or not, etc.
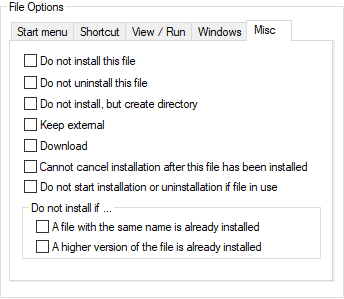
While you change things in the file options, it will give you a visual ID for each thing you select in the file list.

Wizard Text
You can change almost all the text in the installer. But that depends on what you want/need.
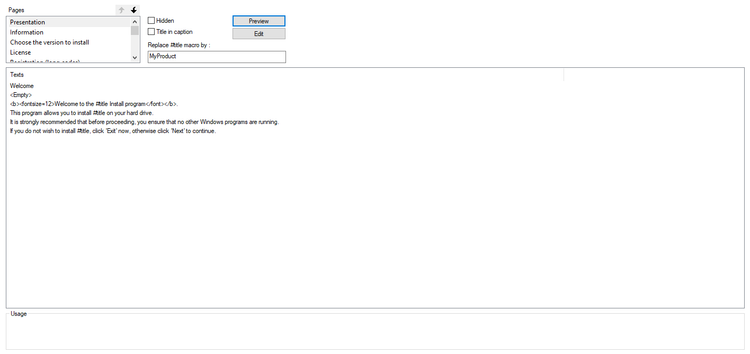
Lets say I want to change the little window title that says "Welcome to the #title Install Program" to "Thanks for downloading #title", it is as simple as changing the text.

And the changes are reflected in the preview.
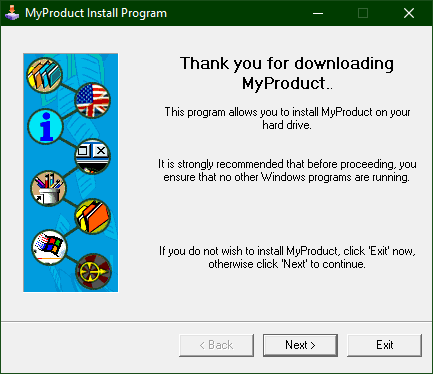
That simple.
I am going to gloss over the Window, Options, and Install Info tabs, as they were setup via the welcome wizard.
Next you get the Uninstaller.
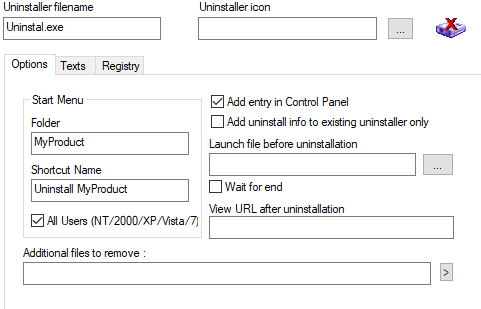
First off, I hate that it is called Uninstal.exe by default. After fixing that problem, you can select the icon, which I am not going to do. Then you get all your basic options.
Before building, you may want to TEST you installer. Install Creator has a feature, where you don't need to install the program to test the installer. Simply, click the test button at the tool bar.
And now you have a functional test installer.
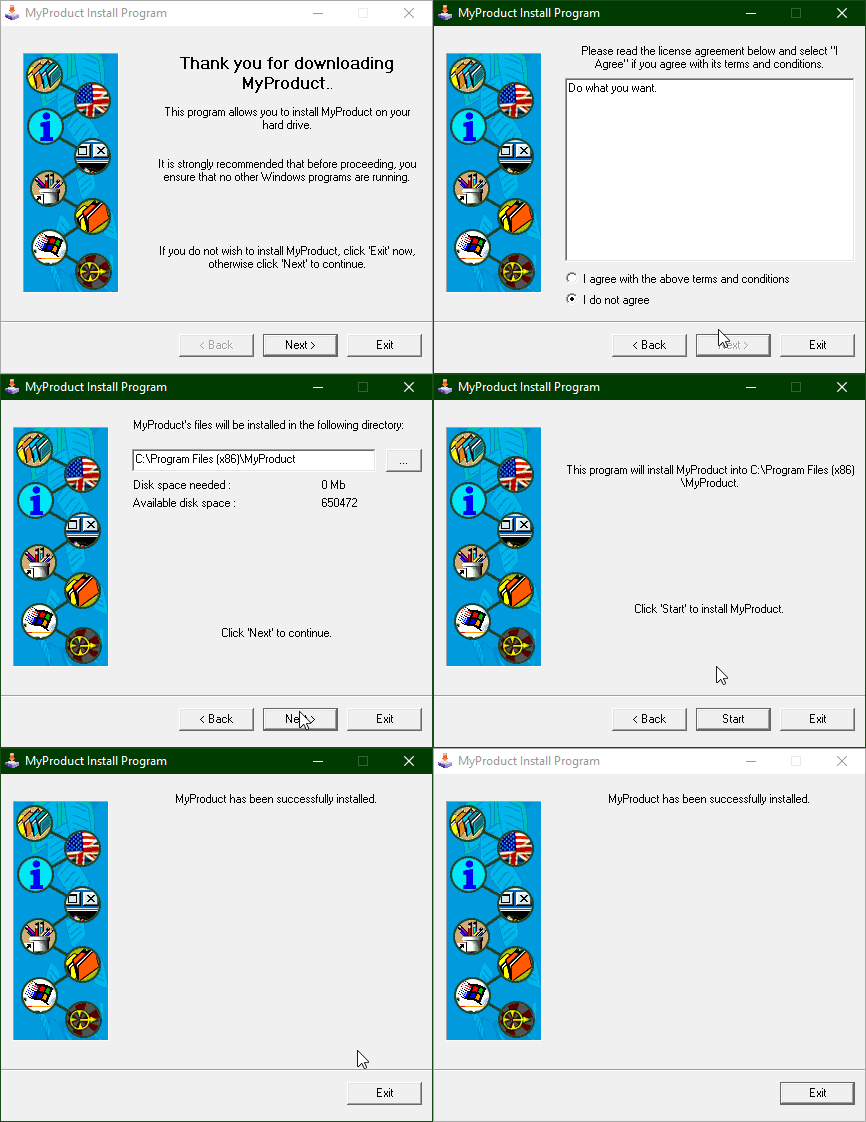
Now, granted it skips the whole install process entirely, but it is still a cool feature. Now let's build the installer.
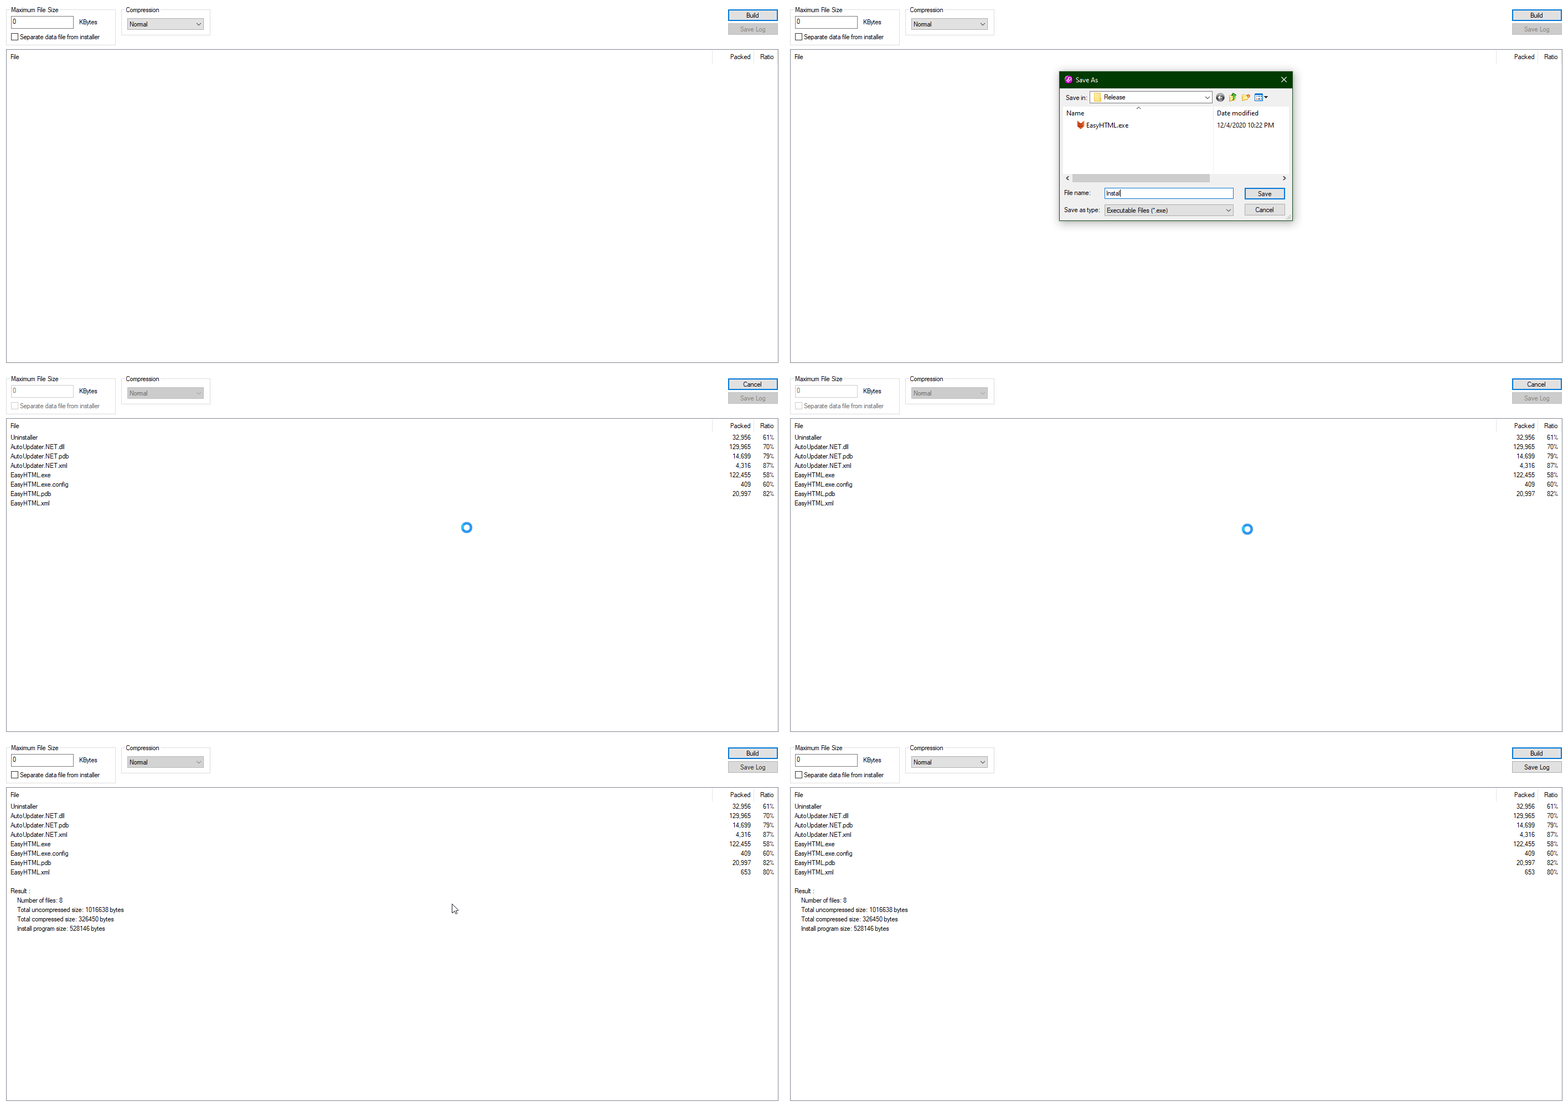
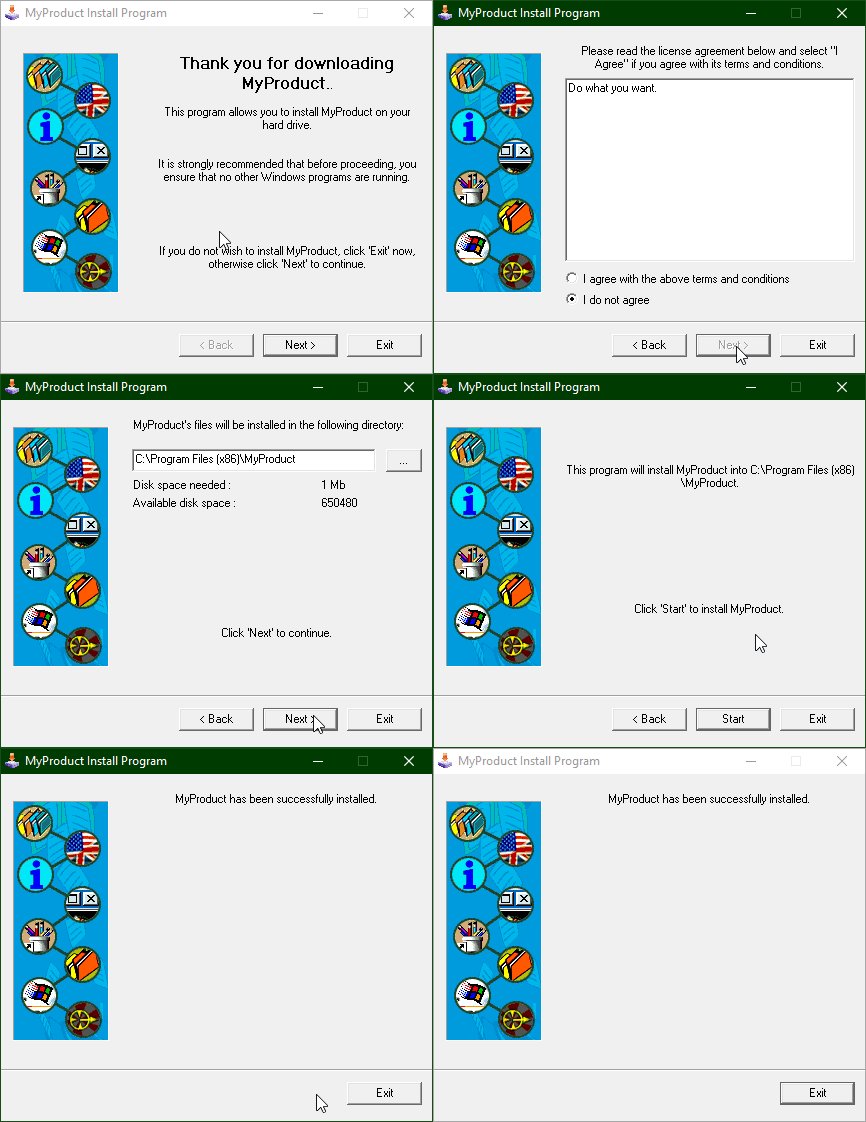
The build time isn't the best, but hey, look. I have my fully built installer, that will actually put files on my system.
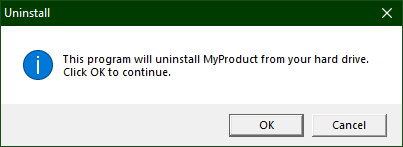
And you even get the uninstaller, as promised.
Now, I skipped a bit where you can create users for your product keys, but because I wasn't using the product key feature, I didn't feel like it mattered. I couldn't get it working anyways.
My Thoughts
Overall, I think ClickTeam Install Creator is good for beginners, looking for a simple way to make an installer. It does have its flaws, but I think it is a good start none the less.
Now, would I personally use this now-a-days? No, not really.
I am using a program that works much better for me.
Side Note:
I will be doing more reviews on other installer creation software later. I hope you enjoyed reading this one.





6 comments