Hello everyone. I am here to show to all of you how you can upgrade and enhance spores graphics beyond the previous "shiny graphic fix" guide. This new tutorial will help you make spores graphics really pop, and truly makes the game look like the way its supposed to look. It is generally recommended that you have a somewhat good computer for all of these steps to work, but you are not required to follow ALL of them. You can stop at any place in this guide if you feel like your game looks good enough for your liking, so experiment and test out what works for you!
What you will need:
The Spore ModAPI Launcher Kit.
The Sneky Graphics mod
The shiny graphics fix tweak
The 60fps game tweak
The NVIDIA Control Panel (For NVIDIA users only.)
ReShade
Groxxy's various HD texture mods
NTcore's 4GB patch tool
The guide
Firstly if youre following this guide, you are probably already familiar with how to install mods, so i wont get into that. The links above contain instructions on how to do what you need to do. Use the spore modAPI easy installer to install the mod listed here for your game.
Step 1:
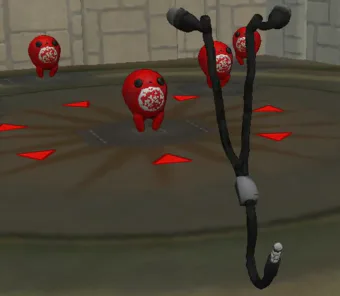
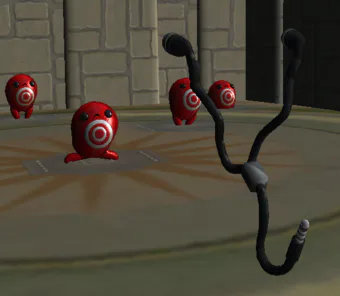
Install the mod called Sneky Graphics. This mod Increases the games LOD field and keeps texture levels high by default, reducing or removing muddy textures. This makes your game automatically look 50% better due to the fact that you can stand further away without having to worry about the models looking like crap. This is great for taking better pictures or screenshots! Now this might impact performance for some, so install it and experiment with it before you go any further.
Without sneky graphics:
With sneky graphics:
Step 2:
Preform the shiny graphic fix. Now what this does is that it fixes lighting and general shading, enables bump-mapping on creatures, fixes the muddy textures by increasing the resolution, makes shiny coats and paints actually shiny and fixes cells opacity, making them render with proper transparency. I recommend you only go with the 2048 version due to the fact that the higher version is entirely too unstable, and will just piss you off with constant crashes.
images are not working
Step 3:
The 60fps tweak. This is mostly for you FPS snobs, but i find the game more enjoyable this way. You can of course put in whatever framerate you want, just remember that some UI animations might be a little more bouncy and flashy because of this.
Step 4:
This optional step is only for those who have access to the NVIDIA control panel. Your game already looks much better then default now, but with the nvidia control panel you can go the extra mile by tweaking some settings. This enables anti-aliasing, enhanced mode, supersampling and more. Now im sure that there are other programs you can use in order to get the same effect, but this tutorial will cover NVIDIA for now. What you need to do is to open the NVIDIA control panel by right-clicking on your desktop. Under 3D settings, you click on "Manage 3D settings" and then on "program settings."
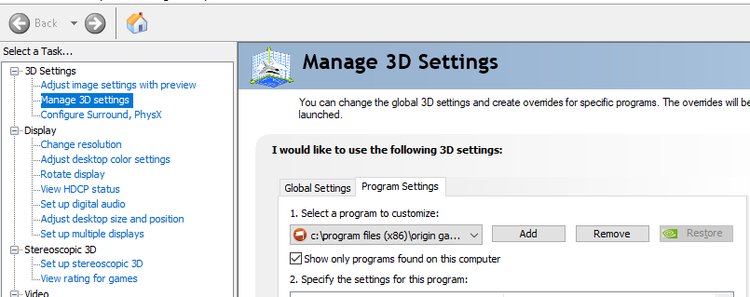
Now from here you need to manually add spore GA on the program list. Click on "add" and then find it. After this you need to enable all the settings showed here in bold text.
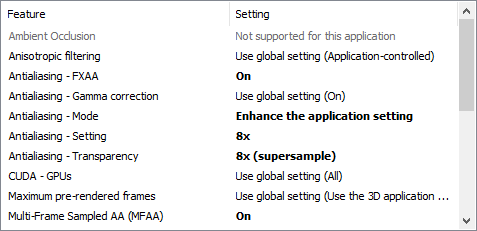
Now of course you can change any setting you want if you know your way around these things, so experiment and check out what crashes and what doesnt. The settings provided in the image are at least going to remove those jagged "staircase" edges, which will affect not only assets, but text as well.
Before:

After:

Step 5:
You have upgraded spores graphics significally, but yet you yearn for more. Now its time to look into shaders. Reshade gives you even more graphical enhancements can be done using the reshade app. This guide assumes that you already know how to use it, so if you dont, then follow the instructions provided on the website. The settings listed under are for 2 parts of the game: The first settings list on the left is best suited for campaigns/GA shaders, while the one on the right is better for usage in the creature test drive.
UPDATE: Please note that a lot of the shaders are outdated or don't work as they do in the screenshot anymore. As of today, you might not be able to find a lot of the shaders in the screenshot anymore. Still, experiment with reshade and see if you can still get the desired result.
Image not avaliable so here are link to it: Imgur: The magic of the Internet
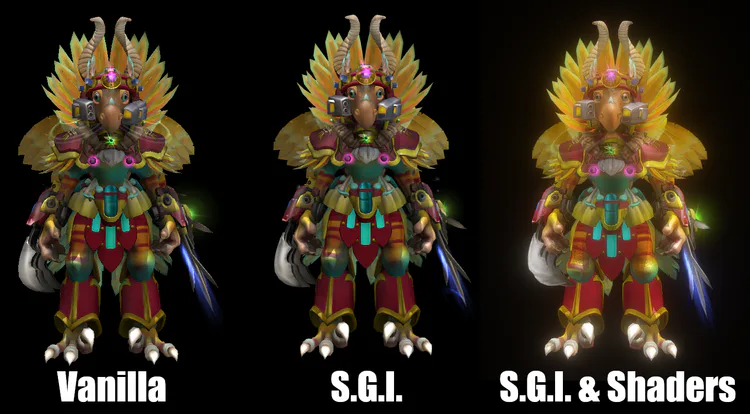
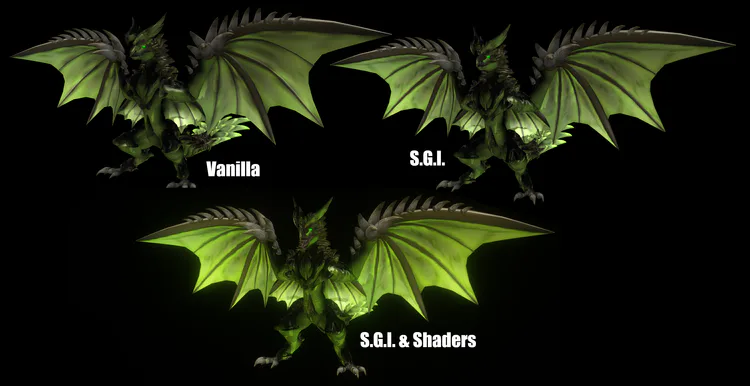
These settings might be a bit overpowering, but if you know your way around ReShade, you can tweak and chance the settings until you find something that you like. These presets are just for going the extra mile. (And if you like glow-y things)
Step 6:
More you say? Well then why dont we take a look at this recent mod, made by Insanegrox. He has taken the time to make a HD texture mod pack for the game. It looks really great, and is especially good looking if your game is in 4K mode.
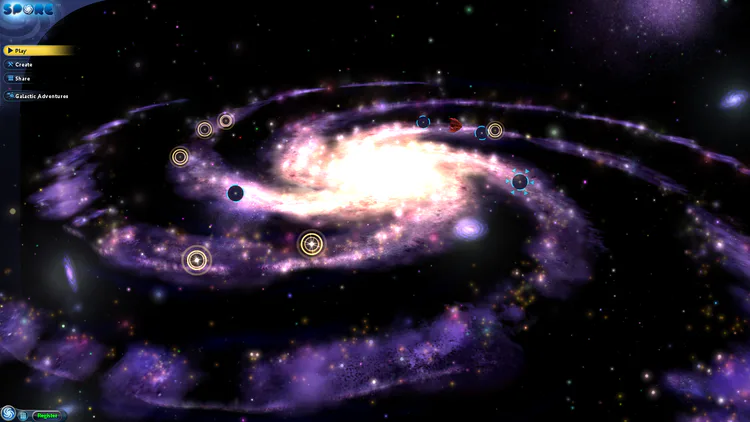
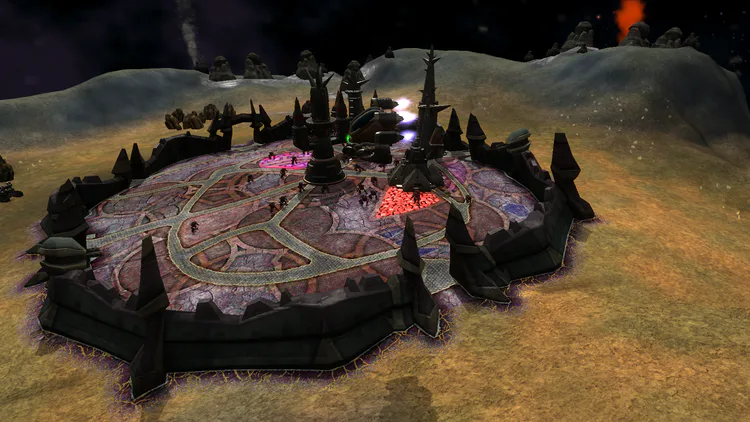
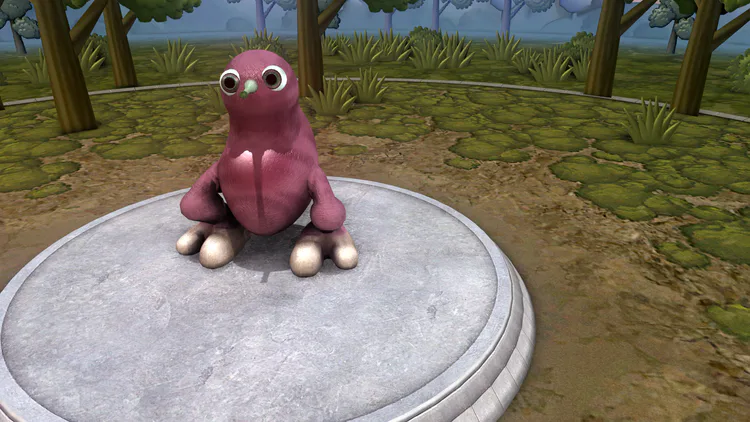
As OP mentioned, this is best suited for powerful PC's, as lower end videocards are not supported.
Step 7:
Maybe you find spore crashing a little bit more then usual with all these graphical improvements. In order to remedy that a bit, try using NTcore's 4GB patch tool. This nifty tool will patch x86 executables in order to give them 4GB virtual memory on x64 platforms, instead of 2. This can help spore be much more stable, especially if you use sneky graphics or the shiny texture fix.
Now that you have done all of this, you will be able to see spore for what it was (imo) truly meant to look like. Of course by enabling anti/aliasing, the game might appear a tad more "blurry" for some, so make sure you tinker around and experiment with the different settings until you find a preset that you like. I hope this guide finds you well, and if there is any information that is wrong or needs to be changed, please feel free to let me know. I might add more information to this guide in the future if its needed.





0 comments