Hi guys!
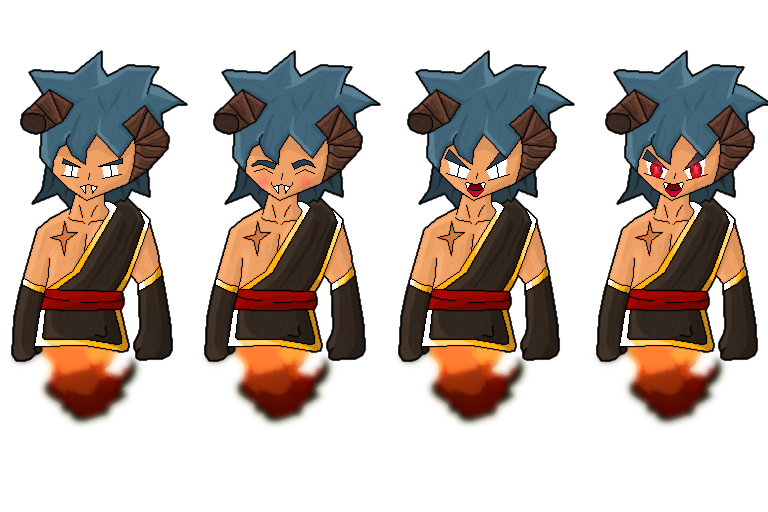
Let’s continue to talk about my work on Luna character.
3D modelling was going good but slowly forwards. I completed it. The head/face took me almost two weeks of work to finish. The face has so many details (just look at vertices detail) compared to bigger body parts. So understandably it took me longer than I thought to finish it.
I think the main reason for a “slower” process is that this was only my third time 3D modeling ever. I’m not use to modelling every day as a game designer. I guess It was a little challenge and I didn’t expect it to be so complicated, particularly the hair part.
“Face vertices vs Body vertices”
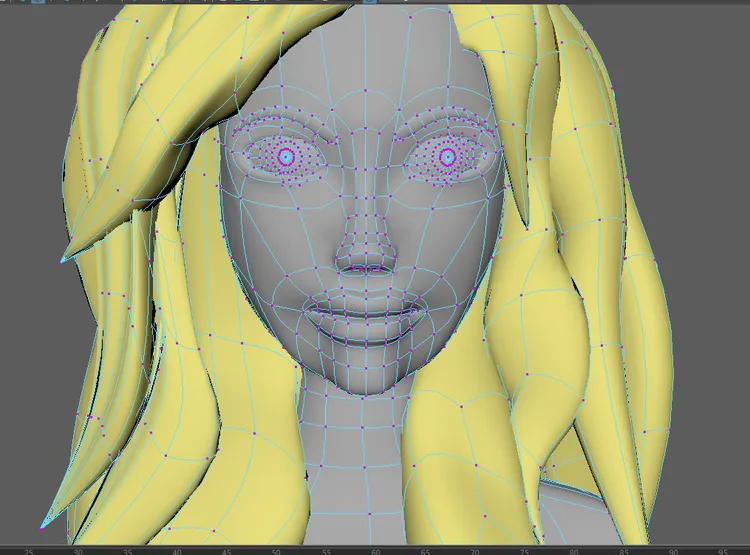
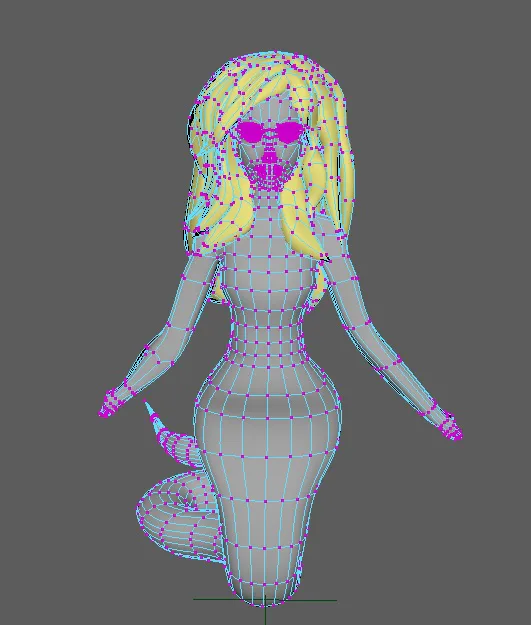
The other thing I was afraid of before I started the process was the UV mapping. From my previous experiences I had difficulty with UV mapping, so as I was complaining and confessing to my classmate how hard I thought it was, he just laughed and said all you need is a plug-in program. I said what plug-in? Oh it’s a Maya’s bonus tool that’s very easy to use and it’s free. He sent me the link and my life got so much easier.
He was talking about the “Autodesk Maya Bonus Tools 2015-2018”

When I was done with all 3D modelling I was wondering how to cut the edges or where to divide UV lines on the body. So I googled it. I knew for a fact that you should try to cut on places that are not so visible like under a character’s arms but I was wondering about where to cut on the face. I actually didn’t need to cut at all I just had to divide the face from the forehead.
“Where to place cuts UV unwrapping”
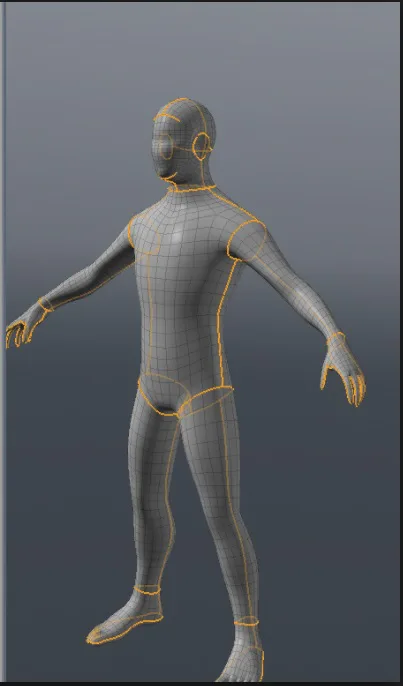
When I knew where to place the lines on the character I started UV mapping with the bonus tool. It was very easy to use and it divided the character exactly where I wanted it to.
“Working with bonus tool, adding borders”
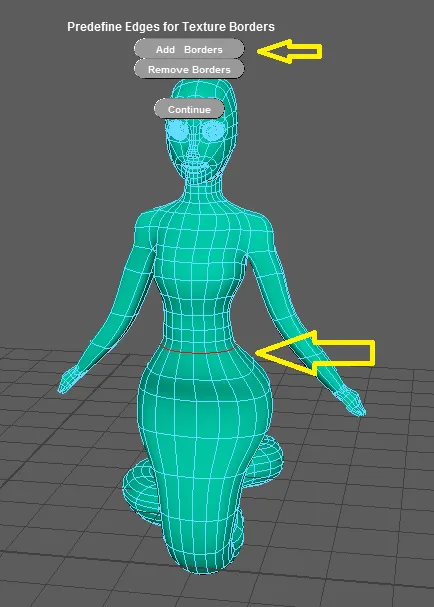
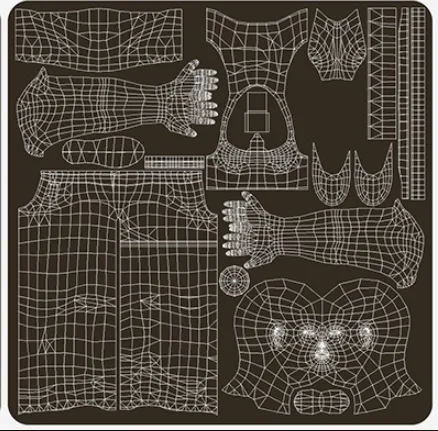
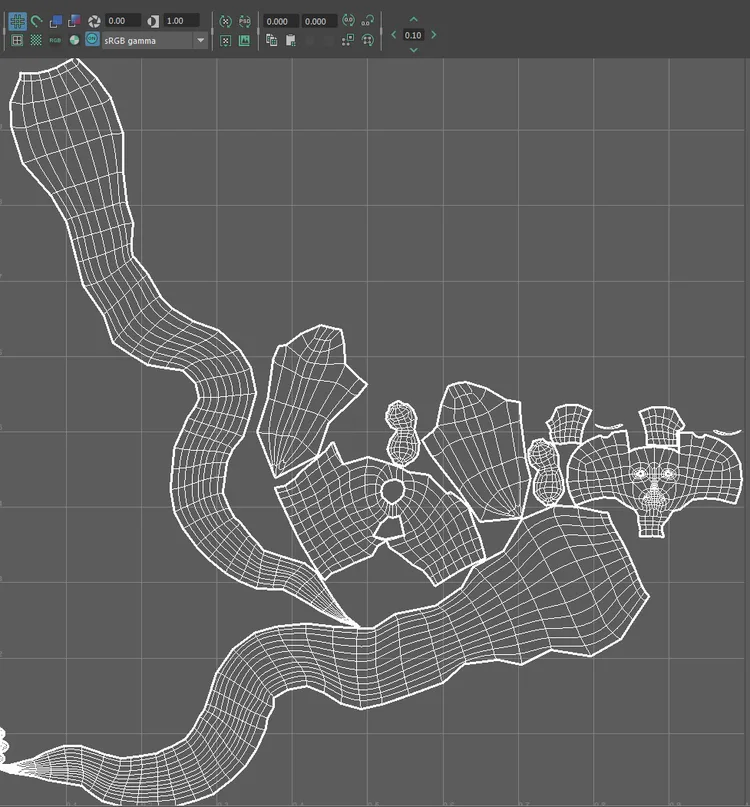
The pieces on my UV map were a bit spread out but I didn’t care so much about organizing it like the pros do. I thought of this is as only a little school project, and not so much of a “professional game”. Everything doesn’t have to be according to standards, so I skipped the part on sorting the UV map and being so accurate about everything. I think the biggest importance is to learn from school projects, from the procedures and from the mistakes, and not so much focusing on perfection. We usually lack the time for that anyway.
“Sample of sorted UV map”
“My UV map”
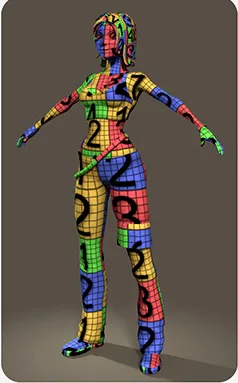
I also skipped the part of applying UV map checker to look for any uneven faces where the 2D texture could be blurry. If you have time and are somebody who likes to do things properly don’t skip this part.
“UV map checker”
When I was done with unwrapping all the 3D parts I exported the UV map to Photoshop and painted it in there. For more info and details on 2D textures and how I did it, see my next blog post.
Thanks for reading and following my work so far.
Until the next time …
/Ana Jaksic


0 comments