
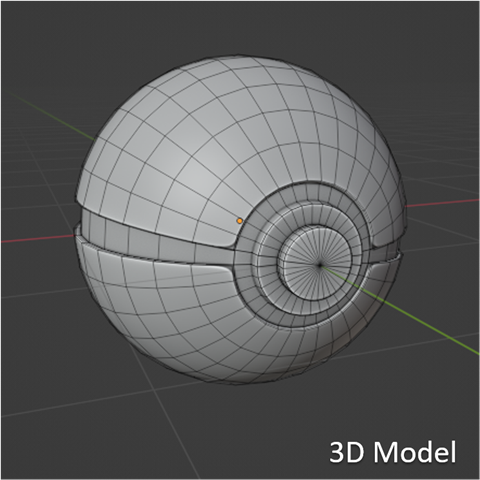
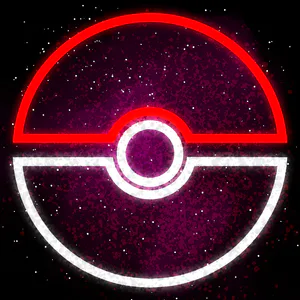
As you can see the actual 3D model is quite simple, but here are 3 things that help add realism to this scene:
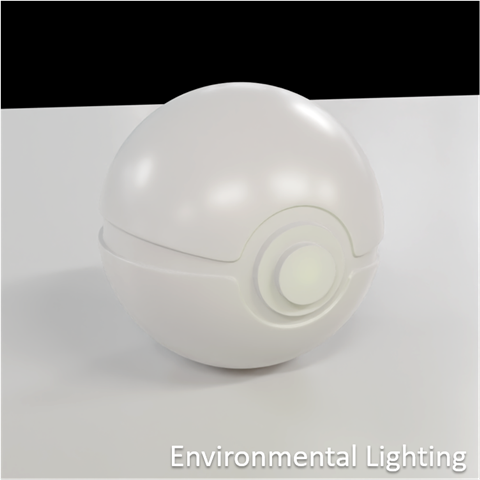
1. Environment Lighting 💡
By far the best way to improve your render is with good lighting, and the easiest and most realistic way to do this is with an environmental sky texture (which doubles as a background in this scene). Not only will this add realistic lighting, but also reflections.
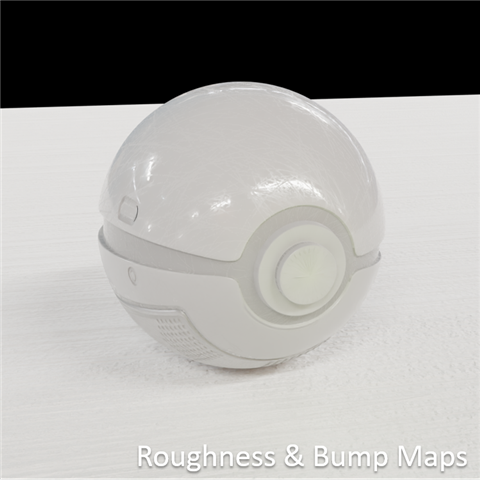
2. Roughness & Bump Textures ⛓
Another good way to add details to an otherwise simple model is by using bump and roughness maps in the materials. For example, the scratches on this model were done with a roughness texture, and the sci-fi panel details were done with bump maps.
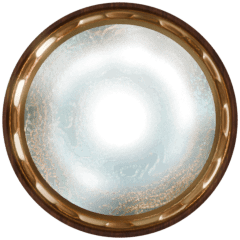
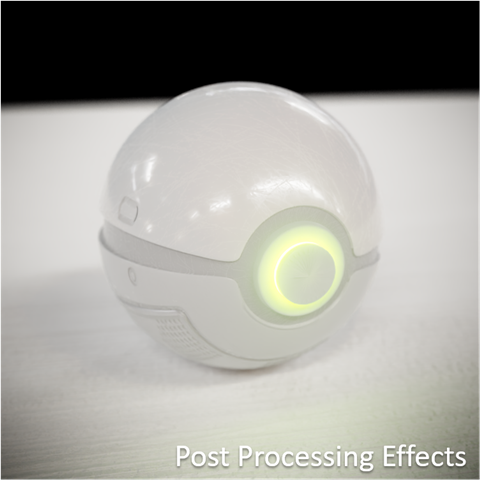
3. Post Processing Effects 🌟
These are just extra effects applied to the image that help add some cool effects, such as the depth of field blur, glare on the light, and also a slight vignette effect (darkening on the corners of the image).
Obviously there are lots of other things you can do to add realism, and I didn't go in depth of how to use the above methods, but I hope this gives you some insight into the process! 😄
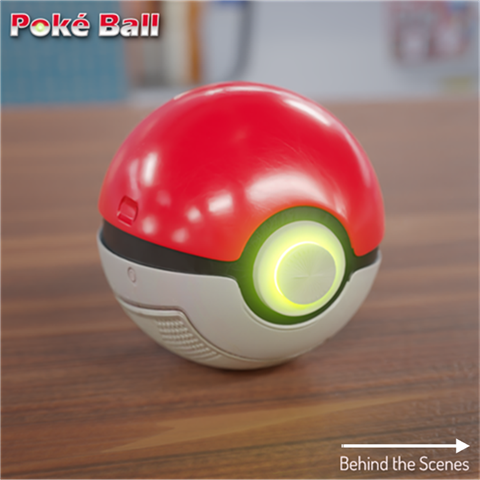
A few weeks ago I made this Poké Ball in #Blender, and I got a few comments saying how realistic it looks, so here’s some behind the scenes tips on how to make more realistic renders 👇
 1
1 1
1 1
1 1
1 1
1 1
1 1
1 1
1 1
1 1
1 1
1 1
1 1
1 1
1 1
1


Next up
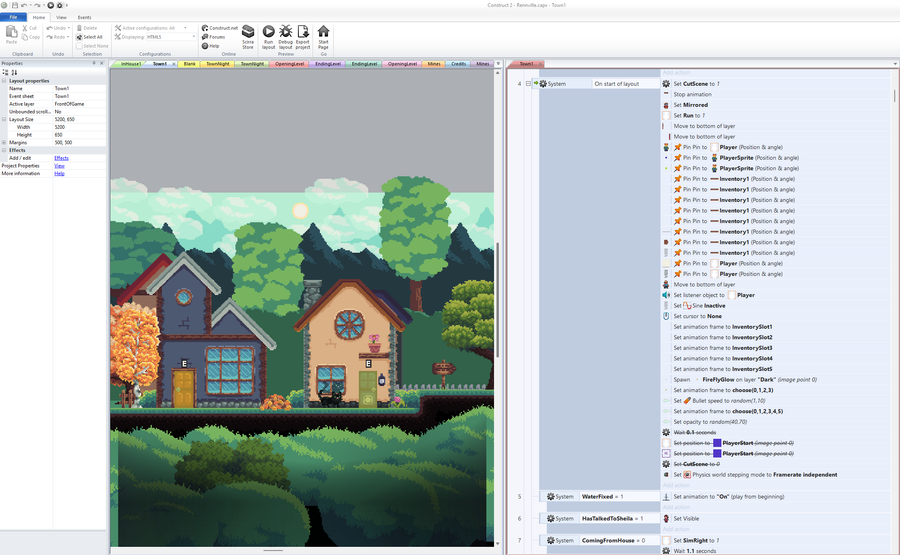
#Devruary Day 4: How Did You Learn Game Dev? I learned game dev by playing around in Construct 2 and figuring out what everything does. And to this day I'm using that same engine to make the game "You're Not Welcome to Rennville" with @Lit-Lore-Studios  !
!
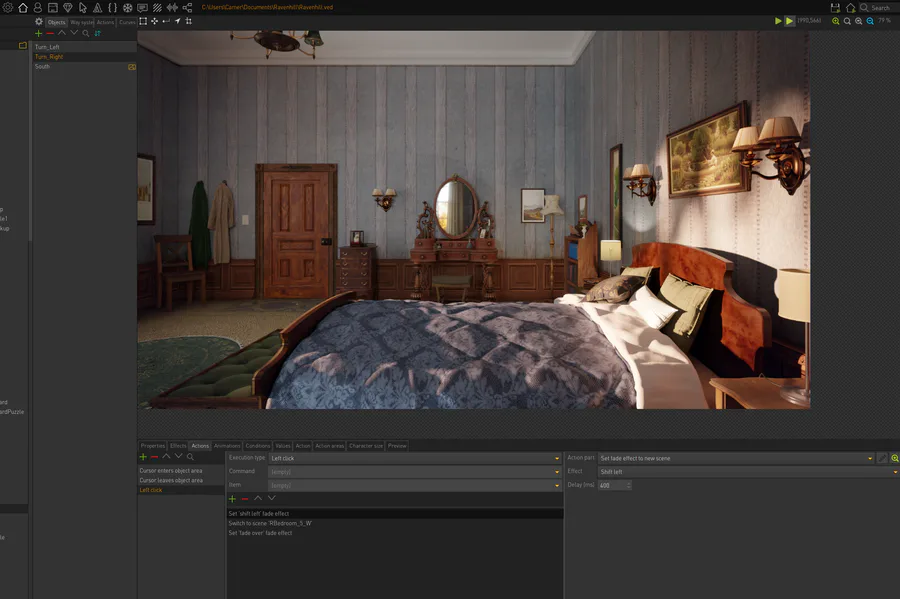
#Devruary Day 8: What engine are you using in your current game? I'm currently working on two different games, for my puzzle game What Was Found at Ravenhill I'm using Visionaire Studio. For the game "You're Not Welcome to Rennville I'm using Construct 2
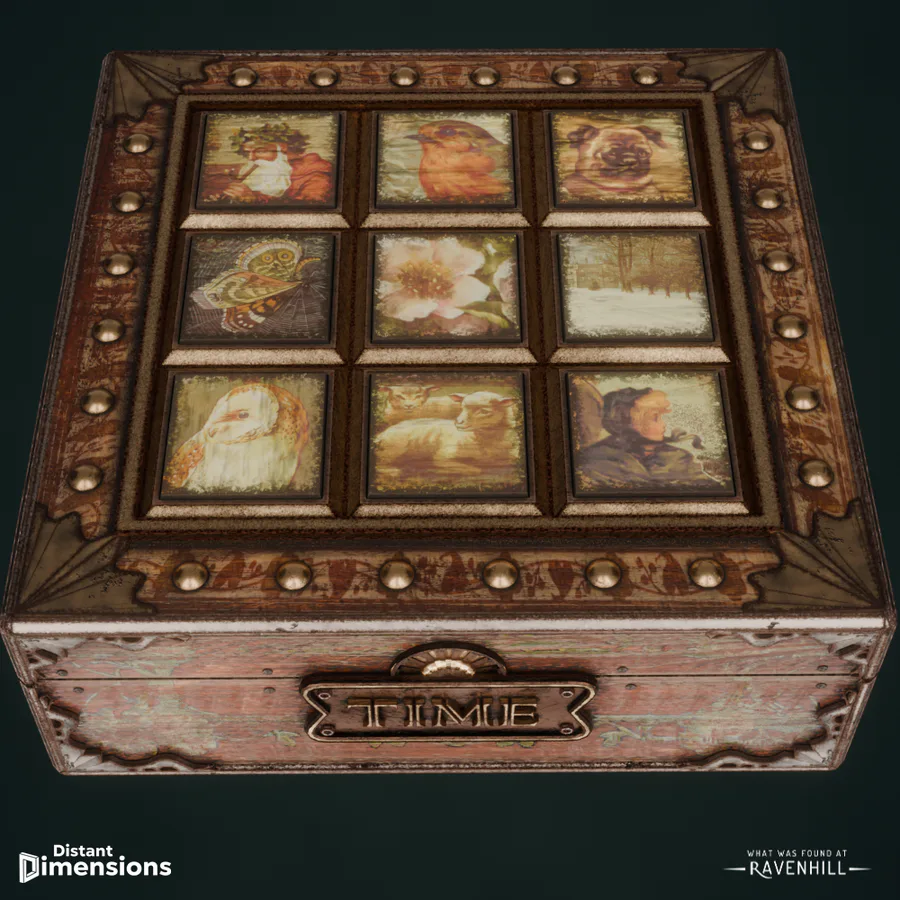
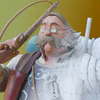
Here are some more renders of the puzzle box I made in #Blender for my game "What Was Found at Ravenhill" 
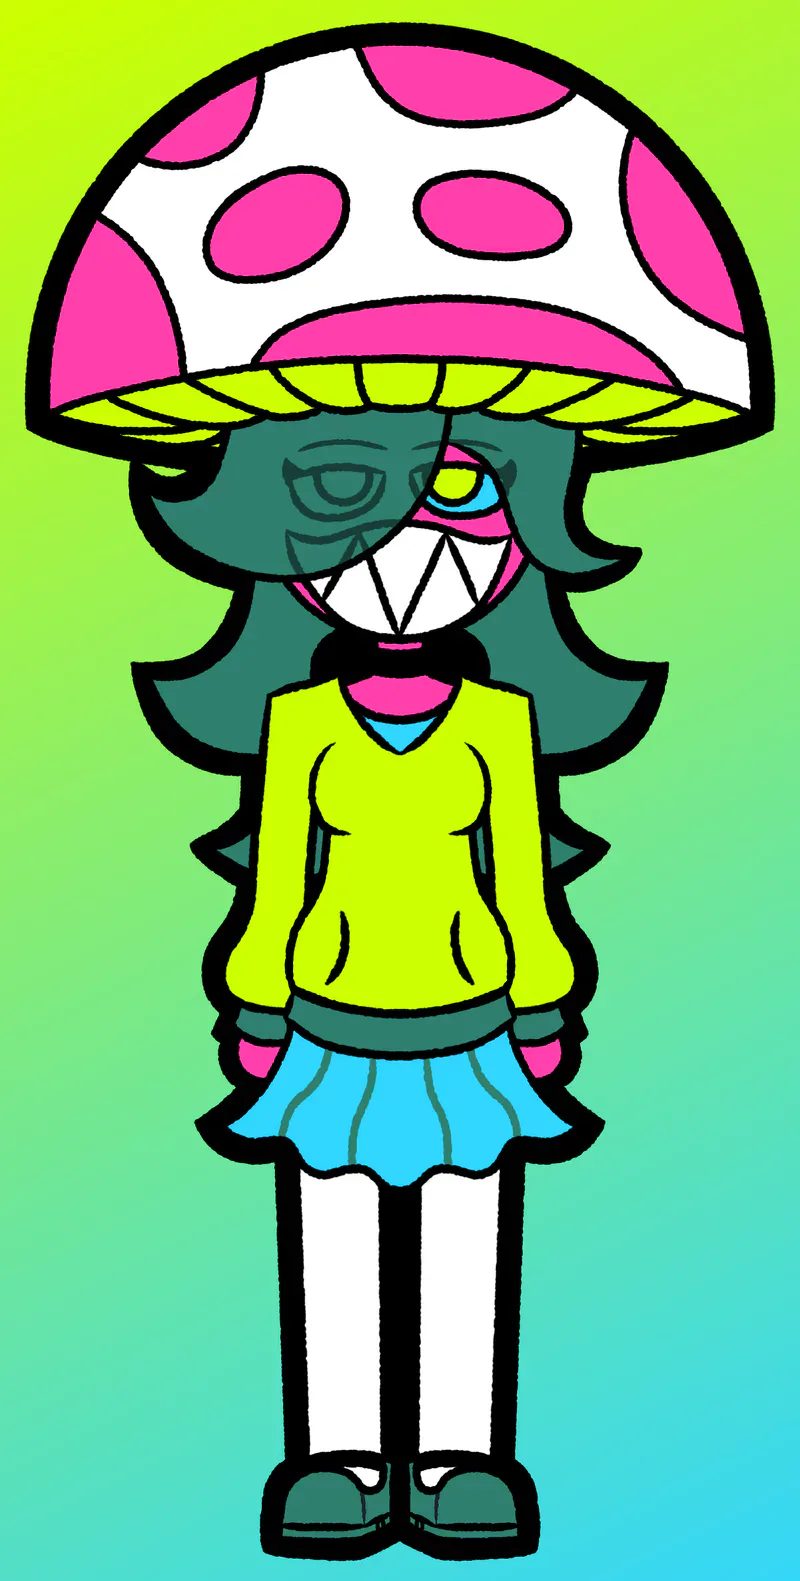

Here's more incredible art that Jolters made for #GameJoltColors25!
There's still time for YOU to enter!
Artists and posts linked 🔽
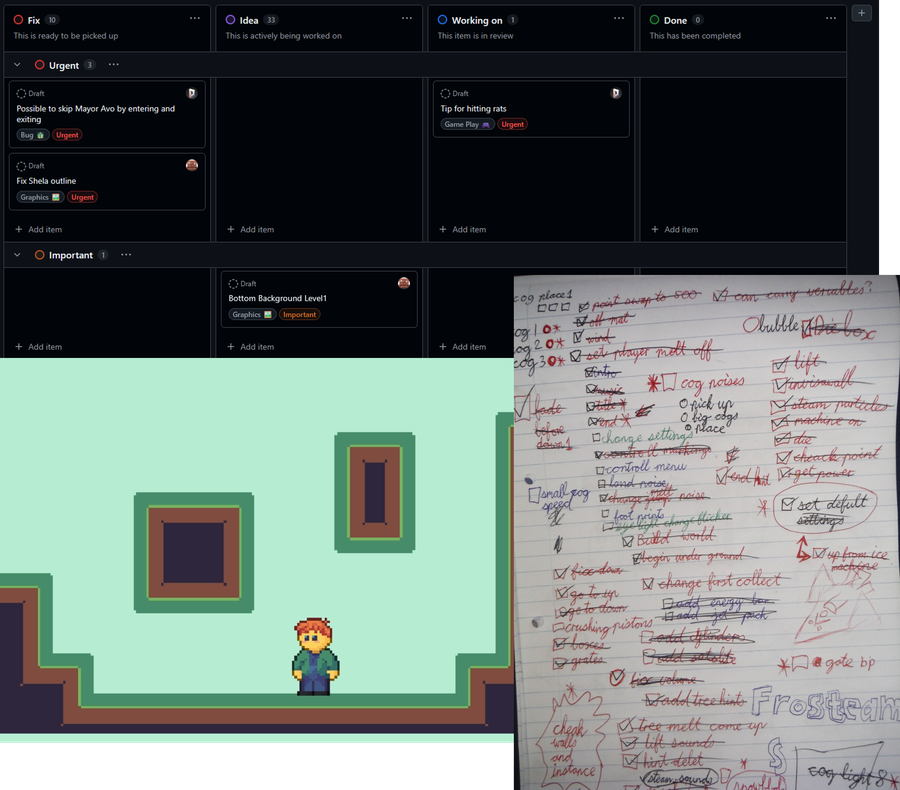
#Devruary Day 10: How do you usually plan a game dev project?
I often make checklists and sketches on physical paper and white boards, and I also prototype the game.
I also use the projects feature on GitHub to track tasks 
The Witchspire Art Competition has come to Game Jolt!
To celebrate Witchspire's demo launch, Envar Games want to see your Witchspire fan art. Complete the #WitchspireArt quest to enter!
Learn more about the art competition: https://bit.ly/WitchspireArtCompetition
#Devruary Day 4: What keeps you making games when it gets tough?
I love creating worlds (just like the games I mentioned inspiring me), so sometimes the motivation is being able to see those worlds come together and explore them myself! 
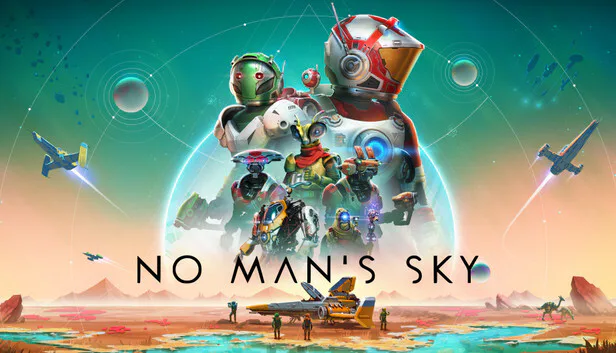
#Devruary Day 18: Which game dev inspires you most?
I'm really inspired by the developers behind No Man's Sky, Hello Games. They never gave up on their game after a failed launch, and made free updates for 10 years turning it into an amazing game today! 


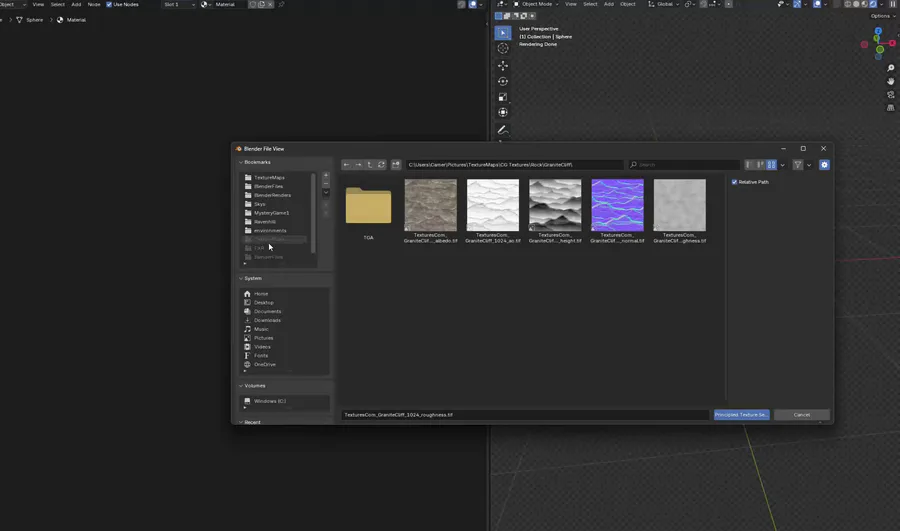
#Devruary Day 12: What tool or plugin saves you the most time in game dev? The Node Wrangler Plug-in for Blender saves me loads of time setting up materials! You just select your textures and with one click of a button they're all connected and set up! 
38 comments