

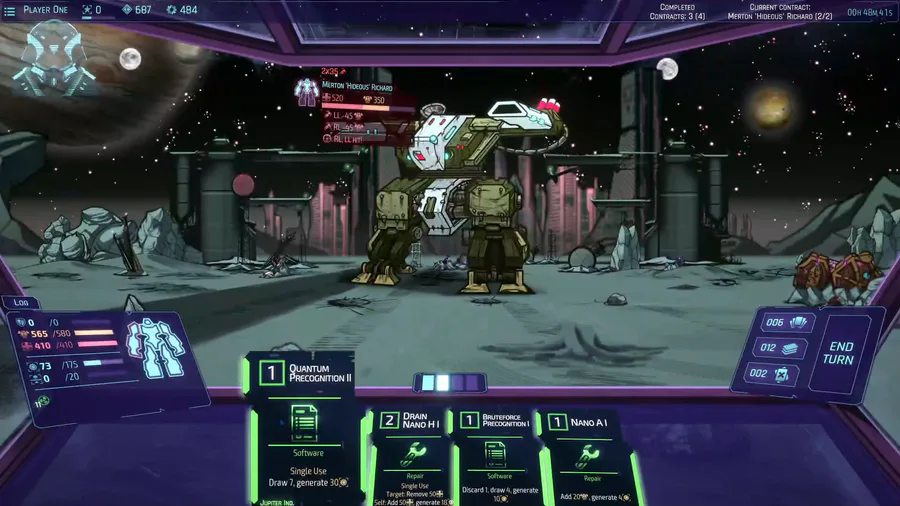
Today will be creating a new character for our game Beyond-Human. We will be showing the step by step process of how we create pixel art. Hope you enjoy the tutorial.

The character design process for Beyond-Human begins with a basic anatomy shape of the character. Here I define the pose the character will have. I like to use the main character as a measure base to know how tall the new character should be. Right from the beginning I knew I wanted this character to be slightly bigger than Adam, our game protagonist.
When I have the basic silhouette I fill it completely with black colour and finally I clean up the sprite shape as much as possible.

I already have an Idea of the character so I start to give him details and parts of his suit. First I add a base color over the silhouette I have created. I use different colours to break down the silhouette. Lastly I add some lines in his upper body to define some details a little more.

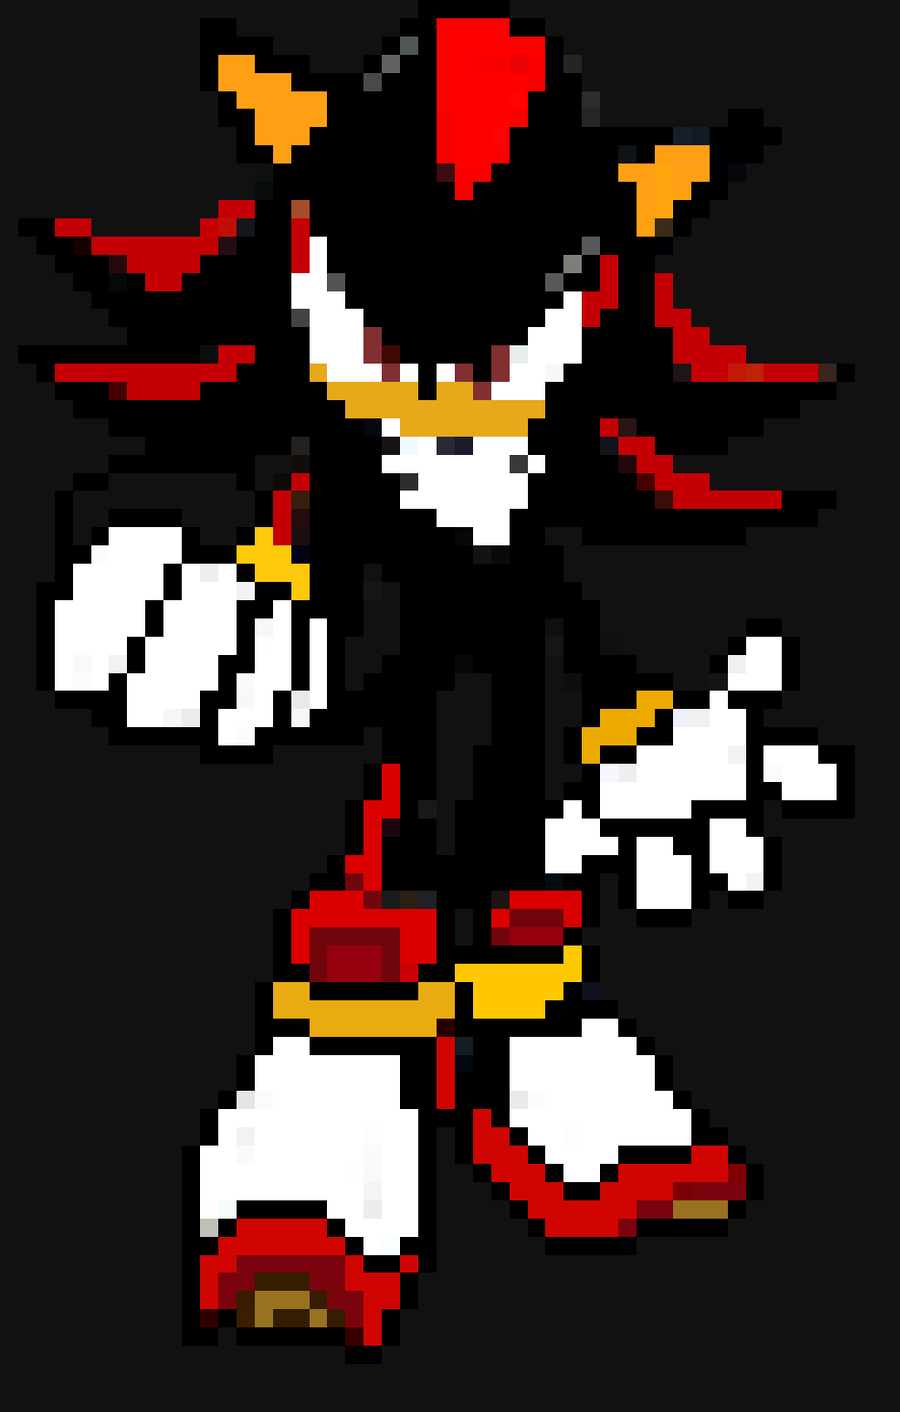
I start by adding the red lines to give the character more personality. I add some detail lines on his skirt, chest, shoulders and legs.
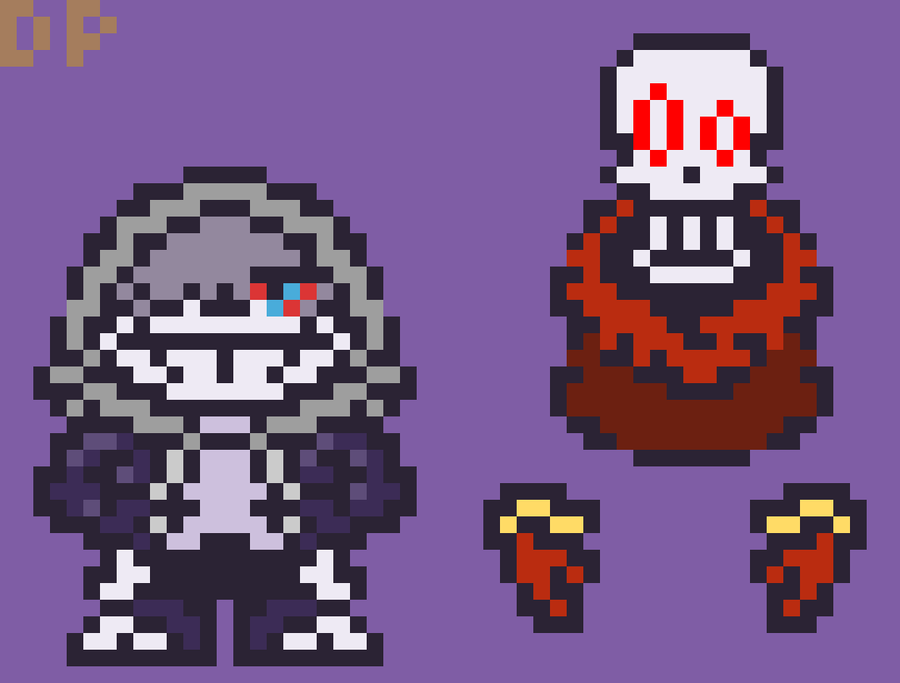
Now we have a very good shape to work on, so we proceed to add lighting. We use lighting to give volume to the shapes and depth to the character. The light hits the character from the top left (your left, not the character’s left).
You can see his left side is a little more darker, this is to create the perspective that his left part is further away. For example when you have a running animation if both legs have the same colour it will be hard to tell which leg is the right one or which the left one. Finally I use darker colors on the parts that are below the skirt to make it stand out. The character sprite is done now, so we proceed to create the weapon.

I want to give this character a big sword. So first, the same as the character, we create a basic clean silhouette. We add a red lighting in the edge to give it that sci-fi look. Then we add some lighting to it to give volume to the shape. Finally we add some darker details to increase that sci-fi look.

We add the sword to his back and with this the character sprite is finished.
If you have questions feel free to ask. Hope this tutorial was helpful and interesting.


7 comments