Hi everyone!
I’m really excited about today’s topic because it’s my favorite thing to talk about. 2D graphics, texturing and the artistic side of the games. Unfortunately, I’m not fully developed in this area and definitely not even close to a professional 2D artist, even though I like to paint in my spare time, but as I said it’s one of my favorite things in games, beautiful graphics are close to my heart.
For starters exporting UV map to Photoshop is not so hard the only thing you need to think about is how your objects are divided. Do you have several ungrouped 3D objects in scene or just one? If you have one then you don’t have to think about this at all you just export the only UV map you got. I have one UV map for the hair and another one for the body parts.
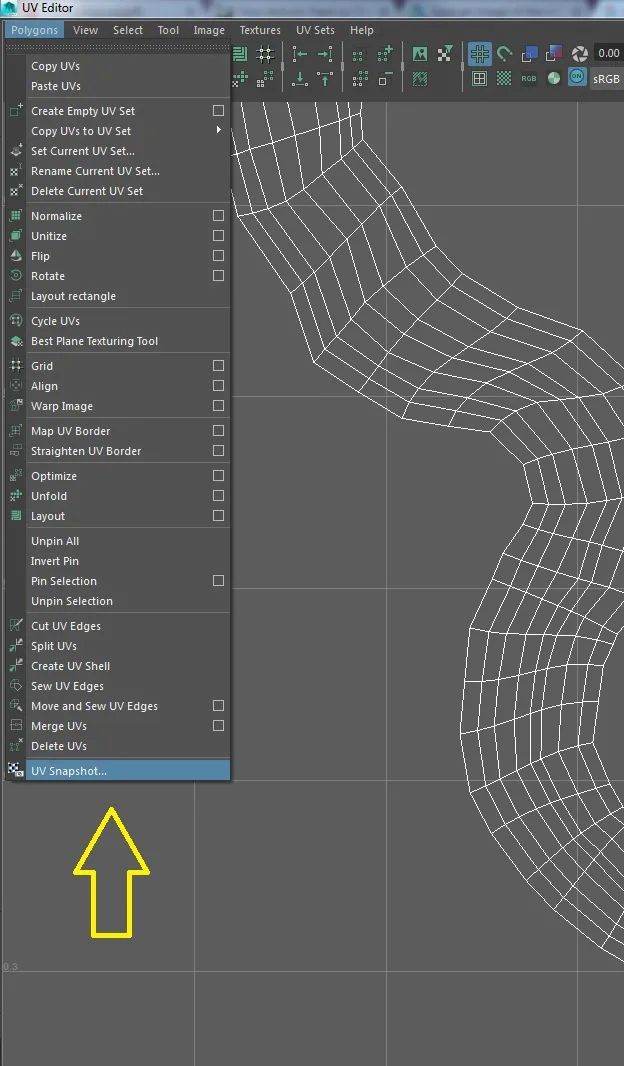
After you created the final UV map in your UV Editor in Maya you have to snapshot it (choose Polygons -> UV Snapshot) and save an image of the UV layout.
Snapshot in Maya
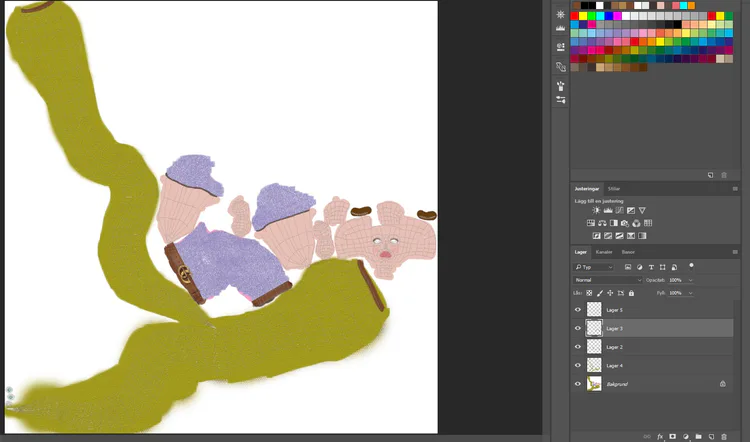
You then open it in Photoshop and add some layers where you can paint them. I added white layer and later painted other parts. Some artists like to reverse the layout layer and make it black so it’s easier to see borders/lines from UV map. I could see my lines without that process so I painted on the white background. The one thing you shouldn’t forget is to hide the UV map layer (border lines) when you are saving the final painted UV map. When you’re done, save it as a TGA-file.
Exported UV Map to Photoshop
Painted UV Map in Photoshop
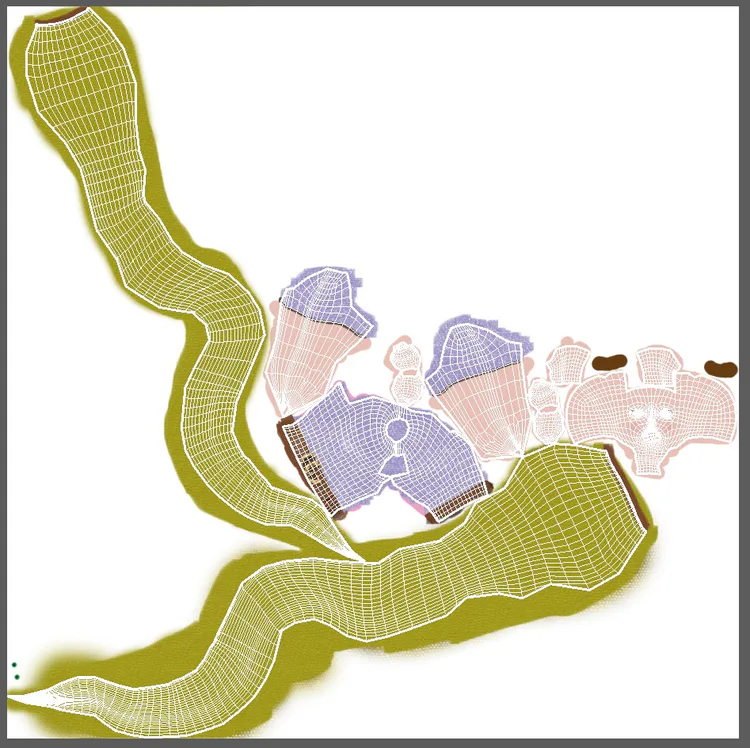
For the painting part you can use Photoshop’s brushes or you can define patterns. I used both.
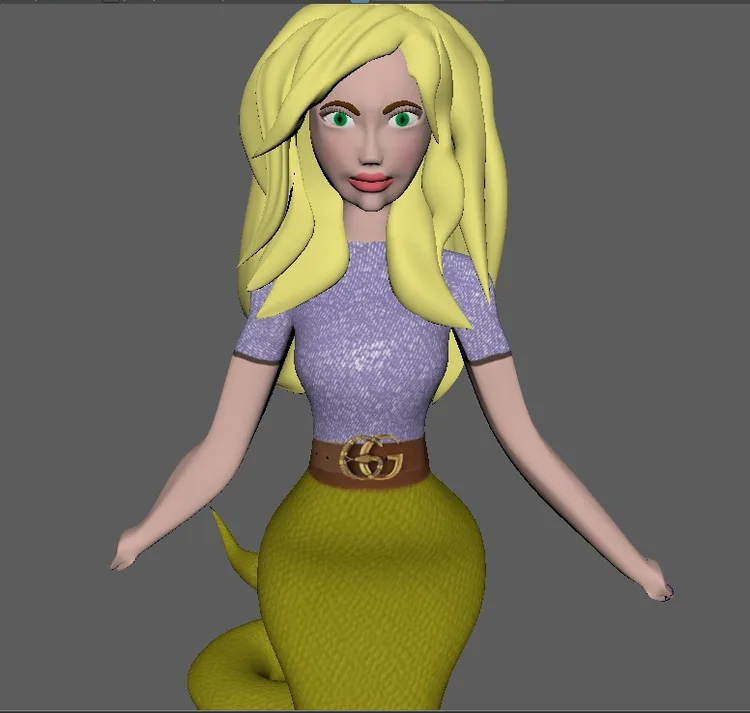
I imported free texture brushes for the t-shirt part, brush looks like big fabric pattern. For the lower body I had to import and define the reptile pattern and I colored it yellow.
Preferably when you create games there is 2D artist who can make their own textures and paint the model for you. We as game designers lack that knowledge. My school focuses mainly on design and programming. Therefore, we often use imported textures. Don’t get me wrong I do read and follow the copyright policy, it is important part of importing textures. My recommendation for you is to check policy before you use anything imported from internet. I usually look for game art on “OpenGame.Art.org” it’s a good page for game developers who need textures or 2D sprites.
There is of course plenty of free texture pages on internet but as I said make sure to read copyright policy if you don’t want to get sued.
For instance I used texture from www.textures.com and In the “terms of use” there was following text:
You are allowed to use our photos for many kinds of projects and even sell them in combination with 3D models. However, you are not allowed to resell or give away our photos as ‘textures’, texture packs, materials, clipart or any other product that competes with our website.
So I figure it’s okay to use it for my school project. I also changed the texture’s (color) which doesn’t say if it’s okay or not. Some texture creators don’t want you to change anything. Generally, they specify it below the textures.
For easier painting and color choices I used reference picture from internet (I just googled female face) from which I replicated skin color and lip color.
Final result Luna’s face
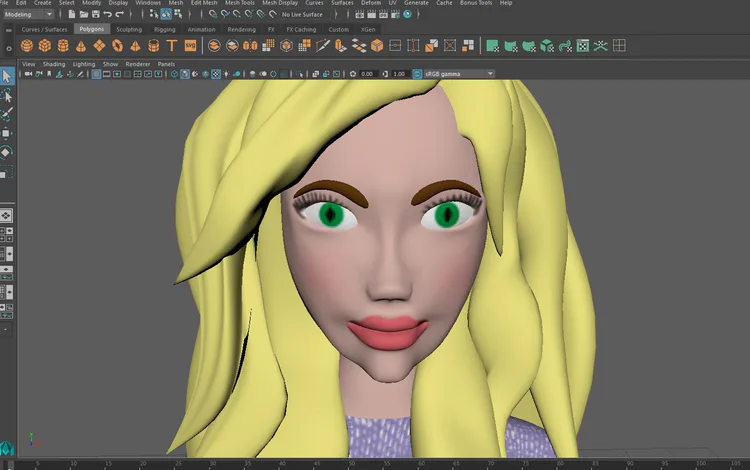
Final result Luna
When you are happy with your painting and want to check it out on 3D model and see the results. Your next move should be to create the new material in Maya and add 2D texture from file on it. There is a lot of information how to do this on Maya’s information page “Autodesk Knowledge network”. Beyond the material my character had some shaders, therefore it made my character look like chess board.
Luna material error
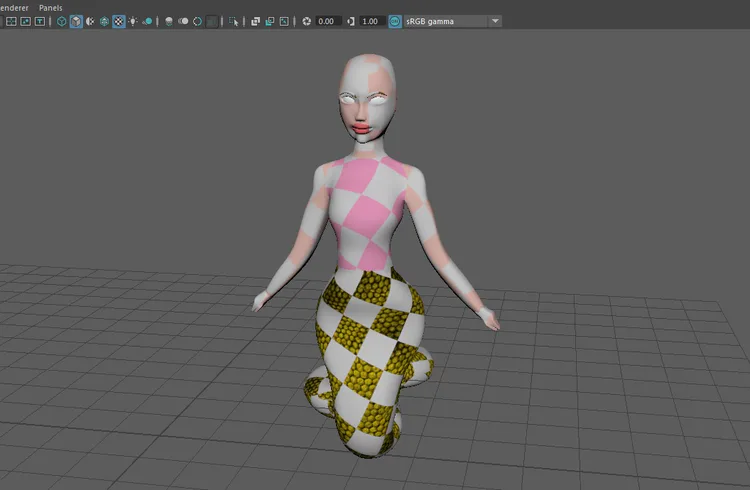
To solve this problem, I had to delete it, clear all my history and later try to apply new material again.
Shaders on Maya materials
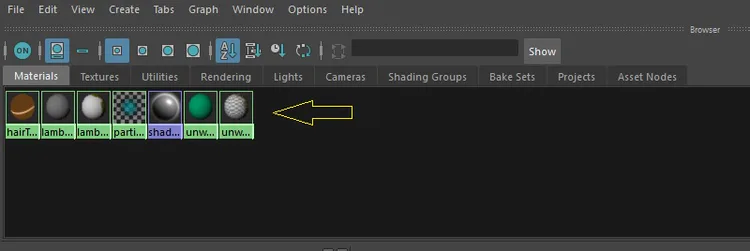
You can always change things or make some adjustments on the texture of your UV map and just press update (on folder of your material in Maya) and it automatically loads the new updated Photoshop version of your painted UV map, you don’t have to import it all over again.
That’s it for today, thanks for reading and I hope I provided you with some useful information.
Until next time …
/Ana Jaksic

0 comments