Hello again! My name’s Tom and I’m in charge of the animation in Friendship Club, and as such; I’ve made many-a pre-vis. But what the devil is pre-vis, or pre-visualisation? Not wanting to completely rip the Wikipedia page and paste it here, the simplest way of explaining it is “a function to visualize complex scenes in a movie before filming.” Pre-visualisation is most often used in film production - the Star Wars films used it to create some of their most iconic scenes - this clip about using footage from old WW2 fighter films is a great example of that.
https://www.youtube.com/watch?v=AaaC_YKyYjc
Skip to 1 minute 51 seconds!
Getting Started
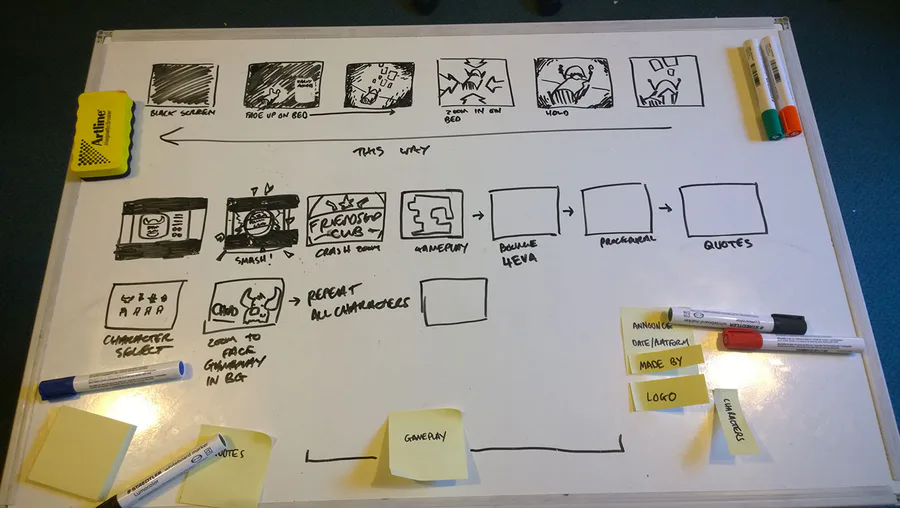
When beginning the process of adding a new animated sequence into a game or needing to make a new trailer, we often stand around a whiteboard (balanced on the back of two chairs!) and use pens to storyboard out the sequence before we get to pre-vis. As with anything, you need to know what the overall aim is, what do we want to see in it, how long should it be, etc. So for us, a pre-vis is the practice of making a mockup or quick, rough example of an animated sequence or transition; whether it’s actually in game, or for a trailer or gameplay video.

Storyboards.
I always use After Effects to make a pre-vis; as it’s my preferred program for all the other motion graphics work I do - though there’s plenty of other video editing software available out there that you could use to create a pre-vis.
So why do it?
Well; creating a pre-vis allows us to work out timings of transitions, overall length or allow more of us to work on a single element at the same time. “Timings you say? Don’t you just cut the gameplay clip when you want?!”, “No.” We reply. “No we don’t.” We want our trailers and menus to be their own little films - we don’t want them to look rushed; giving people the general idea of something and letting them forget it immediately. Or have a menu which limply accepts your button presses and quickly changes to the next screen, with no fanfare. We want to watch a trailer that’s fun to watch, and use a menu that’s fun to use! Transitions full of energy, punchy bits of music which magically seem to match the changing of clips of gameplay, or time up perfectly with whatever is going on ingame. Pre-vis lets us plan ahead of time these elements which makes people want to cycle through game modes, or watch that trailer a second time. It seems like extra work up front, but overall it actually saves a lot of time and hassle by laying out the groundwork, and (hopefully!) giving us that level of quality in the finished piece.
For example, the new main menu in the game had the following pre-vis which Nick worked to for the audio. At the same time, Ashley took the same animation and replicated it in code and Sophie made the final art for the piece. Although needing some small tweaks, it allowed 3 people to work on one area at the same time; instead of waiting for Sophie to make the art, myself to animate it, Nick to do the audio and Ashley to implement it, all one after the other; and then potentially have to edit each element afterwards.
https://www.youtube.com/watch?v=HnLHUM7C-YM
Here’s a pre-vis for an as-of-yet unimplemented stats screen. There is currently one in the game, but the readability isn’t too great (probably a separate blog post), so we’re in the process of designing this one.
https://www.youtube.com/watch?v=CFhfW3vM0HQ
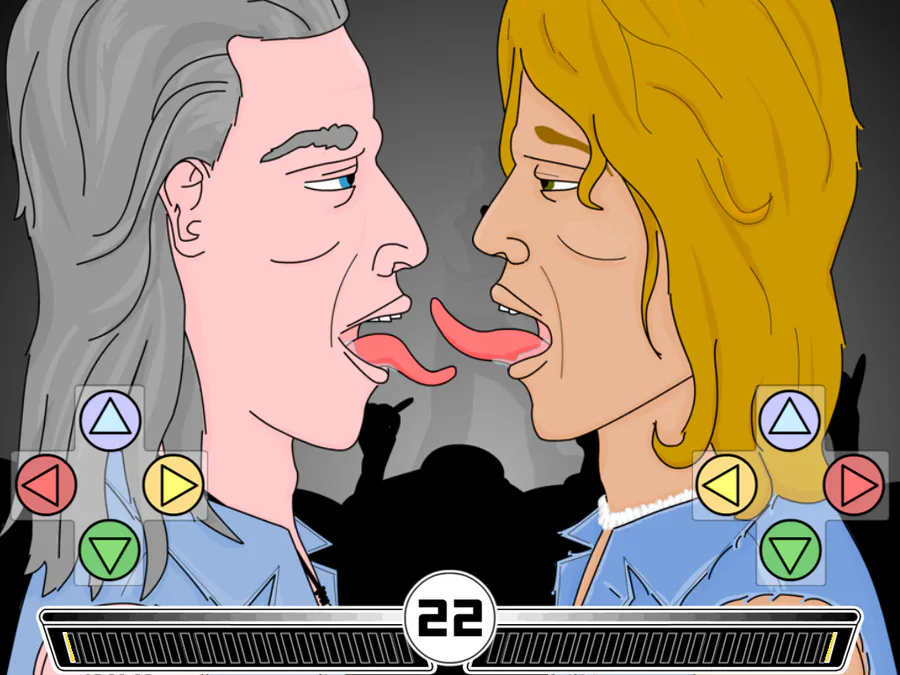
Another example of using pre-vis is our trailers. They’re all a bit silly, and as such we like to include a lot of (stupid) sounds effects and interesting music. For the Wonky Wagon release trailer, I made this rough pre-vis made from various images found on the net.
https://www.youtube.com/watch?v=tDD9p_hoDs8
It looks utterly ridiculous, but it gave us some very rough timings and some ideas on what sort of sounds or music we might want to put at appropriate times in the trailer. With that done, Nick would take it and put some audio ‘sketches’ together to match the timings of each scene. The zooming in, the pan across the table, and warp into gameplay. Then some music that fit the length of the gameplay, and finally the end shot.
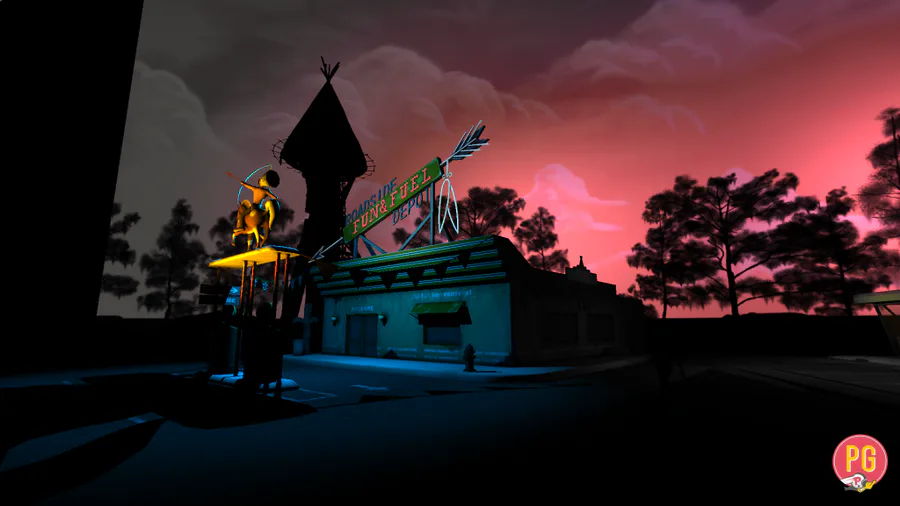
While Nick was doing that, Sophie was working her magic on the long desk shot and the desktop shot.

We all love this gun.
I would take partly finished versions of that from Sophie and add them to the work in progress trailer and carry on animating transitions for each gameplay clip, and finding the best parts of the recorded footage. After a few hours of work, I rendered out another low quality, but much more completed version of the trailer, with all the transitions in it, and passed it on to Nick. He then added the final sound effects and music, and we were basically done! Again, a few tweaks here and there to match the audio or make a transition a bit snappier and that was it!
And the final result…
https://www.youtube.com/watch?v=Yck32fxfSNM
Future developments
Recently, we’ve been trying to take this even further by implementing (and to a certain extent rebuilding) some software - XML Gibson - that exports basic After Effects motion data as XML, which would allow Ashley to import the data straight into the game engine. Why do we want this when he does a brilliant job of matching the animations in code? Well, mainly so he doesn’t have to! It would save a lot of time if we could just import motion data from a pre-vis straight into the game; only requiring me to edit transitions in After Effects and him to replace the code (instead of me passing over a file, which he has to watch, and then frame-by-frame match the movement!) It’s still in the works, but hopefully it’ll be working soon.
Anyhow, that’s a brief overview of our using pre-vis in game development.
Let us know if you found it helpful, if you use any techniques like this yourself, or you have any other pro-tips you think we might find useful! Twitter, Facebook or here in the comments. Cheers!
- Tom



0 comments