
One of the best tools I’ve used for the itch.io Cyberpunk Jam was called was TexturePacker. TexturePacker is a free tool that helps to compact all of your game images into one huge image, called a sprite sheet. It helps to save space in your game and makes using images in your game ridiculously easy. I’m going to show you how you can use TexturePacker in your LibGDX game to make the art pipeline easier for your development.
The first step is to go over to the TexturePacker Download site and get the right version of TexturePacker.

After downloading TP, open up TexturePacker. You should be greeted with a blank project.
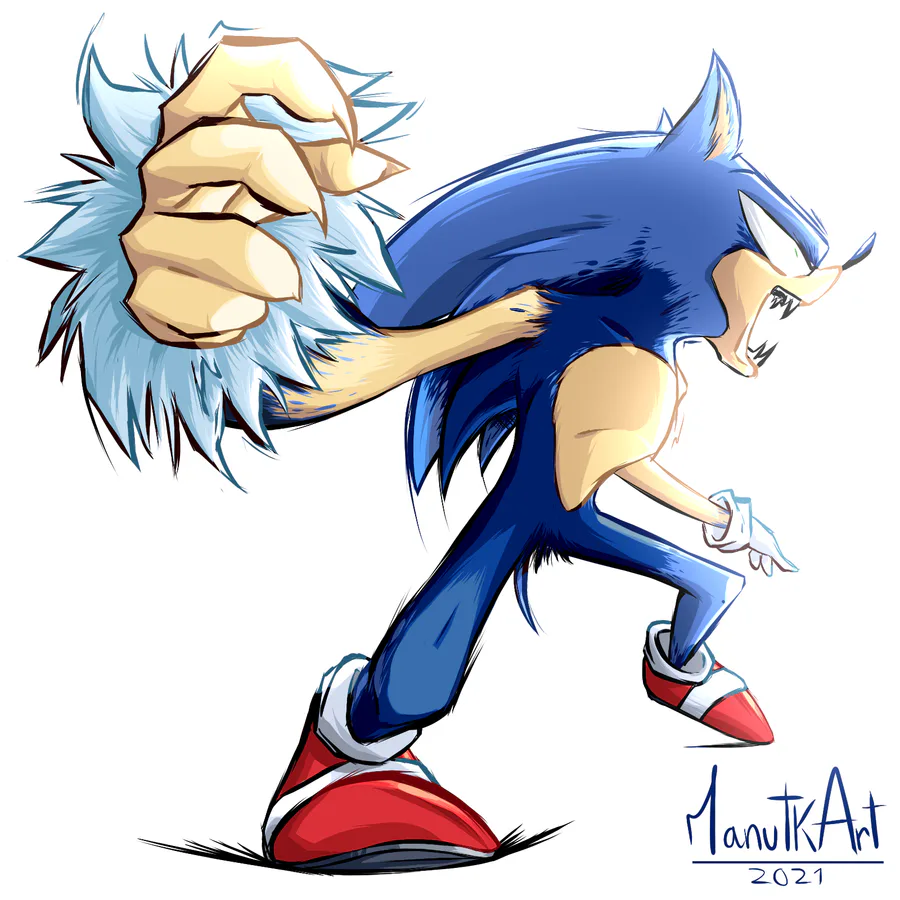
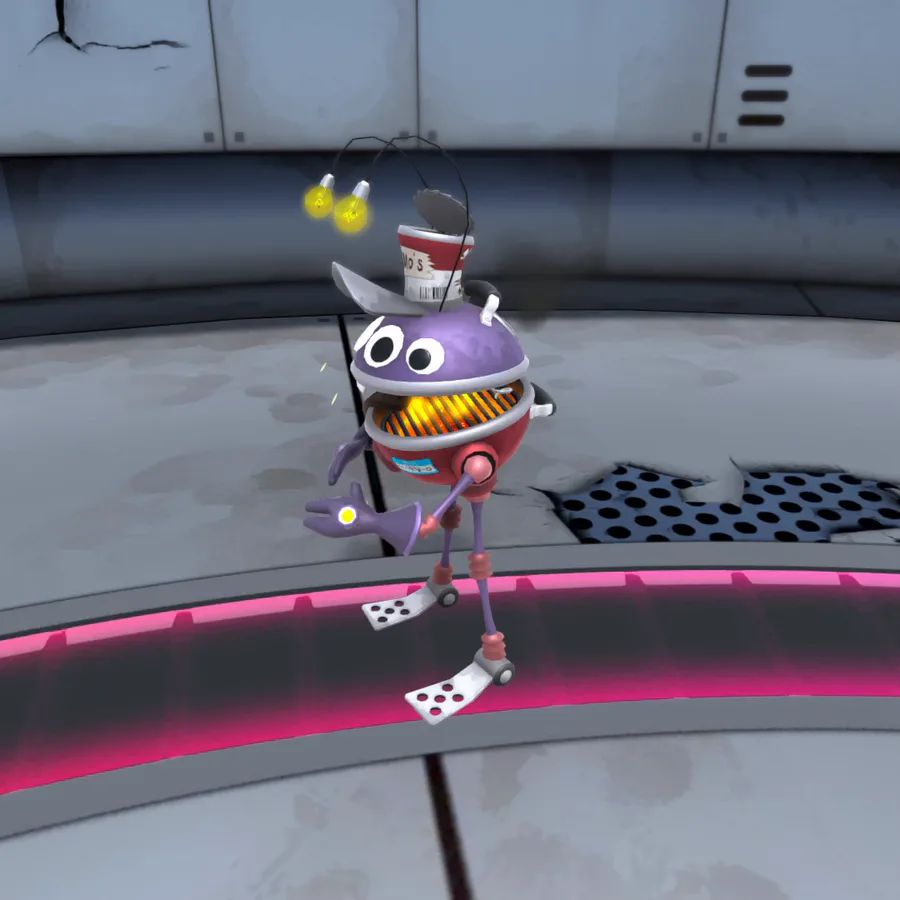
For this example, we’ll be using Nico Traut’s hero design from the game Vertigo Raider.

Now let’s go ahead and “drag and drop” our hero into the right column of TexturePacker.
You should see something like this.

Each time we drag and drop a new sprite collection, TexturePacker automatically makes the “best” kind of sprite sheet for all of the images. This makes adding new sprites to our atlas incredibly easy.
On the left hand side is a series of configurations that we can alter for the atlas. Let’s go ahead and configure this…
Data Format: Set this to LibGDX, since we’re using LibGDX (D’uh!).
Data file: Set this path to LibGDX’s Android assets folder. As an example, mine is: “C:/Users/Biru/workspace/TexturePackerTutorial/TexturePackerTutorial-android/assets/atlas.txt”
This file does all of the hard work of locating each sprite’s X and Y coordinates.
Texture format: set this to PNG
Texture file: This is the sprite sheet in the format specified above. As an example, mine is: “C:/Users/Biru/workspace/TexturePackerTutorial/TexturePackerTutorial-android/assets/atlas.png”
Size constraints: Set this to “POT (Power of 2)”. This is because for sprites to render effectively on Android, they must be of a POT size. Since all of our images are in one image that is a POT, our images will run on Android.
Border / Shape / Inner Padding: Make sure these are 0. We do not want our sprites to have any padding.
Allow rotation: Turn this off to make sure our sprites are rendered in the correct angle. You can save space on your atlas if you turn this on, but you must compensate for the image to be rendered at the correct angle in your code.
OK! We’re all set. Now hit that Publish button and you should see something like this.

We’re good! Let’s actually use the sprite now.
If we check in our Android assets folder, we should see two new files created: atlas.png and atlas.txt. If you don’t see these files, try refreshing your project.
Let’s try animating our hero in one of our Screens. In this example, I’m animating the hero in a class called MainScreen. One thing to note is the AnimatedSprite class, which has been provided by Dermetfan. The source code for this class can be found at his bitbucket.
SpriteBatch batch;private TextureAtlas atlas = new TextureAtlas();private TextureRegion hero = new TextureRegion();TextureRegion heroRegion;Animation heroAnimation;AnimatedSprite heroAnimatedSprite;public MainScreen(SpriteBatch batch){this.batch = batch; //create a new instance of our TextureAtlasatlas = new TextureAtlas("Atlas.txt"); //set our hero TextureRegion to the hero sprite in the atlasheroRegion = atlas.findRegion("hero_ALPHA"); //split the frames, each frame is 100 x 150 pixelsTextureRegion[][] heroTR = heroRegion.split(100, 150); //since there's only one row, we only get first arrayheroAnimation = new Animation(0.1f, heroTR[0]); //set it to ping pong mode so our hero looks like he's walkingheroAnimation.setPlayMode(Animation.LOOP_PINGPONG);heroAnimatedSprite = new AnimatedSprite(heroAnimation); //start animating the spriteheroAnimatedSprite.play();}@Overridepublic void render(float delta){Gdx.gl.glClearColor(0.5f, 0.5f, 1.0f, 1);Gdx.gl.glClear(GL10.GL_COLOR_BUFFER_BIT);batch.begin();heroAnimatedSprite.draw(batch);batch.end();} Not too bad. Run the code and you'll have something like this. [](http://2.bp.blogspot.com/-KTrNujKBKZ0/UyEk2TdR5XI/AAAAAAAAAPE/0nkTBJbNKis/s1600/hero_gif.gif)
Awesome! We now are animating our sprites in the game. The best practice would beto make a class for our hero, giving him an X and Y coordinate so that we can change these fields in the game. Source Code


0 comments