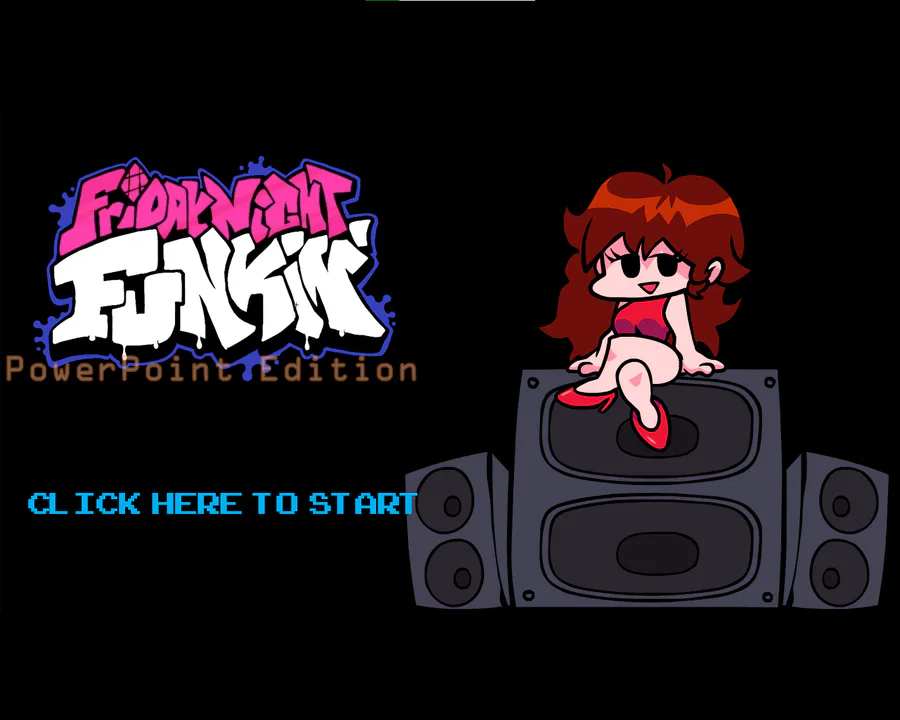
Welcome to our new time-sensitive-game engine, called, "HitColour™"!
HitColour™ is a new, easy-to-use, Full-Motion-Video-centric PowerPoint-game-engine, that lets you create time-sensitive, or Quicktime-Event-based, PowerPoint-games or -mini-games, each in a matter of days or weeks instead of months or years!
In the video featured in this post, you are first shown all of seventeen possibility-slots at a slower, more-accessible learning-speed. After all the result-screens have been shown, the engine is increased to its real-time speed, and outcomes are chosen by our beta-tester at random.
As for how to actually use the HitColour engine, it's simple, and making your first Full-Motion-Video game can be done in a matter of thirty-two easy steps.
Just know two things before we get started:
• You will need to make a clone of the HitColour Game-Engine, as they are both required to properly-build each title you make with it.
• At any time while building your game, you can hold-down the Control (CTRL) key and type the letter S to save your work. Never forget!
Alright! Now, let's get started:
1. First, load the engine in PowerPoint's edit mode, by opening PPT itself, going to "File > Open > Browse", and selecting "Hitcolour.ppsx" from the folder in which you either saved or placed it.
2. Press and then let-go-of the ALT key, and then type the letter q to open the Search-function. Once you see the blinking text-cursor in the Ribbon Bar's search-field, type in "Master View", and once the results appear, press ENTER.
3. PowerPoint's "Slide Master" should now be present on your screen. Hold-down the SHIFT key and press the F6 key, usually found at the top of your keyboard. The current Slide-Master Layout should now be much-more-strongly highlighted in the Thumbnail-Pane on PowerPoint's left side. If you're on a laptop, and if pressing SHIFT and F6 didn't make that happen, try holding-down the Function (FN) key along with SHIFT as you press F6 instead.
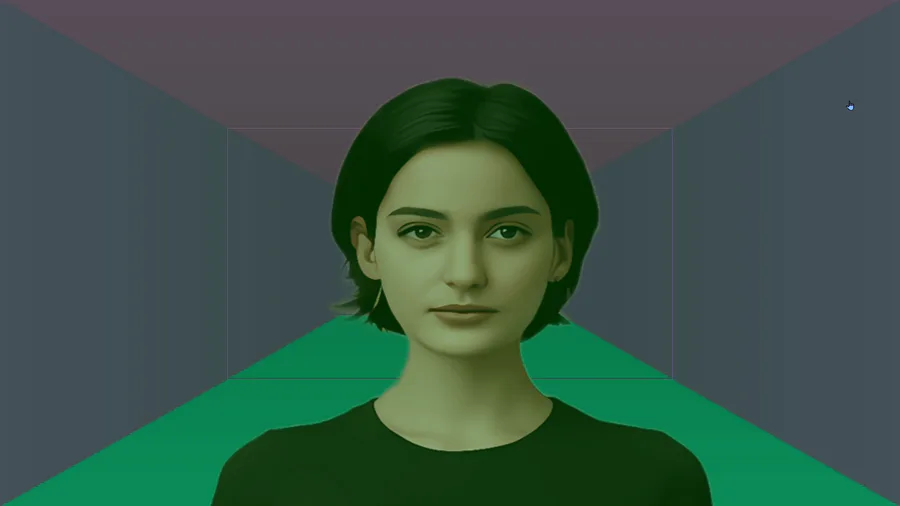
4. Once the current Slide-Master Layout is highlighted in the Thumbnail-Pane, use the Up or Down arrow-keys to find and highlight the green-coloured Slide-Master-Layout. This is a sample video whose "animations" (or playback-settings) you can copy to any other footage that you insert into the Slide-Master later-on.
5. With the green sample-video-Layout highlighted, hold-down the SHIFT key and press F10 this time, to bring-up a right-click menu. Once aGain, if you're on a laptop, and said menu does not appear, then you'll need to add the Function (FN) key into the mix. If your device or external-keyboard has an Applications key, the one that looks like a cursor selecting something from a menu, you can simply press that single button instead.
6. Once that menu has appeared, press the letter i, and a new Custom-Layout should appear beneath the one where the Context-Menu was evoked, and the latter item should now be highlighted instead of the green layout.
7. Press either F6 alone, or FN with F6, depending on your device, to switch back to the main Slide-Master-View on the right. Next, respectively-cycle-between pressing TAB and Delete, until there's nothing left for the TAB key to select in the layout-editor.
8. Press either "SHIFT and F6"-alone, or "SHIFT, FN, and F6", to once-more return to the Thumbnail-Pane on the left.
9. Followingly, utilize whichever method you used before (either by "holding SHIFT [or SHIFT and FN] and pressing F10, or by pressing the Applications key) to bring up the right-click (or Context) menu. This time, press the letter r twice, and then hit ENTER.
10. When the renaming-dialog-box appears, type in a numerically-identifyable name; such as "Frame0101", "Status0101", "Action0101", or "Position0101", et-cetera; then push ENTER. The first pair of digits shall refer to the numerical-position of the current "Act" or "Stage" in your game; and the second couple will represent that of the "Behaviour" or "Status" of the subject of the former's present "Scene" or "Mode".
11. After you've renamed your new video-layout and hit ENTER, it's time to place some footage inside of it. Press either F6, or FN with F6; to toggle into your main layout-editor.
12. Press and then let-go-of the ALT key aGain, and then type the letter q to go back to the Search-field. Type "insert video", wait two seconds for PowerPoint to catch-up-with you, and then press ENTER twice.
13. Locate and insert the footage you want to include in your game-ProJect.
14. Once the video appears in the editor, press and let-go-of ALT, then push-and-release the letter h, then g, then a, then a; to ensure that the object will be aligned to the edges of the slide in the immediately-subsequent two steps.
15. Press-and-release the letter h, then g, then a, then t; to align your video to the top edge of the slide.
16. Push-and-release the letter h, then g, then a, then l, to align it to the left edge of the slide. Because of the fact that it was just aligned to the top edge in the previous step, it should now be nestled in the top-left corner of the layout-editor.
17. You will notice that your video is still very small and doesn't fill the entire screen. To fix that, please press-and-release the following sequence-of-keys: ALT, j, p, w, 3, 2, ENTER; ALT, j, p, h, 1, 8, ENTER. Now, your video should fill the layout-editor entirely, which means that it shall also fill the screen during the actual runtime of your game-ProJect.
18. There's still one more thing that needs to be done before your video can actually play in-game, though. Press the Page-Up key until the green sample-video-layout appears aGain. Once it does, push the TAB key once to select said video itself. Next, hold down the ALT and SHIFT keys and press the letter c to copy its animation. Finally, go back to your most-recently-inserted video, by pressing the Page-Down key until it appears. Push the TAB key once to select it, and then, hold-down the ALT and SHIFT keys and type the letter v to paste the animations from our sample-video onto your own footage. Now your video will play if it's inserted into your game-engine.
19. Once that's done, push either SHIFT and F6, or SHIFT with FN and F6, to return to the Thumbnail-Pane on the left.
20. Except for the fact that the reference to the green-layout in step five should now be replaced with that to the one containing your most-recently-inserted video (which is where you should now be positioned after following the previous step), repeat steps numbers-five-through-nineteen until you've inserted every single scene that could possibly ever need to appear in your game-engine.
21. Once you've built your "HitColour Video Bank™" (the library of video-footage containing every clip that you plan to use in your game-engine), press-and-release the ALT key, then type the letter q to return to Search. Type "close master", wait two seconds for PowerPoint to catch-up-to your inputs, and then press ENTER once.
22. At the start of the game-engine's slide-deck, you'll notice that there are two black slides. The first is a buffer-slide that must be left alone.
23. The second black slide is where you can insert a music track, by pushing-and-releasing the ALT key, then inputting the letter-sequence: n, o, p; and browsing to the sound-file you desire to utilize. We've provided one music file there already, so that you won't have to set all of its properties yourself. So if you want us to basically code the functionality of the audio you insert for you, just press the TAB key once after your audio appears on the slide, the hold-down the ALT and SHIFT keys to copy the animations from our own audio-clip, press TAB to select your freshly-inserted clip aGain, hold-down ALT with SHIFT and press v to paste our animations to your audio, push tab to select our sound-file one-more-time, and finally press Delete to remove our clip from the slide, whilst keeping your audio, as well as the settings you copied to it, in-tact.
24. Use the Page-Down and Page-Up keys to navigate throughout the rest of the slide-deck. You'll notice that the subsequent sixteen slides are all different colours. These sixteen slides all play in order, one after the next (every time you run your game-ProJect), and each of these is a footage-slot, where you can simply press-and-release the ALT key, then type the letter sequence: h, l; to pick a video-clip to load into it via the arrow-keys and ENTER. Loading a video is as simple as that!
25. After the sixteenth video-slot, you'll see another black slide. This is also a video-slot, but this one is where you insert the footage that shall play if the player waits too long to take action.
26. Any slides containing a small red exit-button with a white multiplication sign in its upper-right corner, as well as a screen-filling pair of alliterative-words, including the very-next one that says "Fatal Failure", are to be left alone. These contain your game's scoring system. Really advanced "Find And Replace"-users can edit the words themselves, but it must be noted that they are not separated by a space, but rather by a new-line, so you will need to swap-out each word individually.
27. After "Fatal Failure", there are a red slide, a black slide, and one that says, "Awful Attempt". This "coloured, black, textual"-slide structure continues throughout the rest of the HitColour Game-Engine, until the one-black- (after Perfect Placidity) and six-hundred-and-twenty-four-hidden-pink-Buffer-Slides at the end. The only slides into which you can insert videos are the "black"-ones in that architecture, excluding the one after "Perfect Placidity", as that's a dependency-slide that takes players to the next stage if the current one is successfully-cleared. All sixteen non-post-"Perfect Placidity"-slides will be used to depict what happens when players press the interact- (or Left-Mouse-)button during each of the sixteen video slots that play before it's "too late".
28. "Awful Attempt" yields a one-out-of-sixteen score, and "Perfect Placidity" renders a sixteen-out-of-sixteen score. Players must get a "Lucky Lingering", also known as a nine-out-of-sixteen, to pass each stage and move on to the next one. Otherwise, the current stage will start aGain after they click on the textual-slide that shows their result. It is recommended that you have different footage for each result, and that it's already loaded-into your game's video-bank, so that you don't have to go back in and add-it-in later.
29. Once you've completed the loading-in of all the video-clips for each requisite slide, press ALT, then f, then o, then o, to browse-to and open the empty duplicate of the HitColour-engine. Press SHIFT and F6, or SHIFT with FN and F6, to highlight the first slide in the Thumbnail-Pane. Hold-down SHIFT and "press the down-arrow key sixty-eight times" to select every slide that's not a pink buffer slide. Hold-down the Control (CTRL) key and type the letter c to copy all of these slides to your computer's memory. Then, hold-down the ALT key while pressing TAB enough times to see your main-game-engine become highlighted, then let go of the ALT key. Press Page-Down until the post-"Perfect Placidity"-slide is highlighted in the Thumbnail-Pane on the left, then hold-down the Control (CTRL) key and type the letter v to paste-in a fresh new stage!
30. Press either F6 alone, or FN with F6, to return to the main slide-editor.
31. Except for the fact that the phrase "start of the game-engine's slide-deck" should be replaced with "start of the current-stage", repeat steps numbers-twenty-two-through-thirty, until you've built all of your game's stages. Don't forget that, although there may now be three black slides before the first coloured one in each new stage, it is only the second of these that actually starts any subsequent stage after the first one, as the first one of these three is the dependency-slide that determines whether-or-not the prior stage has been successfully cleared.
32. And just like that, you should be done! Test-out your game by pressing the F5 key, or FN with F5, to run your game-ProJect, and whatever you do, don't forget to hold down the Control (CTRL) key and type the letter s to save your work before you close PowerPoint!
Please enjoy the video, we can't wait to see what you make with this engine, and as always, "Happy Jading!™"
Download Link — Windows 10 Or 11 PC With X64 PowerPoint ONLY:
https://www.dropbox.com/s/1onbpjzuvy8303g/Hitcolour.ppsx?dl=1







0 comments