
The game's code organizes everything like a TV-, film-, or play-stage.
First-Wall — stage-left.

Second-Wall — backstage.

Third-Wall — stage-right.

Fourth-Wall — *(face-slapped)* Gheeaah! Sorry, Deadpool.

Fifth-Wall — floor.

Sixth-Wall — ceiling.

In addition, all of these assets are entirely-user-adjustable.
Let's build a simple room as we write this article, pasting-in screenshots from our real-time-gameplay as we go along!
Initially, we'll start by creating a first-wall. Please do keep in mind, though, that players can begin their customization-chain with the modification of any setting they so desire!
By default, when you insert an object, it's assigned a unique XBOX-Green hue that isn't part of the main colour-selection-choices:

Thankfully, if you like this tone, you can keep it, and it won't break any of the other settings you may wish to apply to it.
For example, let's make it fourty-five-percent-darker, using the "First-Wall-Luminosity:"-slider:

Just click on the highlighted slider-cell shown-above, and presto! You've got a Mulan-army-green-shade — well, we're almost there:

You can see that once we actually clicked on the setting, it was immediately applied, without us even needing to close the menu! But let's close it now, and admire our partially-completed-paint-job:

Finally, let's add some grey to the mix, to make this wall look like it's coated in the same fabric that adorns Mulan's body. Let's see if sixty-three-percent-saturation, or that which, in our ProDuct's code, would fall-under thirty-six-percent-grey; does the trick. We'll just find this button in our customization-menu:

And click it:

Let's see what we've got:

It's good, but perhaps it could use a little more grey, so let's turn it up to fourty-five-percent-grey instead. Just gotta open the menu here:

Highlight fourty-five-percent-grey:

And see how it looks now:

It's getting there, but it could definitely get better. Let's amp it up aGain, to fifty-four-percent, and see how it appears this time around. Just re-summon the menu:

Point to fifty-four-percent-grey:

And select it:

Now let's take a peek:

Not bad, but we can do even better. For that realistic-style, let's kick it up by just one more notch, to sixty-three-percent-grey. It'll really help sell that dark-, serious-business-meaning-vibe. Let's bring back the modification-controls, then aim our cursor at the highlighted setting on the "First-Wall-Saturation"-slider:

And of course, we all know what to do now; click on that sucker like it's your job:

Ah! See? Now, isn't that perfect? Let's make sure we like what we see by closing the menu:

Yep, it's so good-looking, it's truly-magical, isn't it?! However, if you're thinking it's just-a-tad too-green-in-hue for your liking, we can go back to the First-Wall-customization-options one last time:

And take a glimpse at the chartreuse-colour from the "First-Wall-Hue"-parameters:

Then, obviously, choose it to activate it in-real-time:

Lastly, let's view our creation in-its-entirety:

See? Not only do you get some of the yellow-tinge back, but it really looks like the same colour that Mulan wore as a soldier in her original-animated-movie, eh?
Alright, now we're pretty sure that you've got the hang of how this game works, so we're going to fast-forward a bit. Here's the room we've built:

Once-more though, please do remember, that you are totally-free to make the room appear in any colour and lighting you so choose; from a balanced, well-lit studio, to a morning-sunshine-drenched-dining-room, to a night-time-bedroom, to even something more out-of-the-ordinary, like a steamy sauna, or a misty-green-glowing neuclear-power-plant.
And that's just the room code! We still have yet to finish-coding the furniture-sector of the game's programming! You won't even believe just how many layers of controls and indicators this thing is going to have, come launch-day!
Although, let's walk you through all the furniture-placement-layers now, and friend, how there are a whole lot of them:
Flooring:
Flooring-Layer1 - Main-Floor-Paneling-Art 1×1:

This is the main design that shall appear over your user-customizable-default-flooring (also-known-as the fifth-wall), if you so choose to use any such embellishment to liven-up your under-foot imagery. Just like all of these layers, this is entirely player-optional! For this layer, think of the design of the Animal Crossing: Wild World Cow-Hide Rug, or the Lovely Floor: designs that are not always repeating in the-same, or sometimes any, way! You can literally even upload a photo into this slot, and it'll just-magically-work according to how you've scaled it!
Flooring-Layer2 - CustomDesigns - 10×10:

Here, shown atop Flooring-Layer1, go any custom-design-tiles you may wish to place throughout the room. This is a ten-by-ten grid, so you can place whichever, and however many, out of a-hundred freely-customizable-tiles, anywhere on the grid to-whence you desire! You can even manually scale a single design across multiple-tiles, as if you plan to use PowerPoint's Push-transition to smoothly-scroll between them! (Although, scrolling-transitions, or movements of any kind whilst displaying any customizable-interior for that matter, are sadly not supported in this game's code.)
Flooring-Layer3 - Rugs And Carpeting - 5×5:

This is a five-by-five-grid, onto which you can place rugs and carpeting, which will show-up on top of any custom designs you've placed. Just like literally every layer found within this entire game's code, these rugs start transparent by default, so you will totally be able to add effects like tattering, spills, and anything else your heart may dream of, with the promise that, if you want to be able to see-through any part of your design, there will be absolutely no annoying default-need to make any changes to your background-settings before just-diving-in with PowerPoint's imagery-crafting-tools and bringing your dreams into fruition!
Flooring-Layer4 - Mats, Hay, Leaves, Et Cetera - 5×5:

Have you ever made a hay-field out of your entire house in "Animal-Crossing: New Leaf", and just endlessly-enjoyed walking through it for indefinite amounts of time? Well, although your character-models can't be moved on the fly in this game, you can definitely place hay-textures for them to stand in, as we'll discuss a little later. Not just hay though, snow, in both blanket- and ball-form; leaves; dirt; mud; or even water!
Windows:

This is the first additional-layer that appears directly over your walls in the game's code's hierarchy. You can either draw a window in the Cavalier-art-style, depending on its position in relation to the rest of the interior, or alternatively use a 3D-model of a window and rotate it accordingly. It's all up to you. we plan to ship the game with at least one 2D-Cavalier-window-design, so that you at least have the custom-trapezoid-shape that we used to make the walls of the main-interior-editor.
Doors:

Doors appear in-front-of windows, in case you want to make one of those rooms where a door is part of a window. Just like windows, doors can be either drawn-in; or inserted as 3D-models, to be rotated into the Cavalier art-style, relative to their position in the interior that you're creating. Don't worry, we plan to ship the game with at least two 2D-Cavalier-doors (one open and the other closed), so that you don't have to figure out how to fidget with shape-placement to get the doors to appear as if they match with the rest of the interior's geometry.
Furniture:
Furniture-Layer1 - Nonliving-Objects That Rest, Lie, Sit, Or Stand Upon The Floor, Directly Touching It - Intended For 3D-Model-Insertion, Rotation, And Repositioning - 5×5:

This five-by-five-grid is the first layer of furniture that you can place. It'll appear over Flooring-Layer4, and it is intended to give a sense of 3D-depth and height. That's why it's larger than all four florring-layers. For this layer, you can either draw-in or use pictures of furniture, or insert 3D-models of thus. And if you're using 3D-models, you can take advantage of PowerPoint's rotation-settings to really make your interior come alive!
Furniture-Layer2 - Nonliving-Things That Rest On Top Of Floor-Touching-Objects - Intended For 3D-Model-Insertion, Rotation, And Repositioning - 5×5:

This layer, also a five-by-five-grid, can be used to depict furniture-items atop of those in Furniture-Layer1, such as TV's on top of counters, pots resting on stoves, or pencils placed on desks. You can draw or render these objects at a smaller size to enable the most realistic views of them, or to allow the addition of more of them within the same grid-tile. In fact, you can do that with all the grid-tiles in this game's code, which can definitely come-in-handy when you feel like you need even finer detail than that for which our ProDuct allows by default! The best part is, that there are no extra setting-tweaks needed, either: you can just pick a spot, and go to town!
Character-Models:
Character-Layer1 - Presumably-Living-Beings That Have Been Assigned To Rest, Lie, Sit, Or Stand In One Or More Spots Around The Room - Intended For 3D-Model-Insertion, Rotation, And Repositioning - 5×5:

Remember how we said we'd get back to the topic of placing character-models in that hay-field-home from our memories of playing "Animal Crossing: New Leaf"? Well, here, in another five-by-five-grid, is where you can begin to place character-models that rest upon the floor. And, what, was in Flooring-Layer4 in our reveries? Oh, yes; that's right: hay! If you use the right build of 3D-character-model here, you can make them appear as if they're standing, partially-obscured, deep amongst your hay-field's thickets!
Character-Layer2 - Presumably-Living-Beings That Have Been Assigned To Rest, Lie, Sit, Or Stand On Top Of Either Furniture-Layer1-Items, Or Character-Layer1-Entities - Intended For 3D-Model-Insertion, Rotation, And Repositioning - 5×5:

This layer, yet another five-by-five-tile-grid, is where you can place character-models that you feel should be positioned on-top-of either other characters from Character-Layer1, or objects from Furniture-Layer1. Examples may include a child sitting in a parent's lap, a younger-sibling riding on an elder one's back, a person riding a horse, or a check-up-patient dangling their legs off the edge of an examination-table.
Atmospheric-Elements:
Wall-Hangings - Clocks, Microwaves, Cabinets, Television-Sets, Et Cetera:

This is where you can hang items on the walls of the interior that you're currently editing. This layer will appear over Character-Layer2, as well as the entire-rest of anything either comprised-of, or containing floor-based or ground-dwelling-items-and-characters. Examples of wall-hangings include clocks, wall-mounted-television-sets, microwave-ovens, cabinets, and so-forth.
Ceiling-Hangings - Light Fixtures, Disco-Balls, Ceiling-Fans, Et Cetera - 5×5:

Yes, we know, we probably love five-by-five-tile-grids a little, too, passionately, but not only is this the last netting-structure of such a type in this rig, but it's also the final layer of the entire rig itself! This layer shall be rendered atop of everything else you've placed below, so please do take extra care not-to-accidentally-obscure any important objects from your scene. We'd also like to note, that, most-likely, in the first release of the game, ceiling-hangings, such as disco-balls, ceiling-fans, and light-fixtures, will not be automatically-affected by the sixth-wall's light-slash-mist-setting, unless we have time to squeeze a ceiling-filter into the final-game before its official-launch.
Whelp, there you have it!
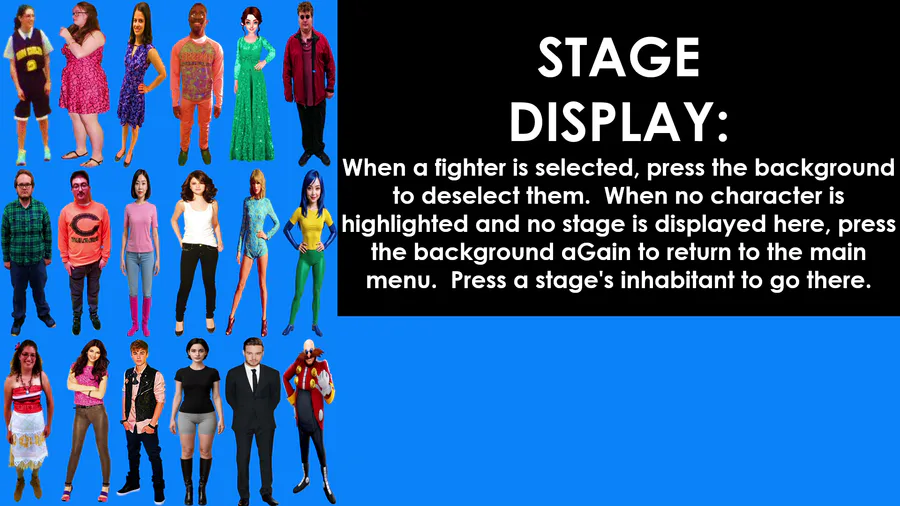
Those are all the composing-elements from whence this image of all the different furniture-placement-layers, from our previous post, came:

And now that you fully understand how our game'll work, we hope that you can agree with us, in that this game, although definitely-not-yet-proven-as-thwarting-such, does at-least have the potential to be better, and better-polished, than Nintendo's very-own, upcoming, "Animal Crossing: New Horizons — Happy Home Paradise", game.
And whether ours either beats the beloved NTOY® to the punch, or does happen to come out, after, November Fifth Of Twenty-Twenty-One, we hope you'll pick up a copy of both games, or at least ours, to see how the latter ends-up stacking-up to an arguably-un-necessarily-complexly-named downloadable-content-pack that might not even come with quite as many customization-layers as our title, but'll still be loads-of-fun nonetheless!


0 comments