

This actually wasn't planned to be in the game at first, I was just experimenting around earlier this week and before I knew it I managed to have this feature fully implemented within the span of a day.
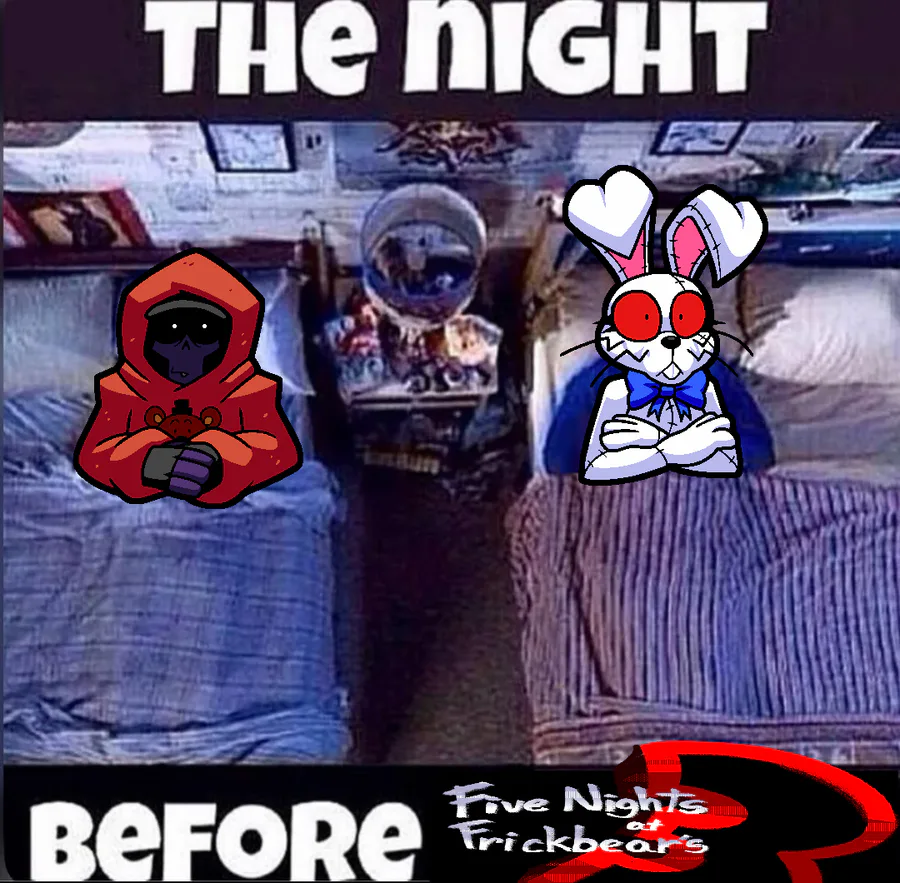
That aside, it's true! Pretty soon, YOU will get to be in Frickbear's, or any other wacky character you can think of! While modding support was technically always possible via stuff like UndertaleModTool (very cool program if you haven't heard of it before, it lets you make modifications to practically any GameMaker game out there, Frickbear's included), this implementation makes it a much simpler, easier process and also doesn't come at the cost of replacing one of the four base game night guards. All you need to do is prepare a couple image and text files, put them together into a folder, and drop them in the game's appdata folder!
While I'll be waiting until the full game's released to go over how modding works in full (since the format of certain things are subject to change before the game's release), I WILL at least go over the sprites you'll need and how they should be formatted in case you wanna get your custom character prepared and play as them as soon as the game releases :D
(ALSO, if you wanna test how your sprites look ingame ahead of the game's release, you can use the aforementioned UndertaleModTool to replace the sprites of the guards in the demo with your own!)
THE SPRITES
First and foremost, make sure your image files are saved as PNGs and match the listed resolutions of the examples! The game finds and loads files based on these file names so keeping them the same is important. While you don't NEED to stick to the listed resolutions, not doing so will lead to your sprites looking either really crunchy or really stretched ingame, so matching them is definitely recommended.
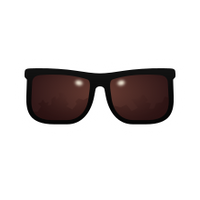
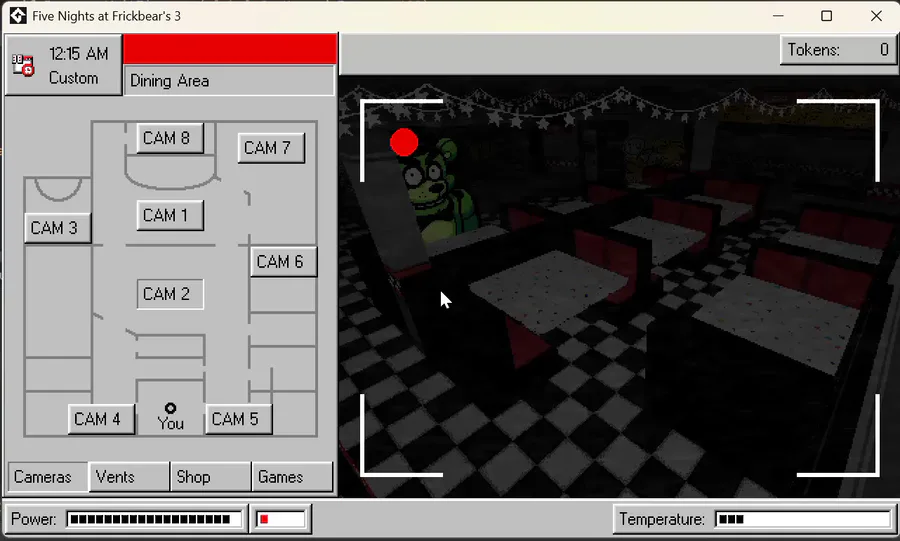
reflection.png (640x360 pixels)

This sprite's probably the most important, since it's the one you'll be seeing the most! This is the sprite that shows up every time you flip up the monitor.
icon.png (48x48 pixels)

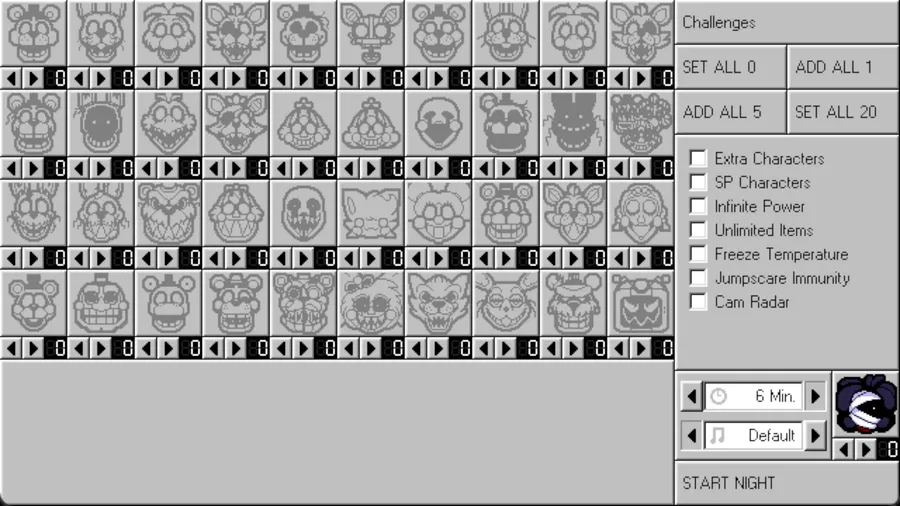
This sprite is used for the night guard selector in the Custom Night menu, as well as the Extras menu. While the image resolution is 48x48, the actual canvas size is more like 44x44, since you'll want to have a 2-pixel border of transparent pixels on the edges of the sprite.
selection.png (960x360 pixels, 480x360 per segment)

This sprite is used for the selection menu! The left sprite should be the regular sprite of your character's face, while the one on the right is an overlay that tells the game which parts of the sprite to darken and which to keep the same, creating a sorta glow-in-the-dark effect.
silhouette.png (96x128 pixels)

This is the sprite that appears in front of the building in the introduction cutscene. Technically doesn't need to be a silhouette, but making it one is recommended if you wanna maintain consistency with the other guards!
outside.png (640x256)


Also used for the opening cutscene! This should be a shot of your character outside the building, looking up at it from a higher angle.
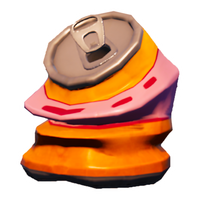
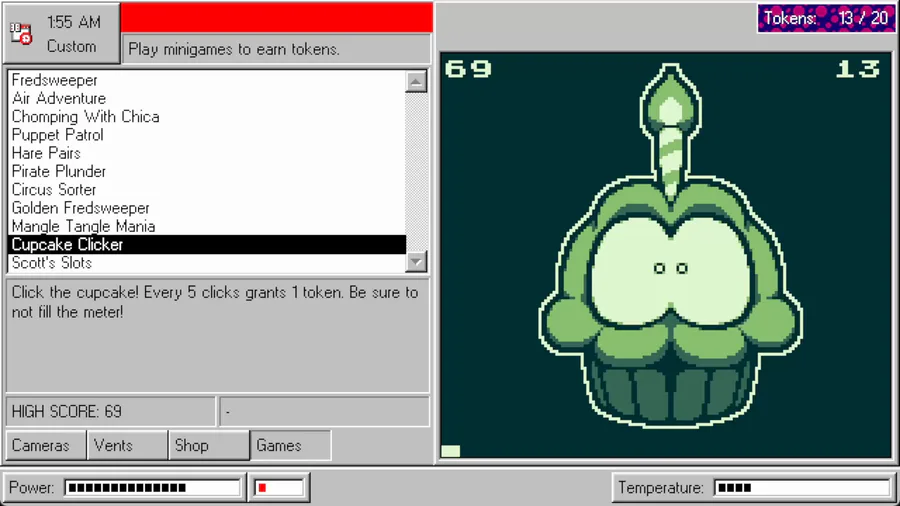
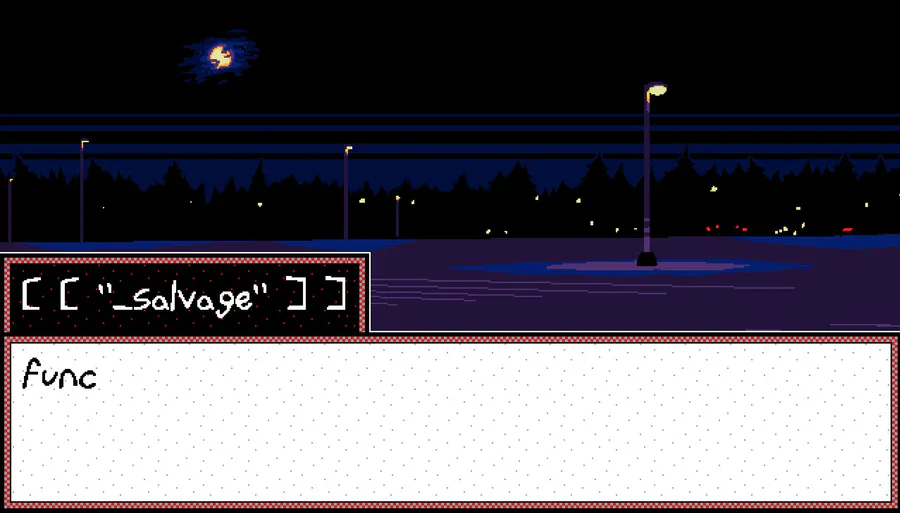
minigame.png (64x16, 16x16 per segment)


This is used for the opening to the salvage minigames. The first sprite should be for the character standing / mid-walk animation, while the second and third sprites are for the rest of the walking animation. The walk itself goes 1->2->1->3 and loops. The fourth is a jumping sprite! Make sure you stick to the same four colors used in the second example as well; otherwise the sprite won't recolor properly.
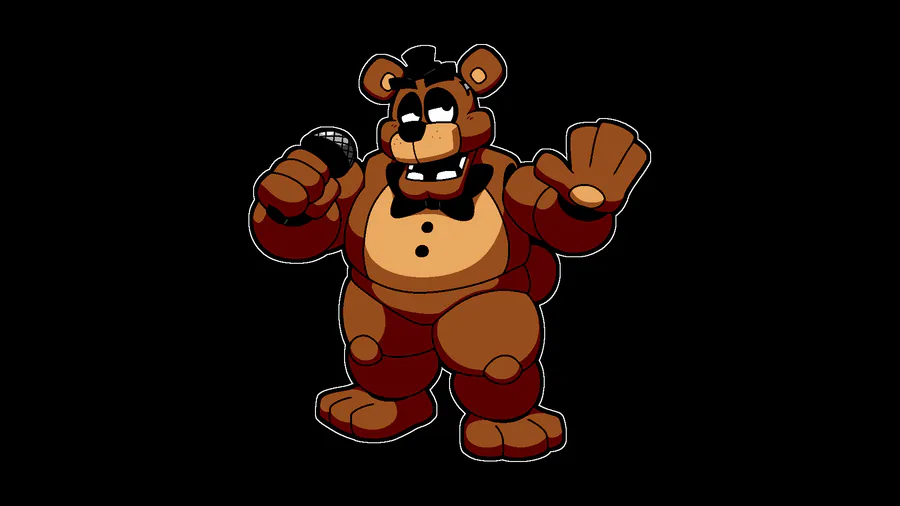
portrait.png (ANY RESOLUTION)

This sprite is only used in the extras menu, though it's recommended you give one to your character! This may actually be the sprite you'll want to make first, since it'll serve as a good reference for the rest. Unlike the other sprites this one doesn't need to be a set resolution, although something in the 600x600 to 1200x1200 range is recommended depending on the size and design complexity of your character. I'd suggest looking at the other character renders I've posted for reference and drawing your own to scale!
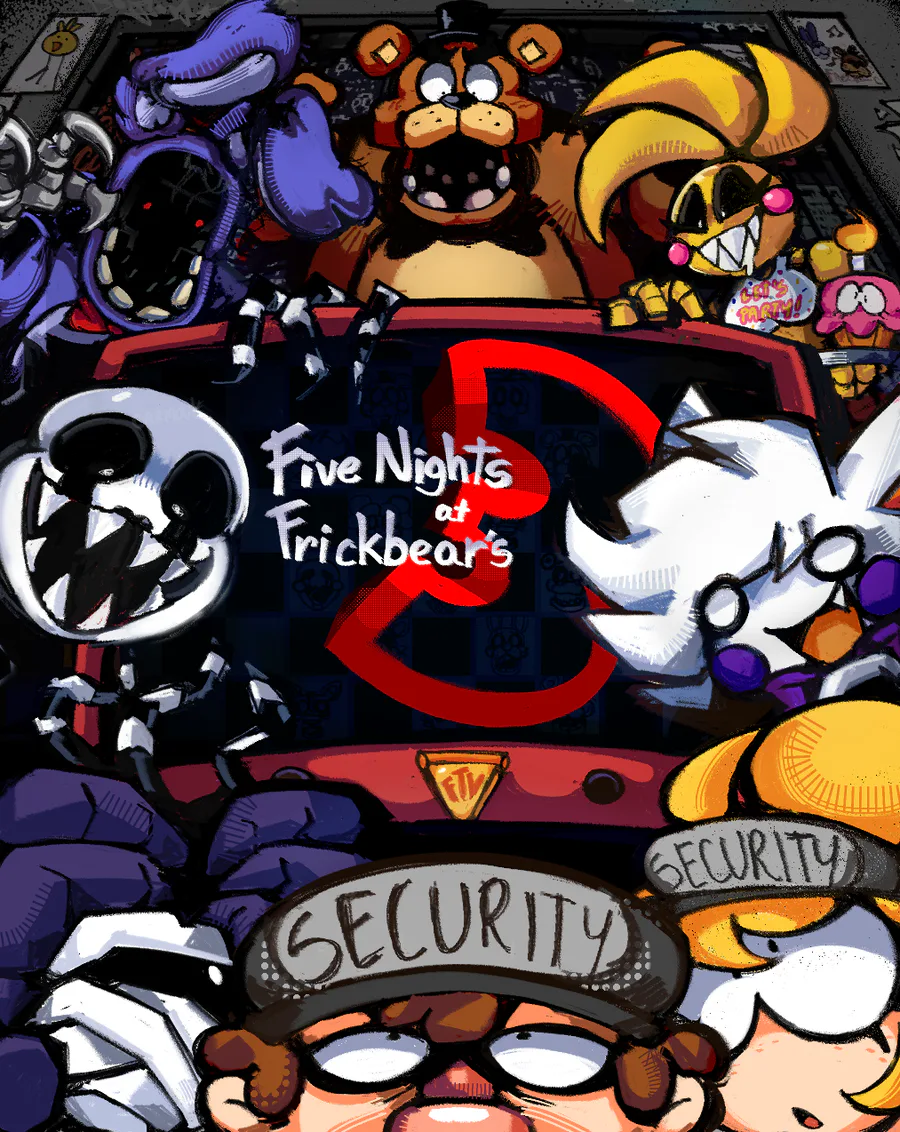
In fact, speaking of those other portraits, I'd suggest looking at them for style reference in general! If you wanna maintain Stylistic Consistency, bigger sprites in this game such as the portrait, selection and reflection sprites typically use a line weight of 4 for the lineart and 8 for outlines, while smaller sprites like outside.png use a line weight closer to 2.5 with 3.5 or 4-pixel wide outlines. The icons are made like traditional pixel art, with 1-pixel lineart and 2-pixel outlines. Be sure you're using a binary brush to accomplish that pixel-y Frickbear's look as well!
Additionally, here's the game's color palette :D You CAN use colors outside this palette if you can't find one close enough to the one you want, but do so sparingly!

Now, this isn't all; Every custom character will also need sprites for the endscreens, but I'll be keeping the templates to those to myself since it'd be a pretty huge spoiler otherwise. Your character will also need an extras menu character description and opening monologue written, so make sure you have that prepared as well!
And that's it! Keep an eye out for future announcements regarding custom characters closer to the game's release, I should be posting a full tutorial on how to actually get your sprites into the game once the time comes. For now though, I hope you have fun creating your own wacky characters!


79 comments