Ok! There's only a little more to go! This is where we stopped last time. We had drawn our keyframes and added a little squashing and stretching to them:
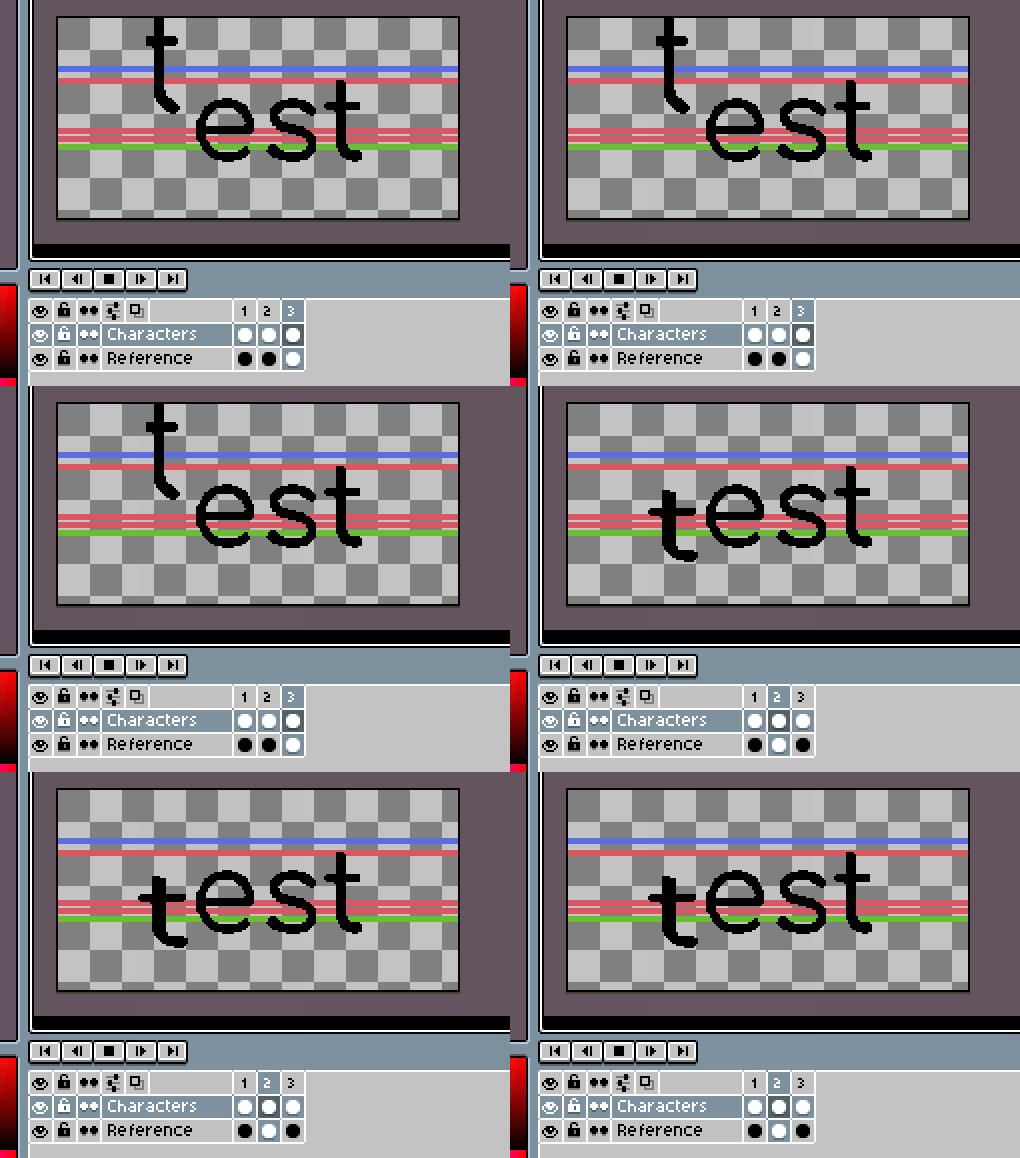
Before we go further, there's something I'd like to fix. In the second keyframe, the "T" is going too low. Since we're trying to make a jump animation, it would be best if we added another reference line, one to mark the "ground" where the characters are standing:
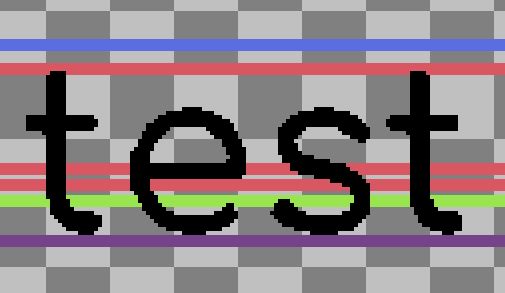
Now, when we add our second frame, we might want to make the "t" character don't cross the purple reference line too much. Otherwise, the jump won't look too powerful and the character will give the impression that it "falls through" when the animation loop. Here are the corrected keyframes:
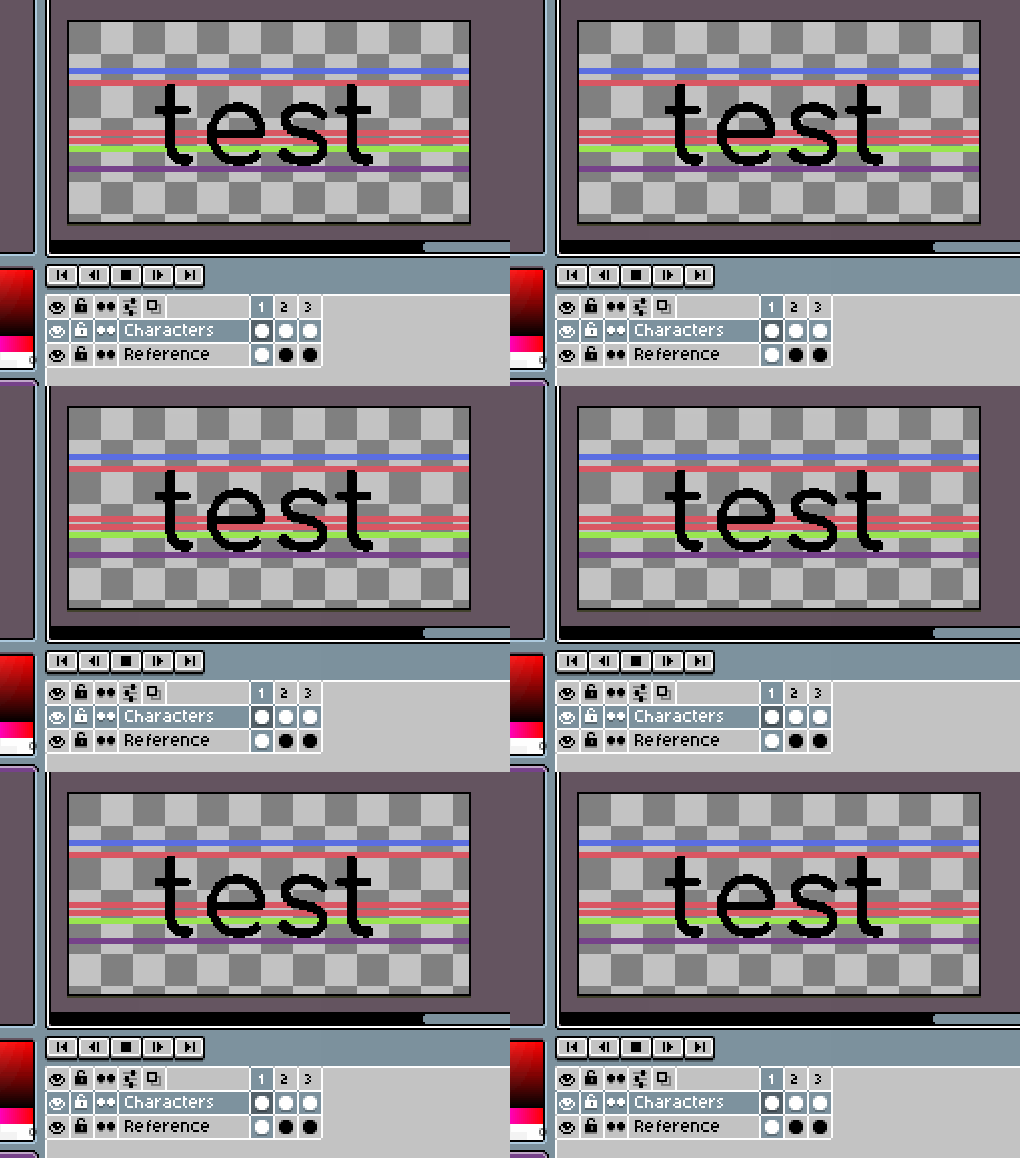
All right! Let's continue! Let's add some:
Part 1: In-between frames & Anticipation
The keyframes we did so far are only the "master" frames, guiding the animation. If we stick to these only, the animation will be very stiff and unnatural. Now's the time to add some in-between frames.
In-between frames are exactly that, frames that interpolate between the keyframes, starting at one of them and ending at the next. Between two points A and B, however, infinite many intermediate points exist. So how do we choose how to draw the in-betweens?
Here another basic animation concept comes in: anticipation.
When we're animating an action, especially those that are movement bursts, like a punch or a jump, we usually want to add no in-betweens to the "core movement" (the jump or the punch themselves). In the anticipation of these movements, however, great expectations can be created, and the main movement can be "promised".
That's why we created those reference lines!
The first two in-betweens we're going to create are between our current frames 1 and 2. The first new frame (the new frame no. 2) should be an "average" between our original animation's first two frames (use the last red reference line to try to "center" the T):
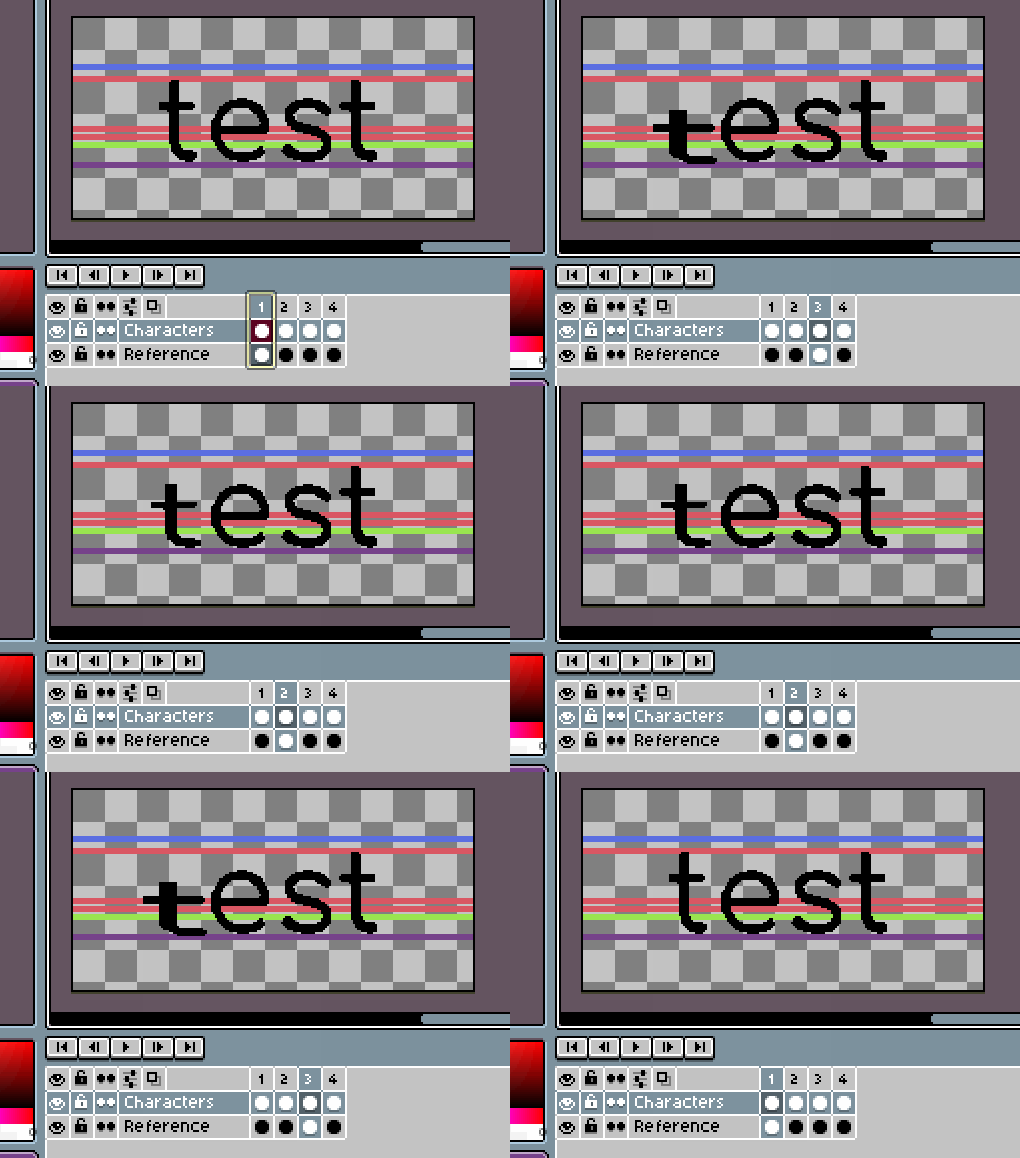
(in the gif above I'm manually moving back and forth to show the new in-between frame, number 2).
The second in-between we will create will be just a copy of frame 3.
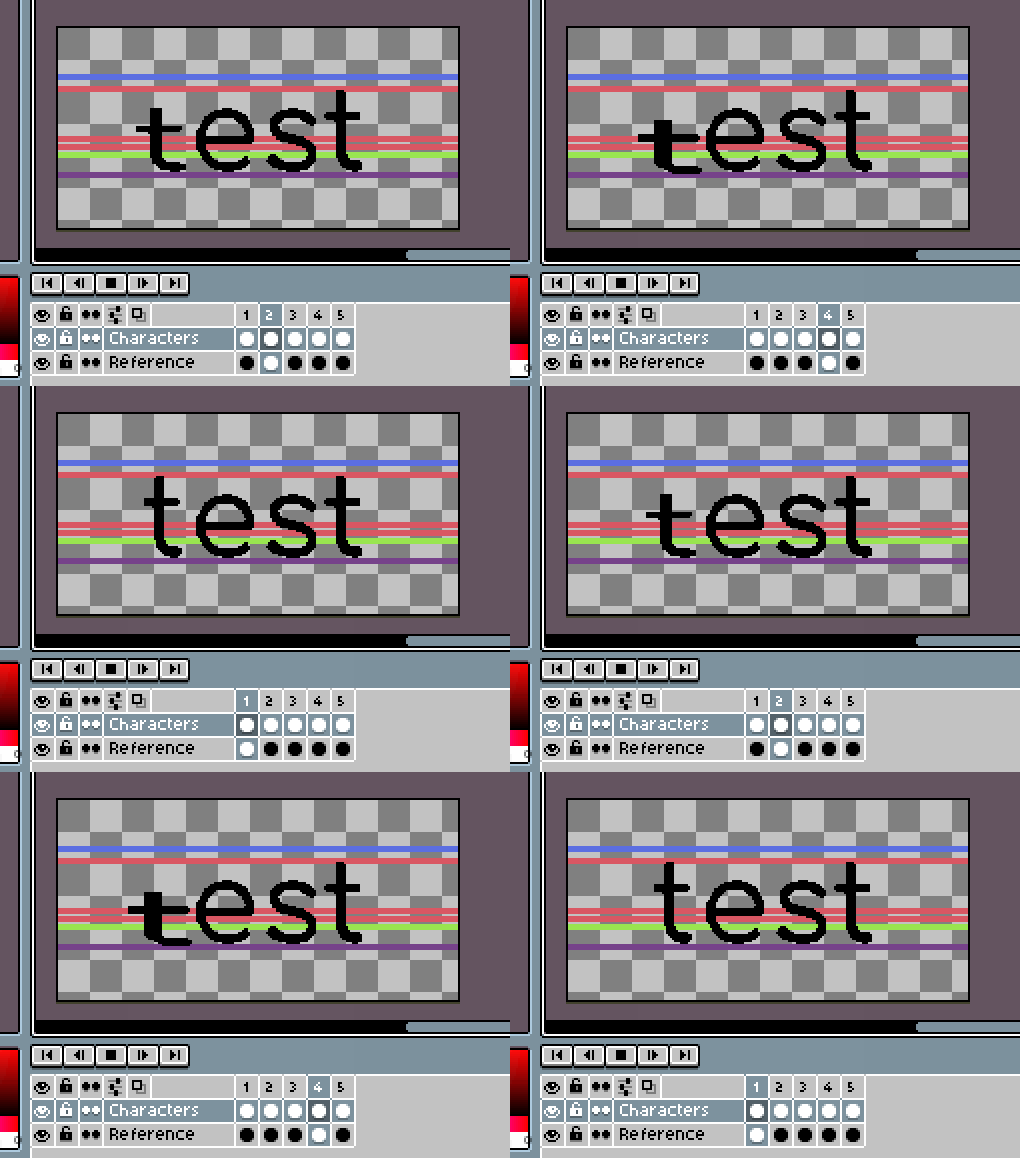
What this repeated frame does is that it creates an even bigger wait before the jump, as if the "T" character is really "charging up" before jumping.
Part 2: Follow Through
If we follow the same principle of anticipation to the T's fall (it goes up all the way into the air and, losing all speed, starts falling down), we might implement the principle of the follow-through. Follow-through, in animation, is a small action after the main action.
How do we do it? We should add one new frame after frame no. 5. In this frame, the T should be a little lower than the blue reference line, in the upper red reference line, and it shouldn't be as stretched as in frame 5, but it should be more stretched than in frame 1.
Here's how it looks, with all 6 frames:
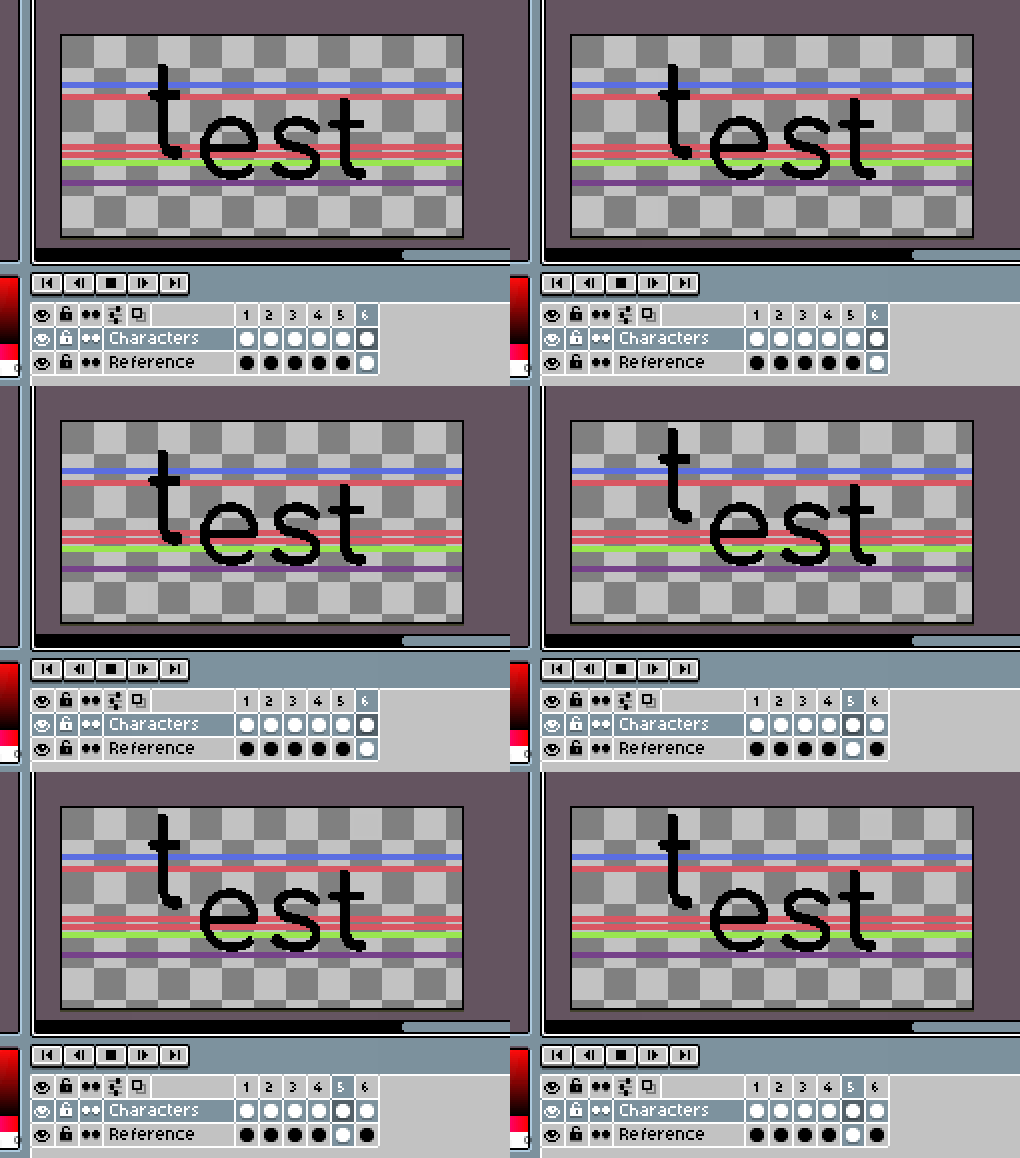
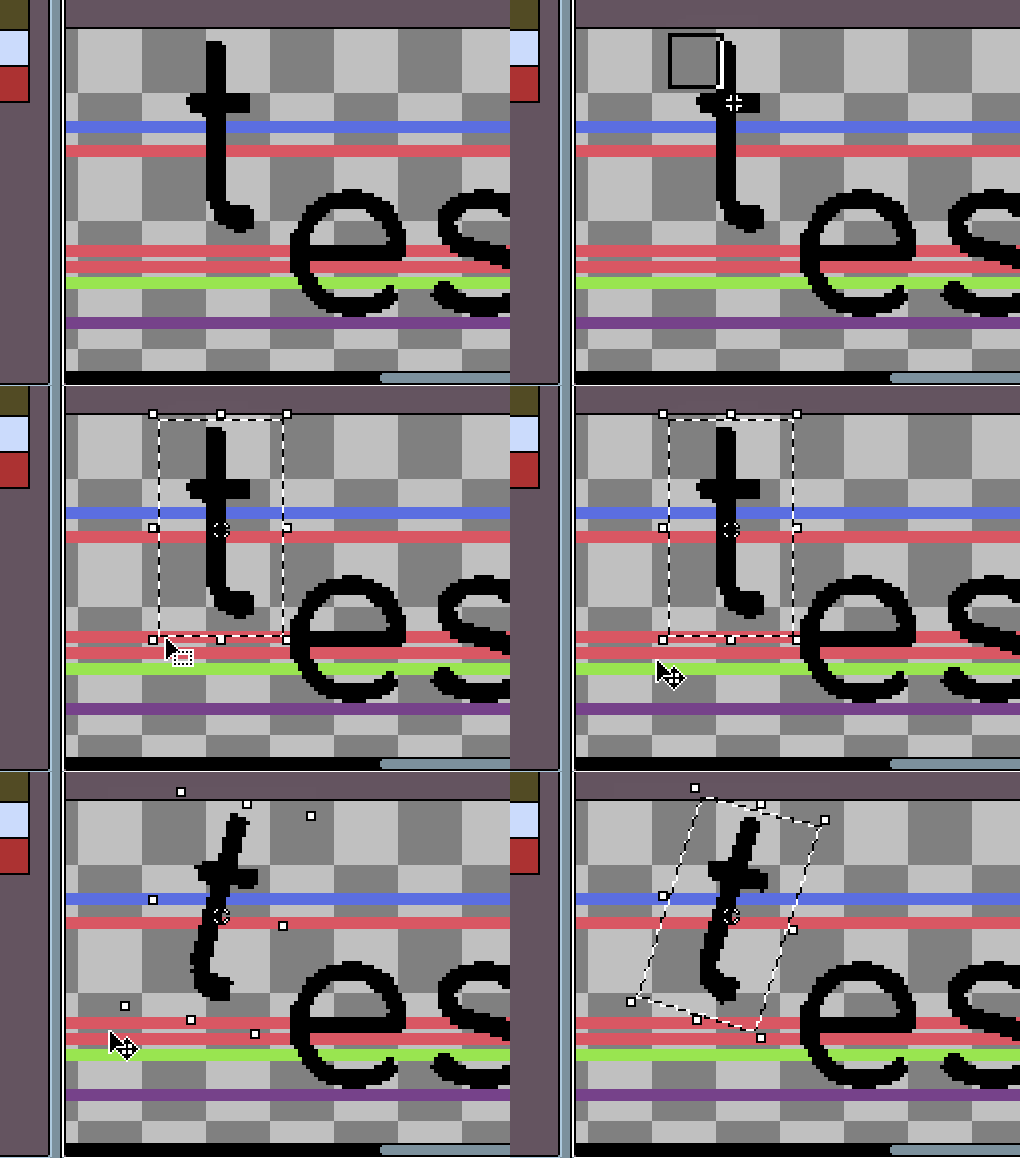
If you want to make the jump funnier, I like tilting the character a little when it's fully in the air (currently frame 5). I use ASEprite's rotation tool, cleaning up any weird pixel from the rotation approximation:
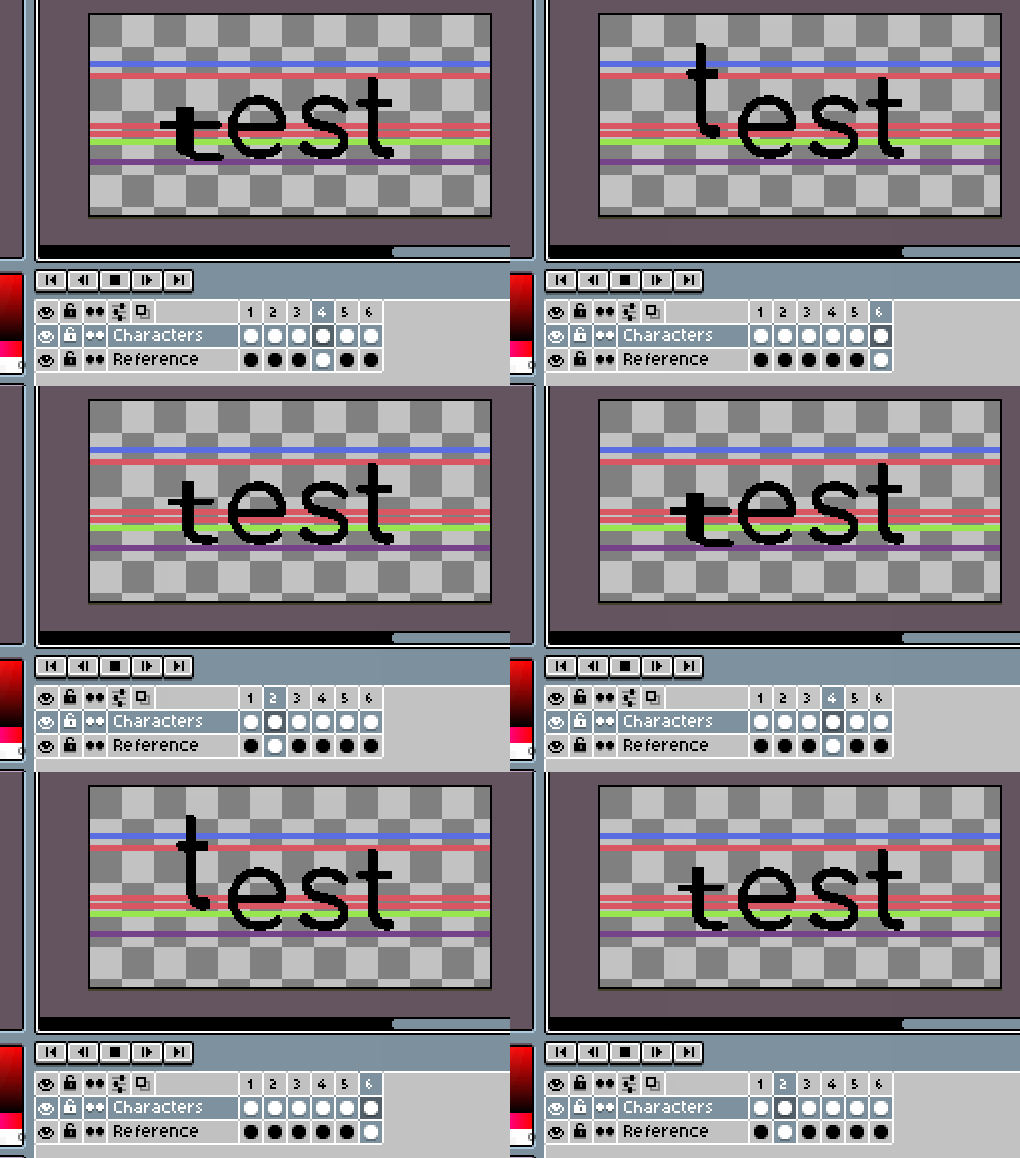
Here's the final result for our first jumpy character:
Now all you have to do is to apply the same principles to all the other characters, alternating which frame they start their jumps. I'm not going to do this for all the characters one by one, because this tutorial has also squashed and stretched for 3 whole sections, but I'm sure you get what you have to do now! :)
This is the result you might get:
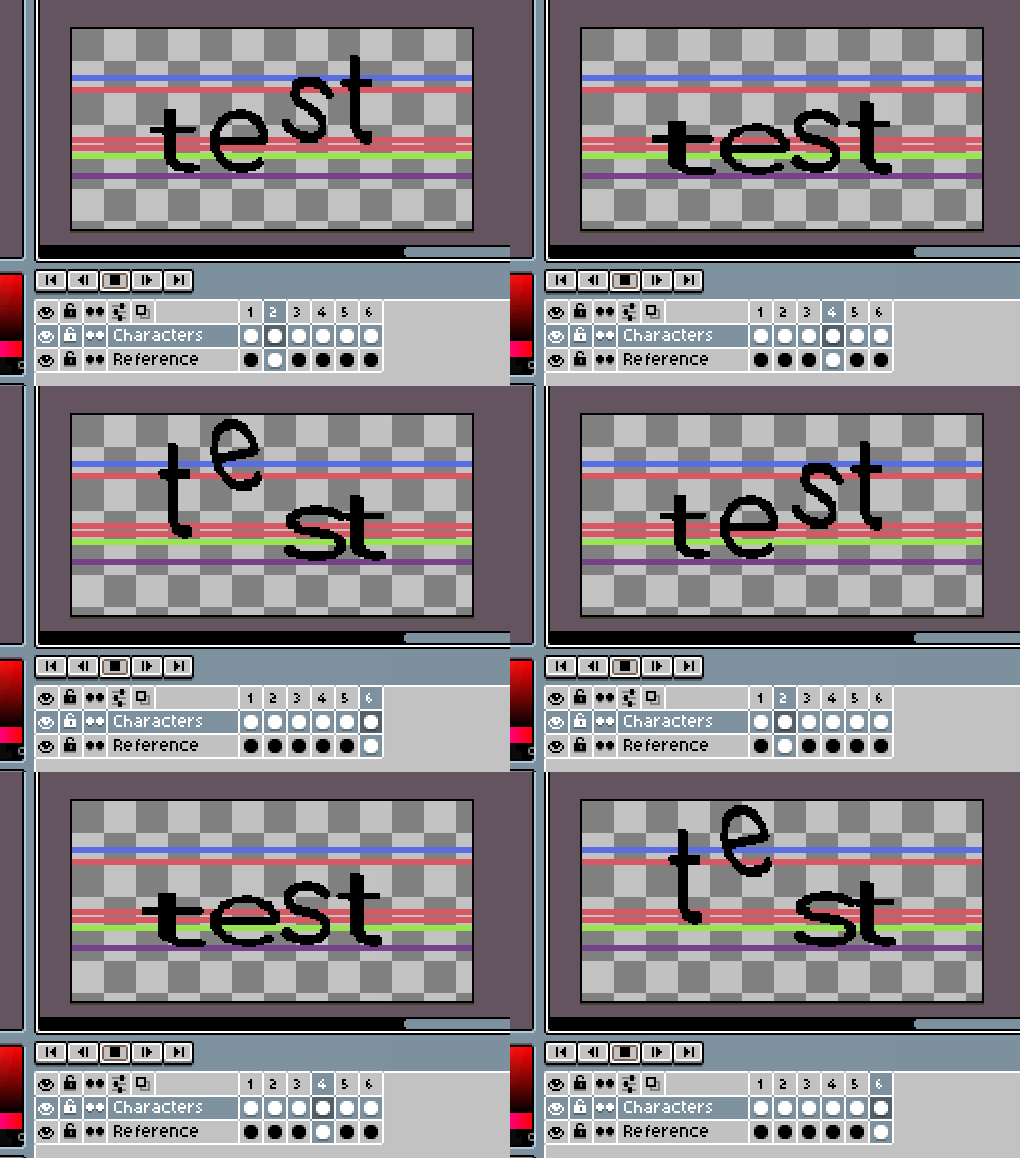
(in the example above, I did the "S" jump a little lower just to make things more different and interesting to look at)
That's it, folks! We covered a lot of ground in this tutorial, several basic animation principles, and some nice, helpful tool tricks!
If you ever try doing something like this and do create your own animated signature, please show me the results! I'd love to know that I helped you make your own thing!
See ya!













6 comments