
First of all -- I'm a Gamejolt Creator! If you like my content and have a charge (or two!) lying around, do not hesitate to slap one right here! ;)
Alright, so let's begin!
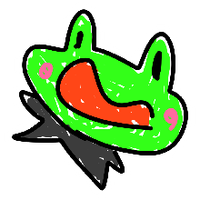
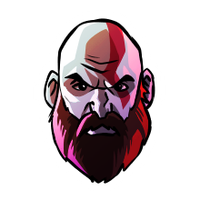
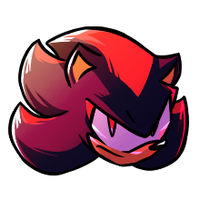
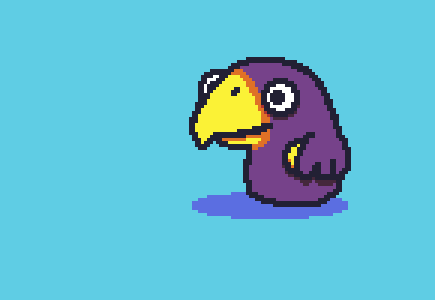
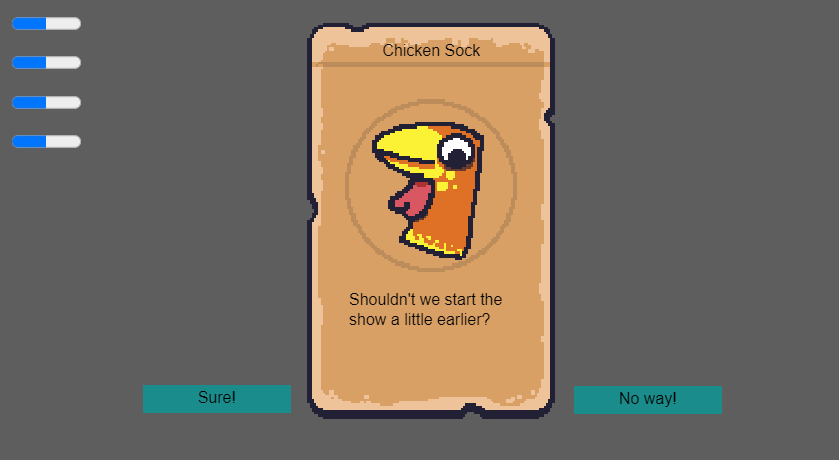
Some time ago, I did the Sock Puppet Project here on Gamejolt! As a result of your charged stickers, I created a bunch of Sock Puppet characters with you all:

Remember them?
Now, with Gamejolt's new "Custom Sticker" feature, I thought they'd make a nice Sticker pack. However, as they are, they need a few tweaks to look good as stickers.
There are two things there are going to make them look more like stickers:
White outline (as is a sticker staple); and
Under shadow (for volume)
For us to add both, first we'll need to give them some "breathing room", as some of them are pretty cramped in their tiles. Let's start with that!
Step 1: Making Some Space
(If this step doesn't make sense to you yet, that's OK! Keep reading -- it might make more sense later!!)
When I have to do this kind of thing, here's what I usually do (there might be an easier way to do it -- if you know one, please let me know!)
First, I create another ASEprite file with the new tile dimensions. ASEprite makes it very practical because it allows us to do math directly on its field boxes:

With the new file, increasing its Grid by the same amount and copy-pasting the sock puppets there, this is the result:

Since some of them didn't fit in the 64x64 sprite and were "cut", I'm going to finish them before turning them into stickers:

It was like drawing these little guys all over again! :)
Step 2: Outline
For the stickers' white border, we're going to add an outline. These would usually be a lot of work, however, ASEprite has made it REALLY EASY. Let me show you how to do it:
First, go to Edit > FX > Outline:

A popup like this one should appear:

If you want a full, white outline, for Outline Color pick your palette's white. For the outline pattern, select the one with all pixels painted (ASEprite calls it the "Square" pattern):

And... that's it! Click "OK":

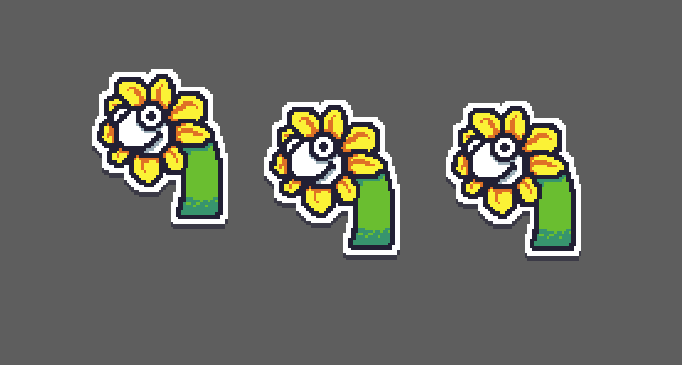
Do it one more time, if you want a two pixels thick outline, and you'll have THIS:

Don't they already look like stickers???
But there's one last thing we'll do!
Step 3: Shadow!
We can also use this Outline tool to make easy shadows!
It's VERY similar to what we did above, except that we'll select a half-transparent black color, and, instead of using the full Square outline pattern, we'll create a pattern of bottom pixels only:

Once again, if we do this two times, look at how they turn out:

The under shadow gives them volume and makes them look even more like a sticker! :)
Now, all you have to do is export these babies and stick them anywhere you want (just be careful).
That's it for this tutorial, folks! Hope you enjoyed it, and if you ever get around to doing something with it, please let me know!!!
Cheers!


8 comments