

Now forgive me for not being able to go into perfect detail of my pain and suffering as this was made like 3 months ago and I just never cared to make a post about it (I'm an idiot). But maybe that'll work better to the flow of the post who knows.
The Why:
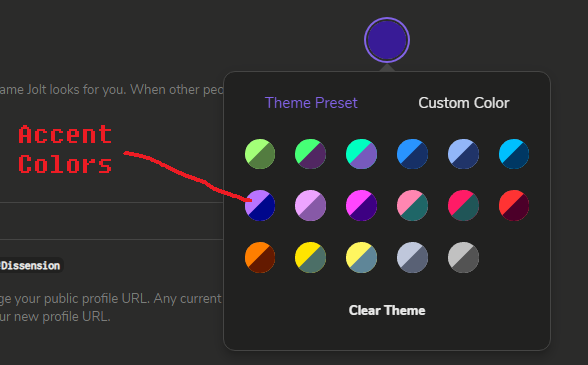
I have always been interested in palettes; I just love looking at all the good colors people can come up with. So when I make pixel art (Very rarely), I wonder how it would look if I ended up using a different palette than what I did.
This obviously leads me to searching the Internet for some website that does just that... Except I couldn't find it so this is Plan B.
What Exactly Do I Want:
I want to put in an image and the palette I want to apply to it, which would lead the program to put the colors of the palette with the correlated "Old" colors of the image. This would lead to the image having the "New" colors of the palette (Note: The image and palette are both images inside the program).
The Plan:
My general idea to get this done is to get all the colors the image used (The old palette), replace those colors with the ones from the desired palette, and then put them back into the image. Simple enough... right?
Getting The "Old" Color Palette:
I started out trying to go through every pixel in the image and obtain their color but this turned out to be harder than I thought. But I got it after using a for loop inside a for loop to achieve a x-axis and a y-axis.
Now I have every individual pixel color in one 20,000 index array (Not ideal if you could've guessed), so I wanted to shrink it down to only the unique colors. I did this by going through the entire array and putting the colors into a new array and deleting any duplicates. With this set up, I reduced the 20,000-ish index to 64 (Note that the colors appear in order too which will be important later).
Finding Matches With The New Palette:
After this, I did the same thing to get the colors of the new palette. Now I need to know how to match the colors of the old palette to the closest colors of the new palette.
I thought the simplest way to do this is to get a color in the old palette and look at the total difference in each RGB value of each color in the new palette and choose the one that has the least difference. So a color like 233, 45, 173 would probably match with 214, 98, 132 because the total difference between the two colors is pretty small.
Problem:
I need to convert to RGB values to do this (Obviously) and the function I used to get the color of the pixel gives out some nonsense like, "5581832".
I tried to understand what in the world this number could mean. It's not the RGB values strung together into one number because 558 is bigger than 255. I converted it into hexadecimal (Another common way of expressing colors) and the color it gave was nothing like the color I had expected.
UNTIL, I took a close look to see how far the hexadecimal conversion was to the actual conversion instead of just looking at the colors. It was then when I realized they were the same except the first and fifth digits were swapped alongside the second and sixth digits.
Bruhh
So after making a quick function that takes the hexadecimal conversion and swaps those digits around, I finally had a way of comparing the old color palette to the new color palette.
(Quick Note: I also learned that the hexadecimal value of a color IS it's RGB value also, just combined together and using a hexadecimal system instead of decimal.)
Ordering The New Colors:
Since I got a way to see which old color will transform into which new color through the RGB Difference method, I just need a way to organize it into a way that will be usable.
I ended up separating the Red, Green, and Blue components of the new color to a separate entry in an array. Luckily the order of the colors were preserved; this means that entry 1 in the old color palette list would get matched to entry 1 of the new color list saving TONS of hassle just by the way I set it up.
After this I could put each of the RGB parts into the Make_Color_RGB function which would give me a color code that GameMaker can read (The same one it gave me when I got the colors from the old image).
Then I got a function off the Internet that allowed to change the colors of an image on screen with new colors (Like a paint bucket tool). Sadly I only learned about this function after spending like 2 or so days trying to learn Shader Code (It did not work).
The End Result:
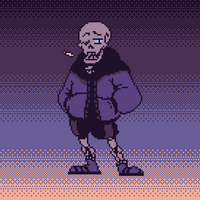
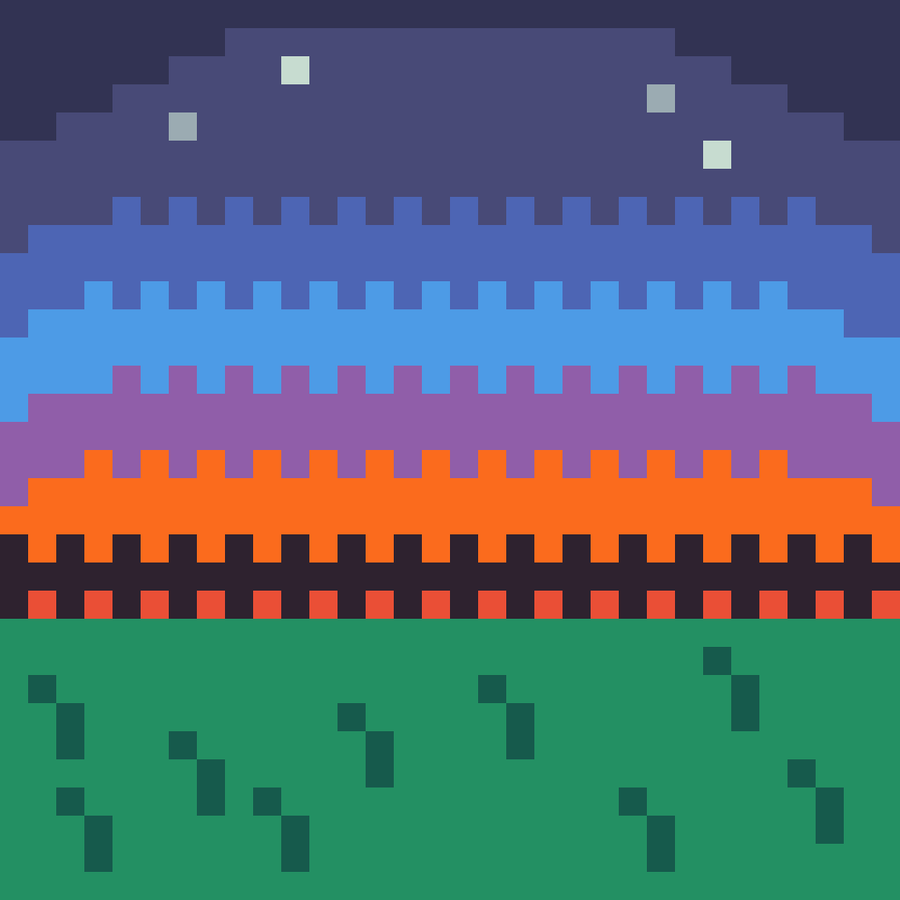
After all that pain and suffering, I had finally done it. I saw my pixel art that I made (The image I used) in a completely new palette. I tried some other combinations too, here are some of them (The first three are the original for comparison):


And here are the changed versions (These ones were some of them that were subpar. Either because of limited color palettes or whatnot [No particular order]):


(This one ^ only used 5 colors and still looks this good!)
Some of these I decided to share because even though they are missing some features (Because of the new colors), they have very cool pieces of them.
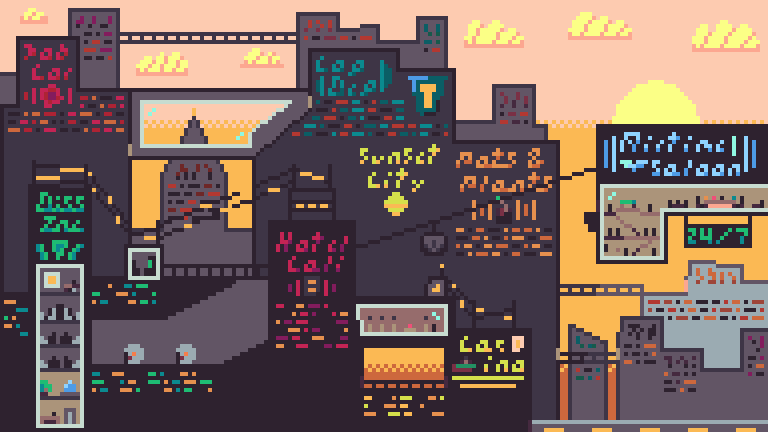
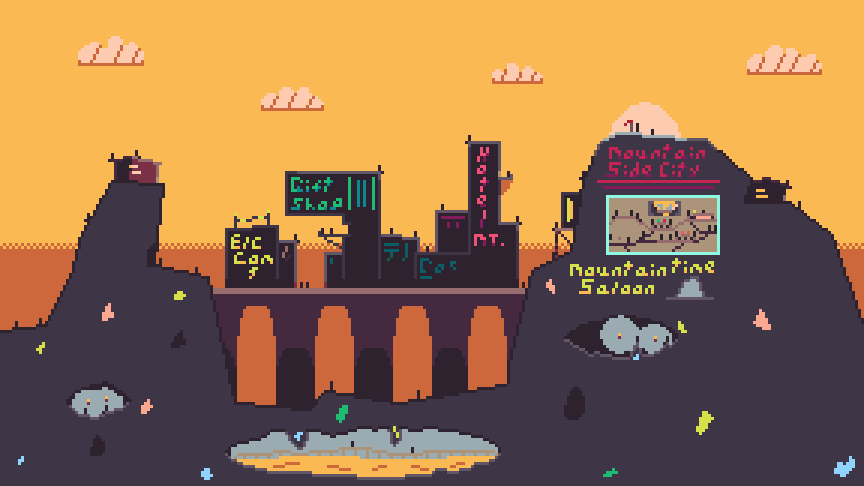
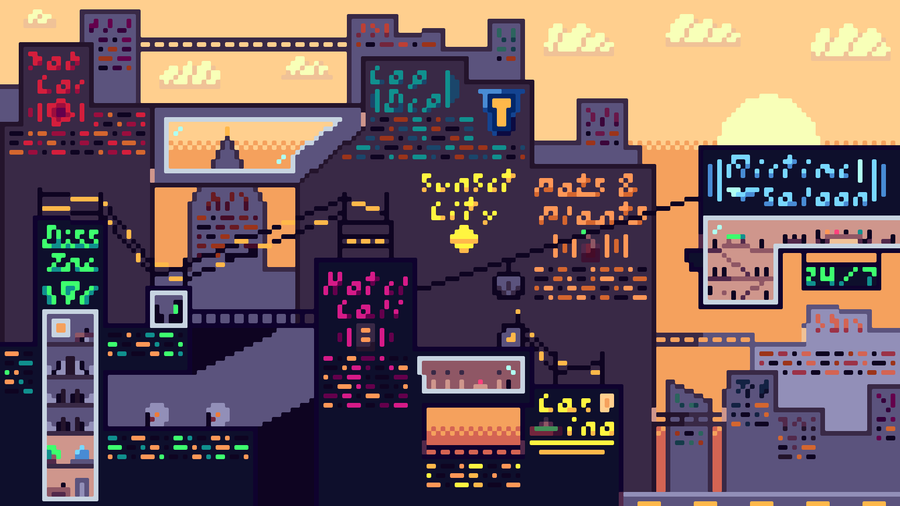
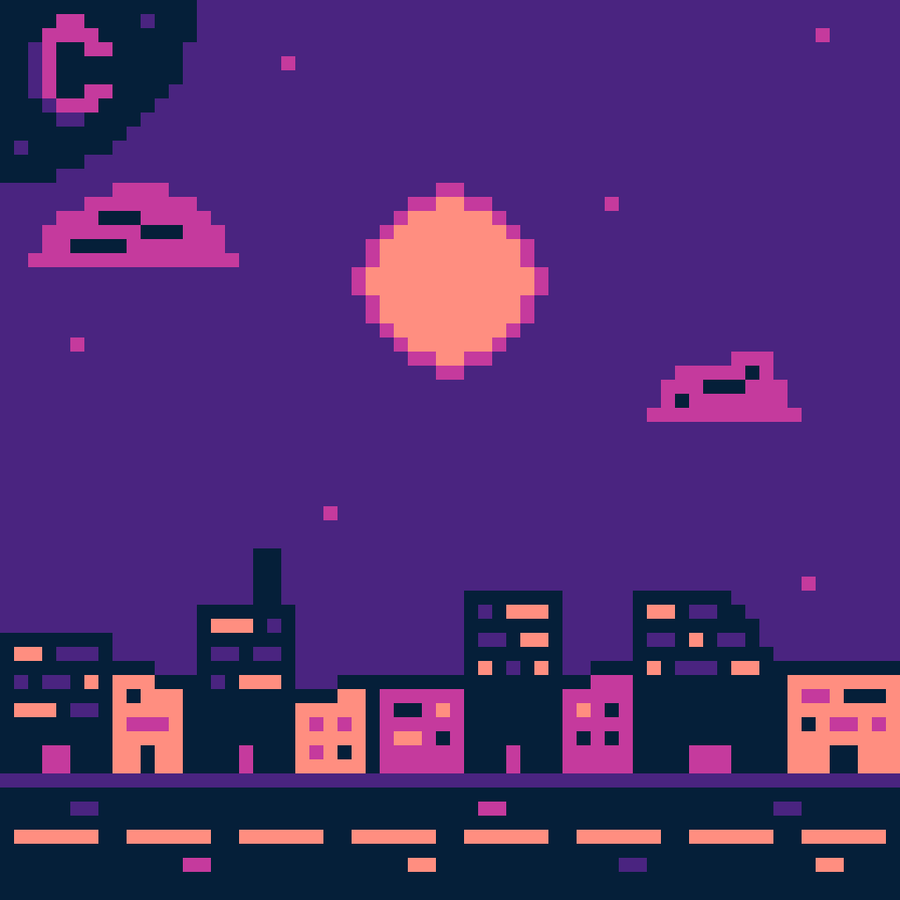
And now for my personal favorites starting with SunSet City:

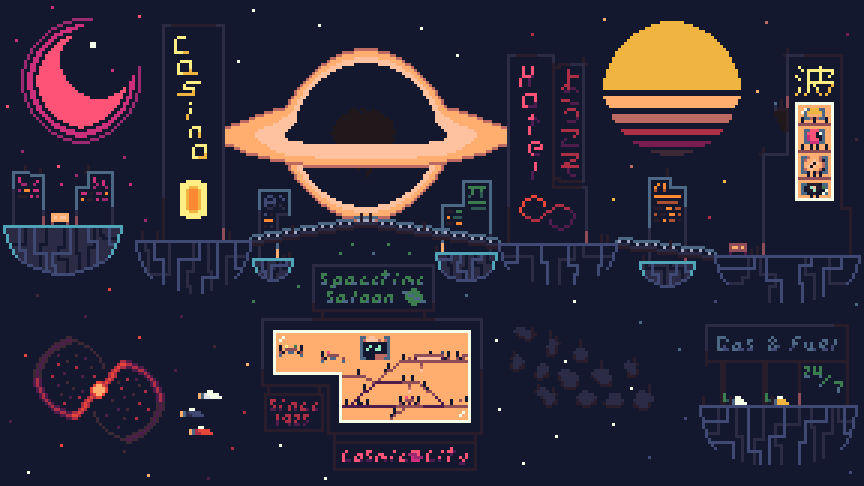
Cosmic City:

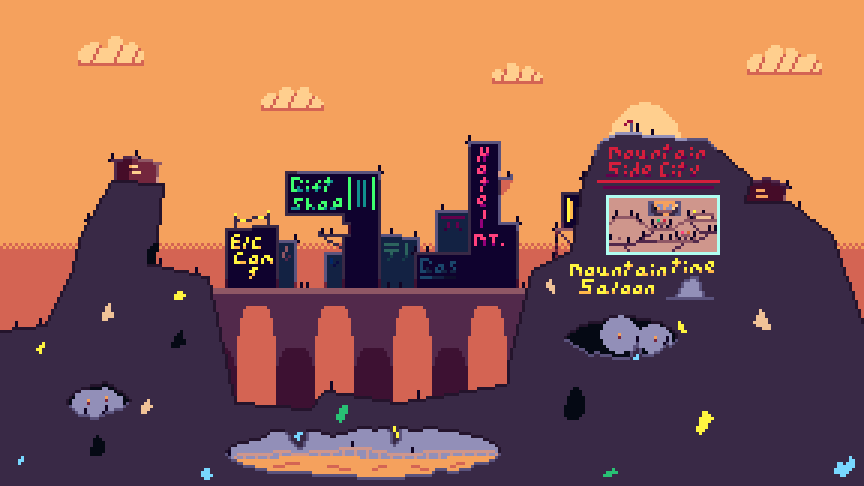
And finally MountainSide City:

Quick Note:
While making this post, I realized a critical flaw in how I got the values of the old colors of the image. I made 20,000 entries into my array and then shortened it down. But what I did now was just check for any duplicates WHILE it was making the array. So I only have to go through the 20,000 pixels once instead of twice and end up with the correct amount of colors instead of 20,000.
Conclusion:
100% worth the week or so of pain and suffering coding this up took. These images weren't even half of all the one's I took because I didn't want the post to be so long (Not even including the palettes I could've downloaded off of Lospec to test out).
I noticed I now have 69 followers  so take this as a nice special post to you guys that have helped me reach places I never thought I would have. While 69 followers is not that high compared to some other creators on here, I am still proud of that number. I'm glad I could make something to the world.
Next post? I have no idea man. But I do want to thank each one of you that read all the up to here, you guys are legends for real. My next post shouldn't be too long from now, but until next time, adieu


0 comments