First and foremost -- although this is a Construct 3 tutorial, similar procedures will likely work on any engine or framework. The principles are the same!
So! Let's get to it, none of us have all day!
Part 1: Creating a Standard Progress Bar
Construct 3 has many native types of objects you can use. One of them is the Progress Bar, which you can use for basic bars.
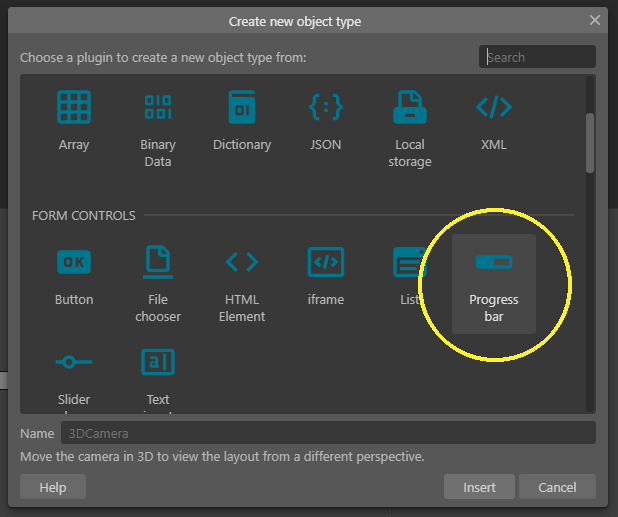
However, there are limits to what you can do with this bar, and for games, you usually wanna do some fancy, pretty stuff that this basic component won't allow you to do.
So HERE's where we come in! We will use this progress bar in our tutorial; however, we'll use it HIDDEN from the public's eye. Because we're sneaky like that.
For this tutorial, I'm creating a new, blank project and adding a basic Progress Bar, like this:

Right-click on any Layout, then click on Insert Object and select Progress Bar.
Now we have a Progress Bar in our Layout. This native Progress Bar has a bunch of built-in actions and properties we can use -- and that's why our custom one will use it "under the hood."
But enough of this boring ass bar. Let's make a custom one.
Part 2: Creating a Bar Sprite
Here's where the trickery starts. Our bar is actually going to be a Sprite. A regular sprite.
We'll start by creating one:
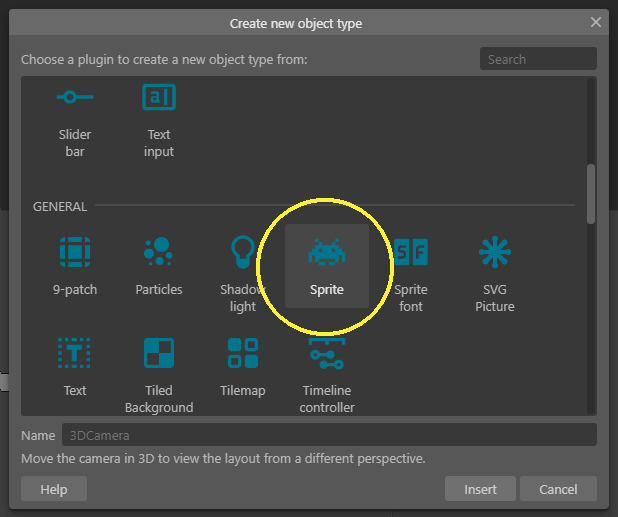
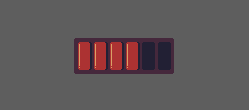
When drawing this sprite, each frame will represent one "state" of this bar. If we want, for instance, a bar that is segmented into 6 parts or slices, we'll draw the sprite with 7 frames, one for each value that this bar can be in and one additional "empty bar" value.
Here's the simple bar I did in ASEprite for this tutorial:
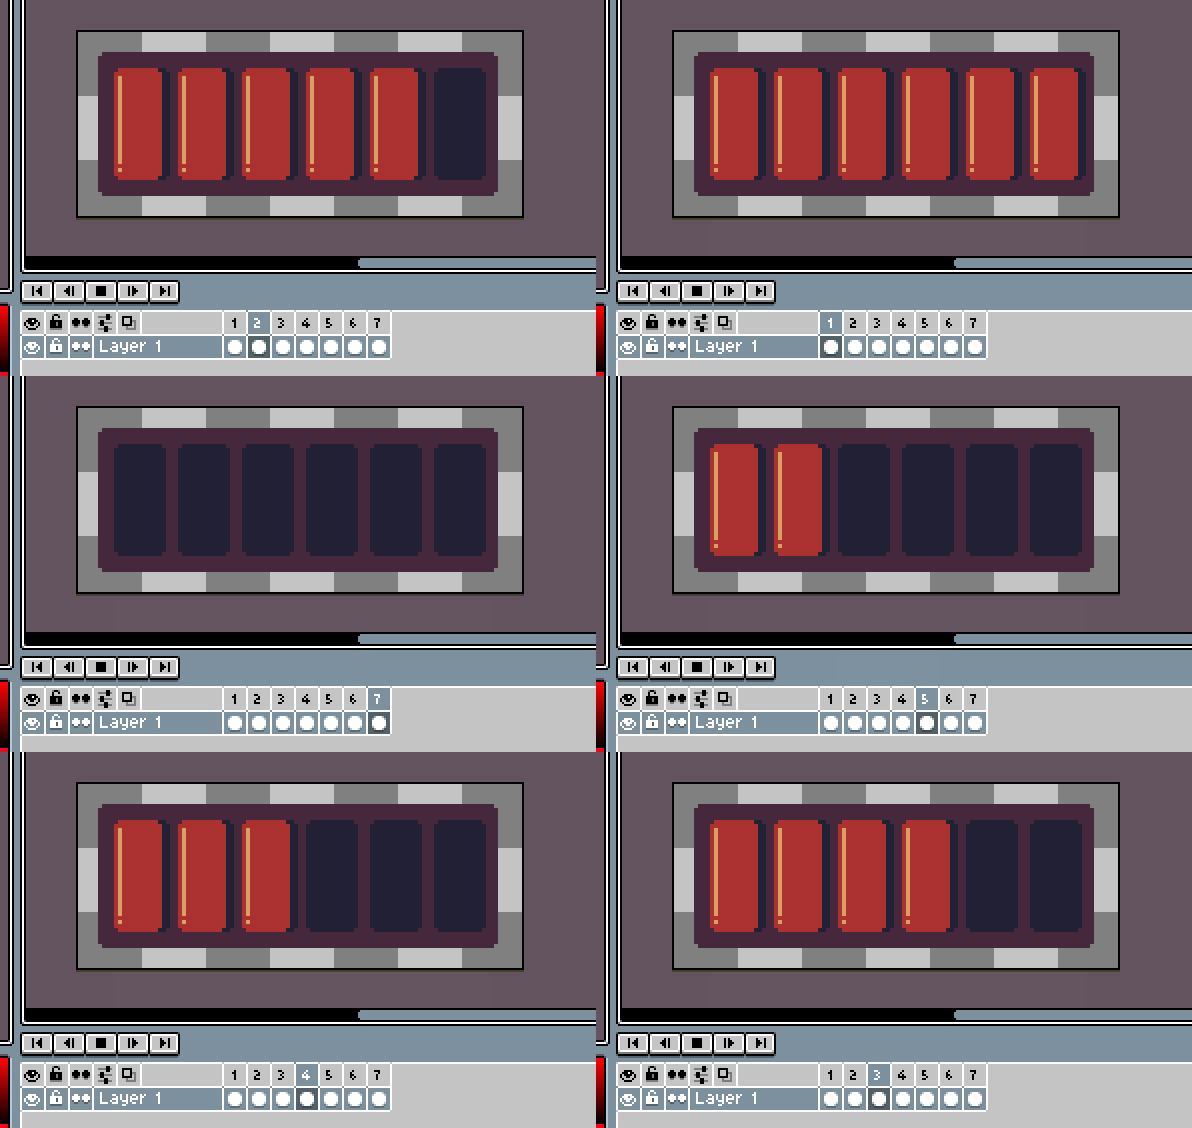
Since these frames can be anything you want, you can even make fancy bars that have "fraction units", like Zelda's Heart Bar, which famously tracks hearts, half-hearts, and in some games, quarter-hearts.
(If you want to make bars like this, it won't matter to the Sprite, as it will work the same. However, bear in mind that if the sprite has frames representing less than a "unit", you'll have to consider this when updating the underlying native progress bar.)
The easiest way to import this bar sprite into Construct is like this:
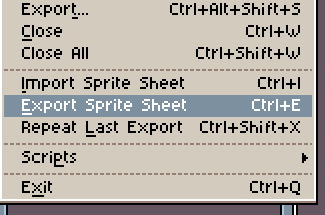
First, you export this bar animation in "spritesheet format". ASEprite has a menu option for that:
Your beautiful bar animation should be spread out like this, with all its frames side by side:

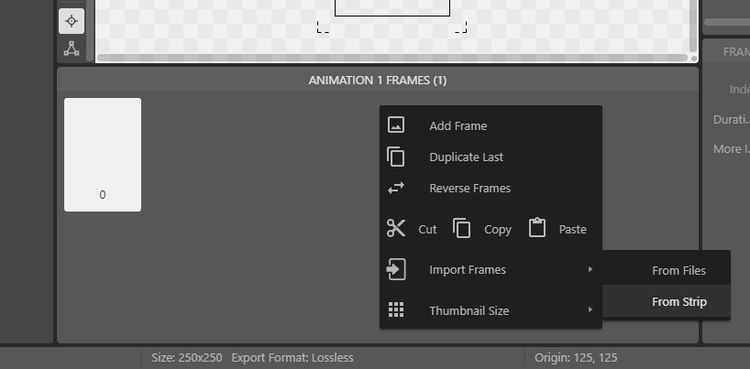
Then, to import them, you only have to open the Sprite object you created on Construct, right click on the Animation Frames panel, then click on Import Frames > From Strip:
You select the spread out spritesheet, set the correct number of frames (in case Construct makes a mistake in counting the frame number, like in my case...):
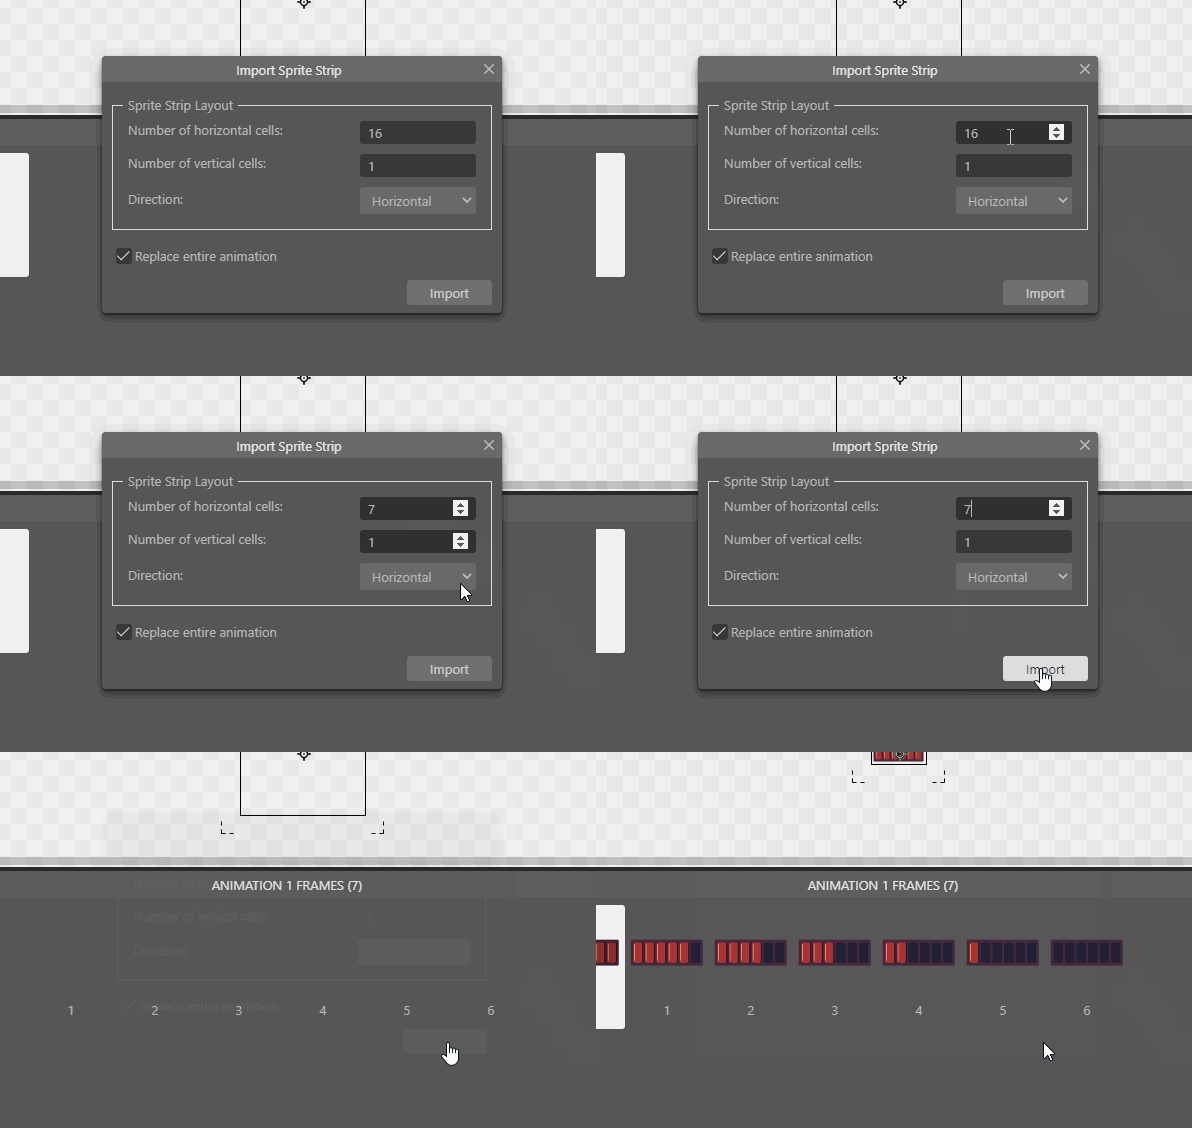
And... voilá! You have a bar sprite, ready to go!
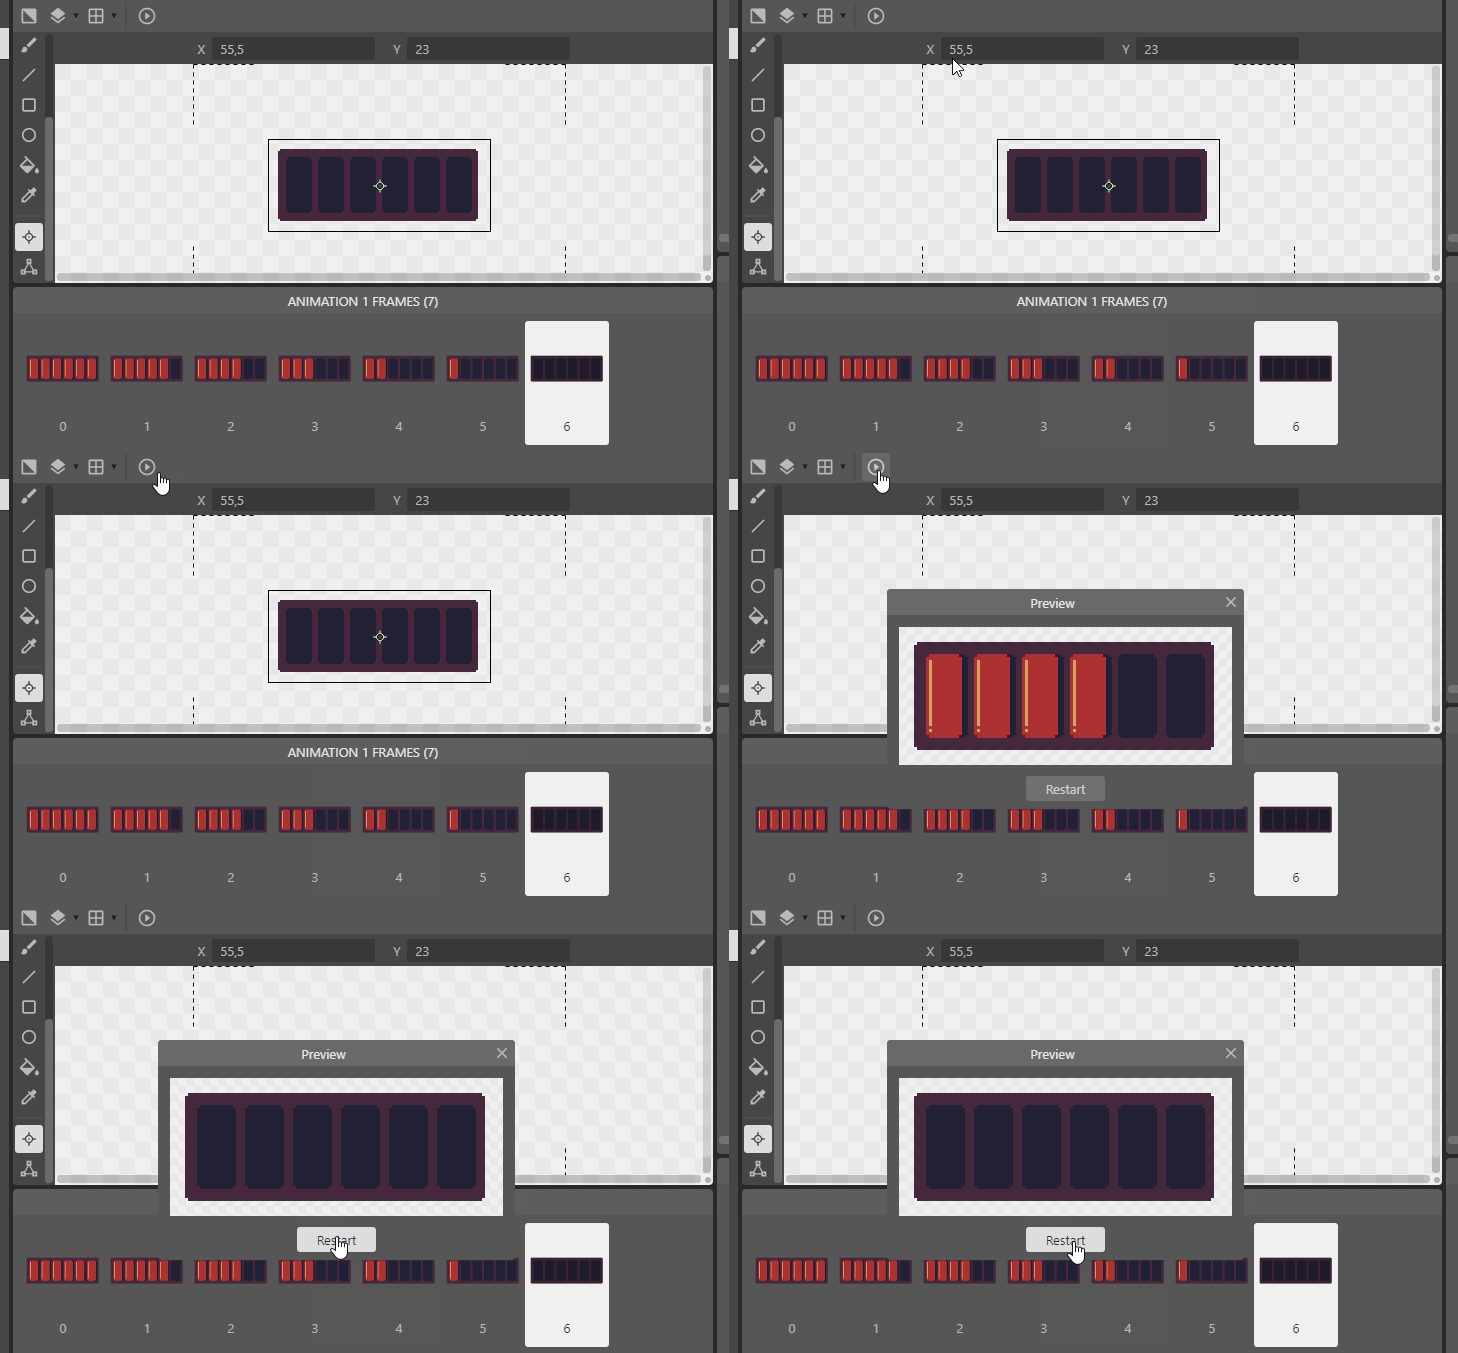
You can test it by using the Play button on Construct Sprite Editor, to see if everything is all right!
That's it, folks! That's Part 1 of this tutorial, it was getting too big so I had to break it into two parts!
Next time, we're gonna turn this sprite into a working bar, code, and all! See ya then!
Cheers :)

























9 comments