With the new tech we've developed for "Shoofter™", we can now build and animate proper cut-scenes, entirely in 3D, using nothing but PowerPoint alone!
We make a scene's background by placing an image, as a texture, onto the inner faces of two separate haves of a twelve-point-five-cubic-inch-sphere, which we then group together. After we essentially re-render the two hemispheres back into a single object, but whilst ensuring that they're only grouped together and not merged; we then duplicate the group, place the copy perfectly inside the original by disabling clipping-boundaries, shrinking the copy down to ten cubic inches and subtracting it from the original group so it has a hollow center, and finally exporting our 3D-model to a file that's ready to be used in any PowerPoint-2019+-game!
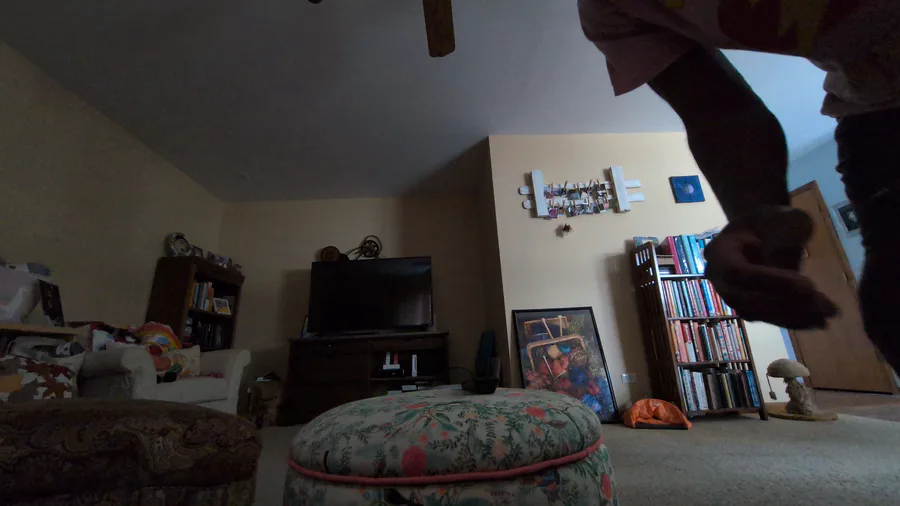
To actually use the inside of our new spherical-creation as an environment, we load it into PowerPoint, set both of its dimensions to the width of the slide, and align it to the center and middle. There's still some empty-space in the four corners, but that's where PowerPoint's 3D-Model-camera-settings can help us out. Right-click the model, and choose to format it. Then, under the "3D Model" category, which should already be selected, fiddle with the "Z-Position" under "Camera Position" by selecting whatever's in there and typing a zero. Now, it'll be, reeeeeeeeeeally-zoomed-in, but if you rotate it, your view should change-direction. To zoom-out to the right distance, just go to "Field-Of-View" under "Look-At-Point", and enter "135". Now, you can rotate the camera just like we did in this video, using the "X-", "Y-", and "Z-Rotation" settings at the top of the "Format 3D Model" pane!
If you want the "player" to move forward, lower the number entered for "Field-Of-View", and increase it to pull-back. It goes from 0.1° to 179.9°, so there's a whole mess-full of ways to toy around with different views when combined with the rotation-settings!
To animate human-like character-models, you can use Adobe® Mixamo™, a free animation-library that lets you add one animation at a time to any model you submit. Your models are kept private, unless you choose to send them to the online-collection, which even has a confirmation-alert as well, so that's actually pretty difficult to accidentally-pull-off.
You can then download your animated model as a non-app-specific-FBX-file, and import it into PowerPoint. The animation you applied will be listed under "Animation > Add Animation", as "Scene 1". Once you've selected it, you can change its various settings, just like any other PowerPoint-animation, surprisingly even including its duration!
And once you play around with the right combinations of 3D- and 2D-animations, you can create a cutscene like this one, and even give yours audio, if that's what you feel like doing!
So, that's how we both built, and animated this 3D-cut-scene in nothing but Microsoft PowerPoint. In case you wondered what software we used to build the environment-model, it was actually "3D Builder", available for free from the Microsoft® Store™.
Please enjoy, and as always, "Happy Jading!™"







0 comments