You will need to create a new UserWidget C++ class. You will also need a BP user widget as well. In the BP widget, change the parent class to the newly created C++ user widget (whatever name you gave it).
Now you need to write code so open up the C++ widget file. It will open up 2 files; a .cpp file (where you will write function definitions) and a .h file( header, where you will write declarations).
Here's the header file. This is where you will tell the name of the function, it's return type and allow blueprint execution. You can put this under protected.
			UFUNCTION(BlueprintCallable, meta = (DisplayName = "Set Current RHI", Keywords = "Graphics API"), Category = Game)
void SetNewRHI(FString SelectedRHI);

SelectedRHI is the input that will passed from blueprints.
UFUNCTION is necessary to give certain Unreal arguements like making it exposed to Blueprints.
Here's the function definition in C++. This is where you will tell it what to do when it is called.
void AConsoleWindow::SetNewRHI(FString SelectedRHI)
{
GConfig->SetString(TEXT("/Script/WindowsTargetPlatform.WindowsTargetSettings"), TEXT("DefaultGraphicsRHI"), *SelectedRHI , GEngineIni);

GConfig->Flush(true, GEngineIni);
}

It is basically changing the Engine.ini file to change the default RHI.
Save them both them Compile. You can do this by going to Build then Build Solution in Visual Studio or by pressing the compile button in UE
For UE5, it's down at the bottom right

For UE4, it's up in the toolbar, right next to the play button

After successfully compiling, you'll see the function appear in the BP Search Menu


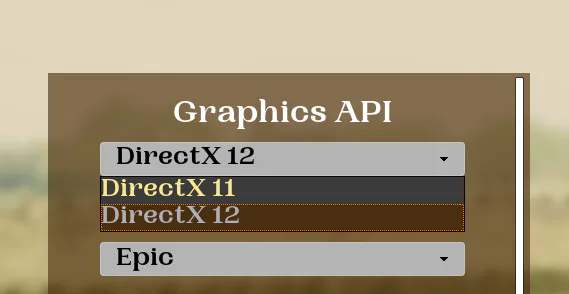
Pass through
DefaultGraphicsRHI_DX11 for DirectX11
DefaultGraphicsRHI_DX12 for DirectX12
DefaultGraphicsRHI_Vulkan for Vulkan
Or if you think this is a lot of work then you can use this premade one from Cesio








0 comments